Paul sorry I didn't get a chance to call you this weekend. I'm lucky to carve out bench time between all the honey doos I get to enjoy.

I did carve out a bit of time.
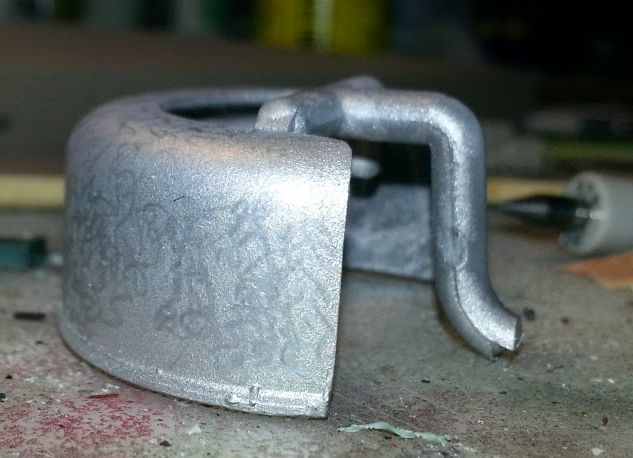
Now to the cowl and the machined look of the metal.
This is Humbrol 27001 metal cote...I think. and I took the Prisma silver pencil with a blunt point and started scribbling.
Shows up better with flash but if that's the case, it may not be showing up well enough to the eye. Waht y'all think?
Not a biggie on the phone bit Bob, and I didn't get around to experimenting on that metal finish either. I did get some work done on my Stug though and am quite pleased with how it looks so far.
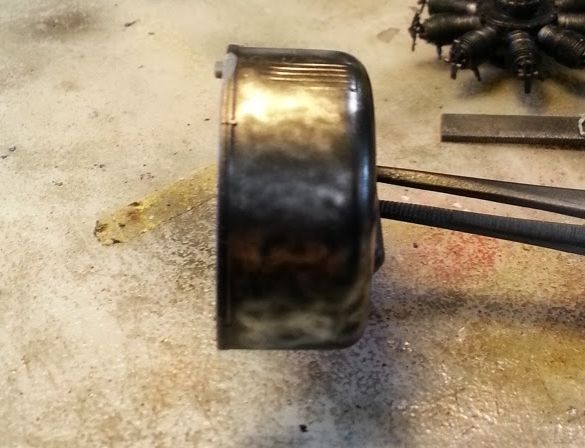
But, backto subject at hand, that machined finish isn't so much squiggles as a bunch of quarter circles where the light reflects from the circular finishes in a light/dark pattern. I have taken a couple of photos of a watch plate that shows this off quite nicely. To really get the finish it will have to be a very smooth metalizer type finish. Maybe a dull aluminum with a bright finish of quarter circles. I will have to post a couple photos I have to illustrate this. ( man I wish I had internet at the house, it would be so much easier!)
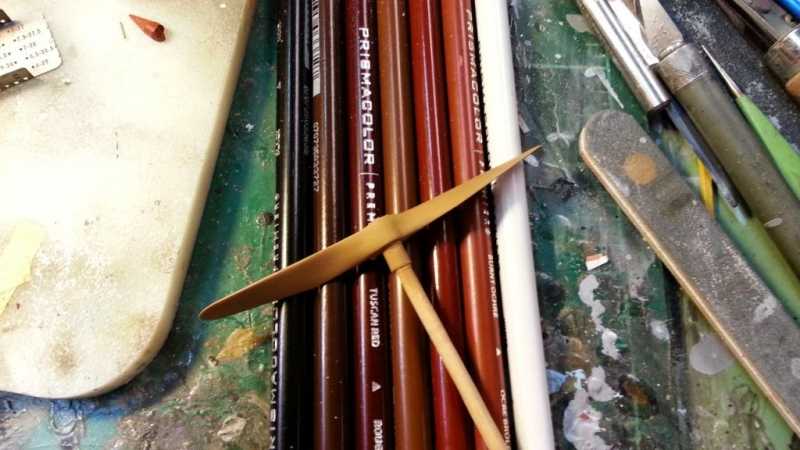
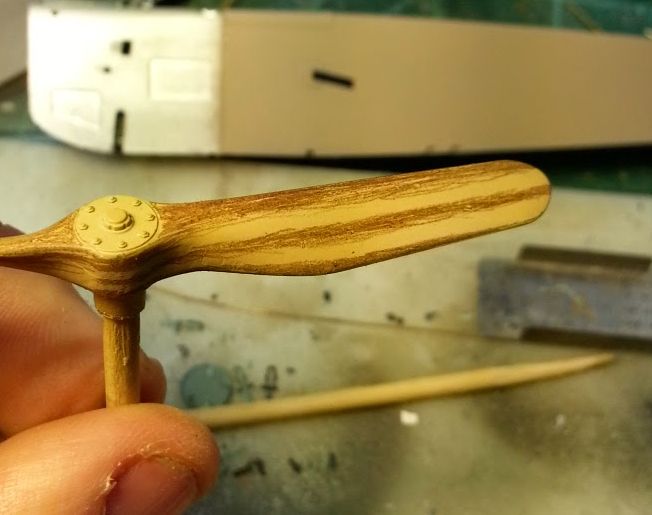
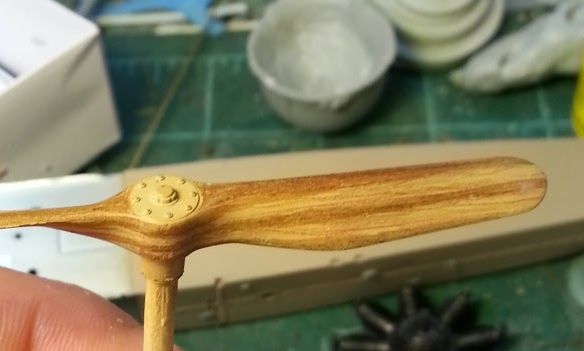
The prop looks good, I would make the darker part a bit more solid, but otherwise it really gives the right impression for the lamonations.
")