• Modelers Alliance has updated the forum software on our website. We have migrated all post, content and user accounts but we could not migrate the passwords.
    This requires that you manually reset your password.
    Please click here, http://modelersalliance.org/forums/login to go to logon page and use the "Forgot your Password" option.
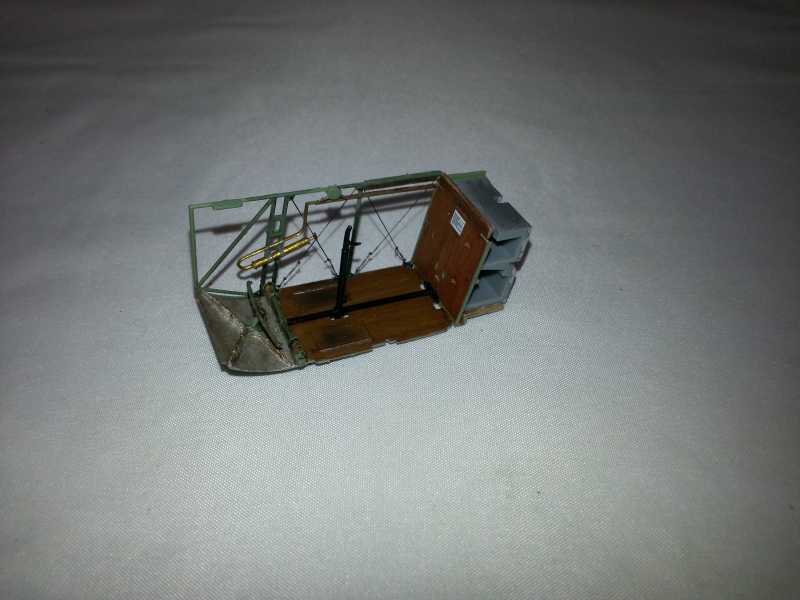
Fokker Eindecker

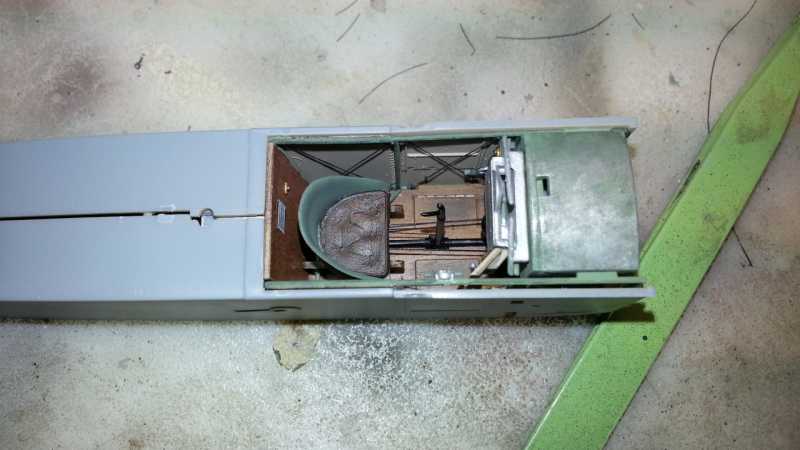
I"ve stolen some time away and got something done. Slow but it's progress.


h4c95bc9.jpg


h6ed30fa.jpg

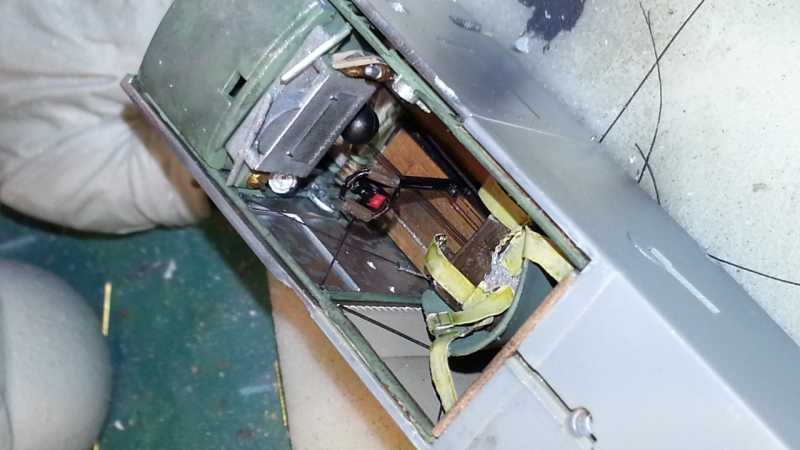
I over complicated the rigging of the control lines. Anyone doing this in the future, install the seat frame to the floor without the seat attached. The control lines pass under the seat. Really a pita to do it like I did. And I ended up doing it wrong so I'll likely pull a Fightin' Joe on it and do a Mulligan.


h9a741e5.jpg


Fits just fine but I got two sink marks to clean up toward the rear of the cockpit and install the seat belts.

Thanks for barin' with me. :pilot
 
Well time change has given me more time to get out to the garage and goof off. Can't work in the yard in the dark.

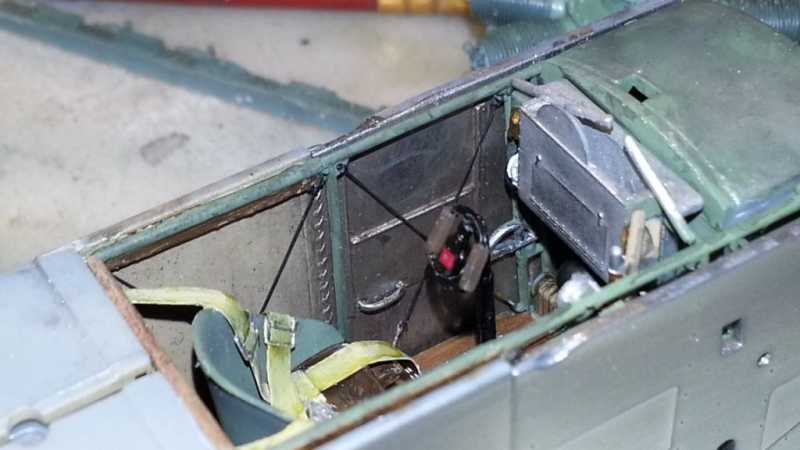
Here's one of my attempts at the squiggly stuff on the metal parts.

MM Chrome as a base and I did a couple of techniques for the squiggly, let me know which you like best. I can tell I need to get tighter with the squigs...


h645ab7f.jpg


hf30ca6d.jpg


ha51928c.jpg


And dry fit...need to weather the CDL and inside a bit.


hd23cb74.jpg

I got a couple of gauges missing, going to have to find them somewhere. I went to install them but they bellied up.
h42db792.jpg


Hope you likie... :Hiay
 
Very nice. Just a hint, the fuse got very oily on this a/c, moreso than others I have seen. As for the squiggles, not bad looking. I would make them longer thinner though as that was a defining characteristic. So not so short or "dot" like. Looks great Bob, cant wait to see more.
James
 
Thanks James, the dots was one technique, I saw that was not working right away. The second image is probably the one I will go with. What I did there was just the Modelmaster Chrome and the squigs were just clear flat acrylic. That's it. Now I have to figure out how to seal it without loosing the effect.
 
How about it now, dirty enough down in there?

Trying a couple different techniques on the squigglies but all of them kinda got lost in the seal coat and weathering. Got to figure out how to make them more pronounced before weathering. Maybe different tones of metal coats?

haabbb8a.jpg


ha50cc0c.jpg


h0208167.jpg

Big thanks to Taurus Models for getting me some spare parts for the engine. I'm amazed at how delicate these valve lifters are and the fact that I removed them from the pour slab without bustin them! :beer

Very tedious work but I think it's going to pay off. :pilot
 
:hmmm

I'm using Chrome because I want it shiny before weathering so when weathered it's where I'd like it to be. Maybe try adding the squigglies now.
 
Thanks for noticing Chris. I wasn't planning on making new ones, when I cut the first one off the sprue..it disappeared. :facepalm
 
Guess I shouldnt mention Aviattic is coming out with an airfield truck early next year or that Taurus will be doing a fuel cock with sight then huh?? Sort of like this one :evil:

2839356242_4348e52680_s.jpg


James

Cant get it to show properly so look here https://www.flickr.com/photos/landoni/2839356242/in/photostream/
 
Kind of stuck out Bob. Don't rememer ever noticing any in an airplane . Looks like they shopped at Lowes :rotf

Really in awkward placement as well :hmmm

Cheers, Christian B)
 
Back
Top