• Modelers Alliance has updated the forum software on our website. We have migrated all post, content and user accounts but we could not migrate the passwords.
    This requires that you manually reset your password.
    Please click here, http://modelersalliance.org/forums/login to go to logon page and use the "Forgot your Password" option.

1/48 scale Bf 109's x 2

Yep I really like that book too, read it a few times when I could get it at our local library in UK. It was on my birthday wish list at Amazon.... may buy it before I begin my G-14 !!

Ian
 
...and even more work done on these models, here the Revell Bf 109G-10 has the wings attached and Mr. Surfacer brushed on the wing roots.
The tail planes will not be added until after painting is finished, the fin and rudder will have a specific camouflage pattern painted on them as well as the tail plane. Painting these parts separately will be much easier to do.
Also in these in-progress pictures two of the propellers have been assembled and weathering on them is being done.

h888e715.JPG


h1e387e9.JPG

The red arrow in the above image is to show where I snapped the upper wing in half whilst trying to remove a slight warp in it...that old plastic is quite brittle! :eek:hmy:

Matrixone
 
Thanks James and Plastic Smurff,

James,
The wing snapping in half caught me off guard, I barely put any bending pressure on it when it broke. Maybe plastic this old gets brittle with time, I have had this kit since the early 1980's.


This Revell Bf 109G-10 U/4 kit will be getting a complicated paint scheme of a Bf 109 pictured in one of my JaPo books and it will take some planning to pull this one off but will make for an interesting looking model.

Matrixone
 
Good job at fixing it Les, mishaps like that set you back, but as long as it's fixed properly, back on track :good:
 
Thanks guys!
No real harm done here, the parts went back together well enough and with a lick of Mr. Surfacer and some sanding all is well. If only the problems I had with the Meng Me 163 were this easy to mend! :blush:


Matrixone
 
Thank you Luiz,
The props will look much better after some flat clear is sprayed on to knock off some of the gloss.

On the back of the propeller blades a lot more of the paint is missing, if you have seen very many photographs of late war German fighters with metal propellers many of them show more paint chipping and wear on the back of the blades than the front.

The photographs below are not the best examples of wear and tear on the back of the prop blades but if you look closely its there.


h37a064b.jpg


Matrixone
 
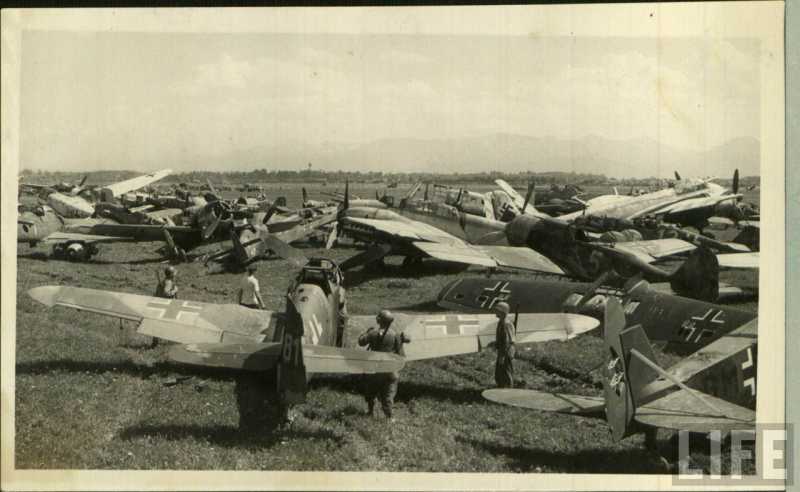
Some in-progress pics of what has been done lately on the 109's and a painting demonstration.

First the demonstration, the following is how to easily paint the stencil applied mottling seen on many late war 109's with the tall tail and even a few Me 262s.
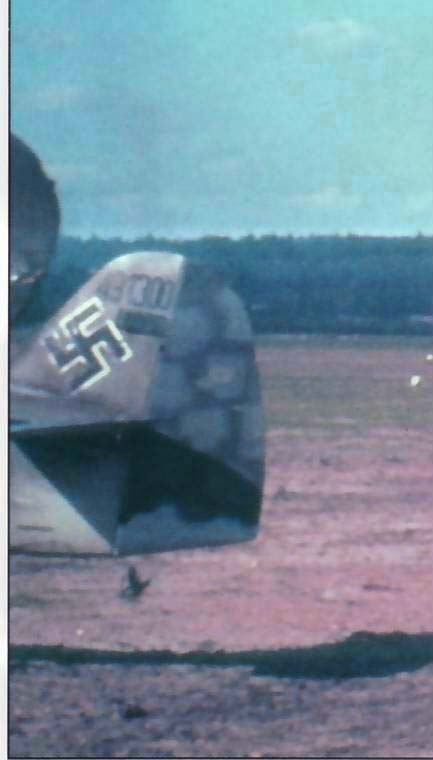
Here is a good example of the stencil applied mottling on a 109.
hfd2dbbd.jpg

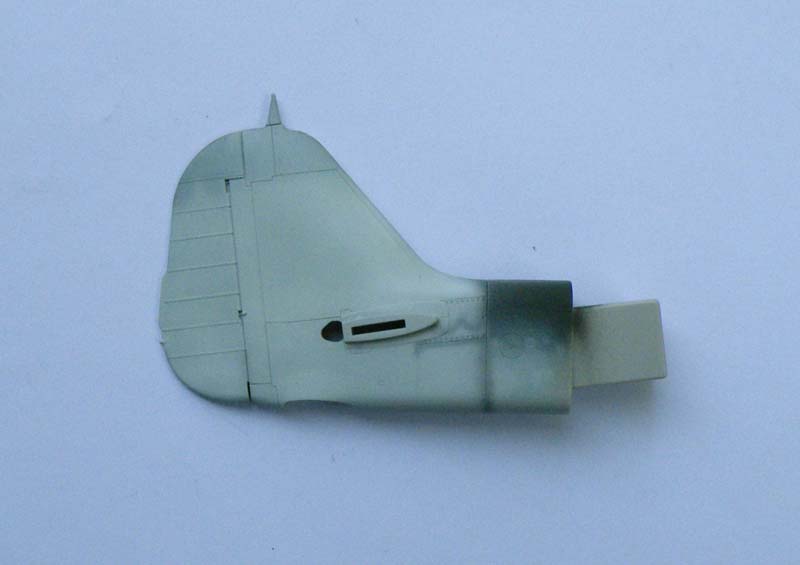
For this demonstration I am using an unused Fw 190D-9 tail from the 1/32 scale Revell kit and has been given a base coat of RLM 76.

h797078a.JPG

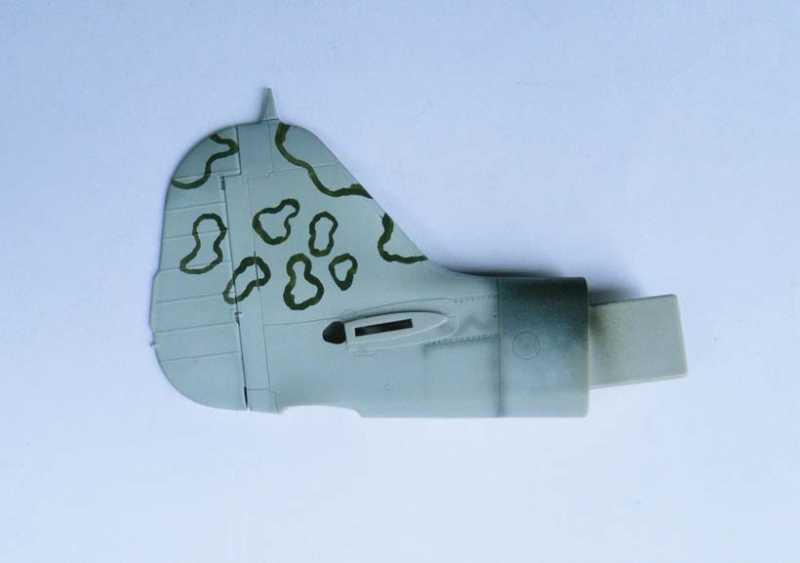
Next the outline of the mottles were put on with a paint brushand dark green RLM 83.

hfafeb84.JPG


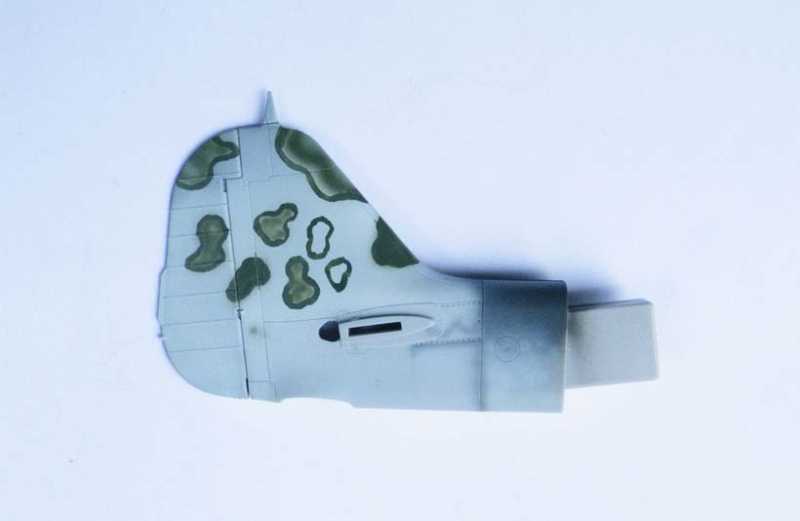
The same RLM 83 paint was loaded into the airbrush and I started filling in the center of the mottles.

ha447eb6.JPG

The mottles have been filled in, the red arrows show where I sprayed the paint slightly outside of the lines, I did this to show how easy it is to replicate the effect of the stencil being lifted up slightly and leaving lines that had a slightly soft edge. After looking at some photographs of the 109's with the stencil applied mottle patterns and on some of them the edges were slightly soft edged.

h7aa05ac.JPG

The above technique works perfectly for painting the 109 (and Me 262) tails but would also be ideal for painting WWII RAF camouflage patterns in 1/72 scale... you could easily paint the hard edge patterns or the slightly feathered demarcation lines and by using this painting technique you save a ton of time by avoiding masking and then painting. :dance
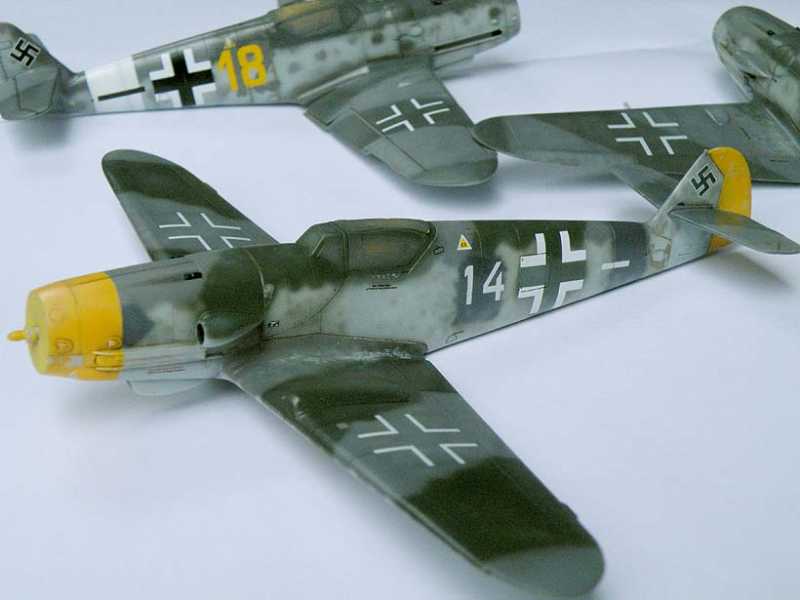
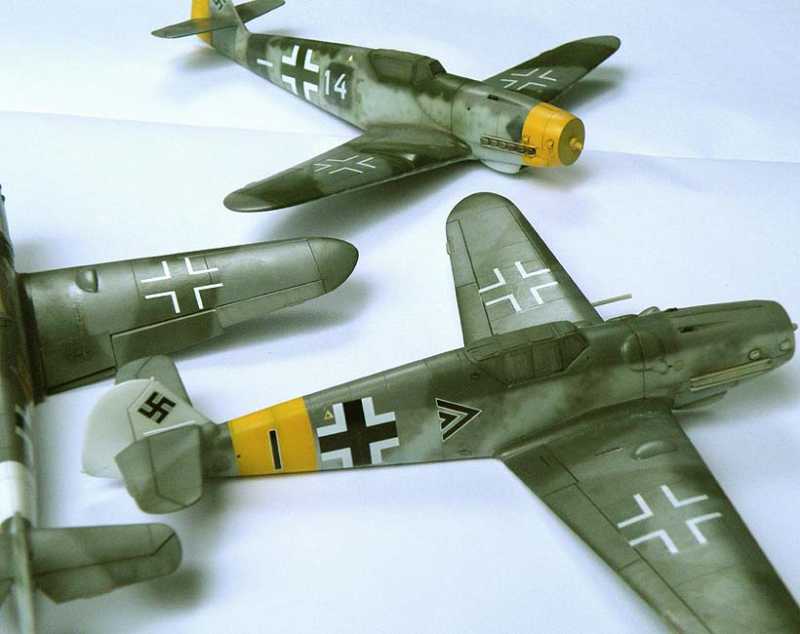
Now...to the 109's
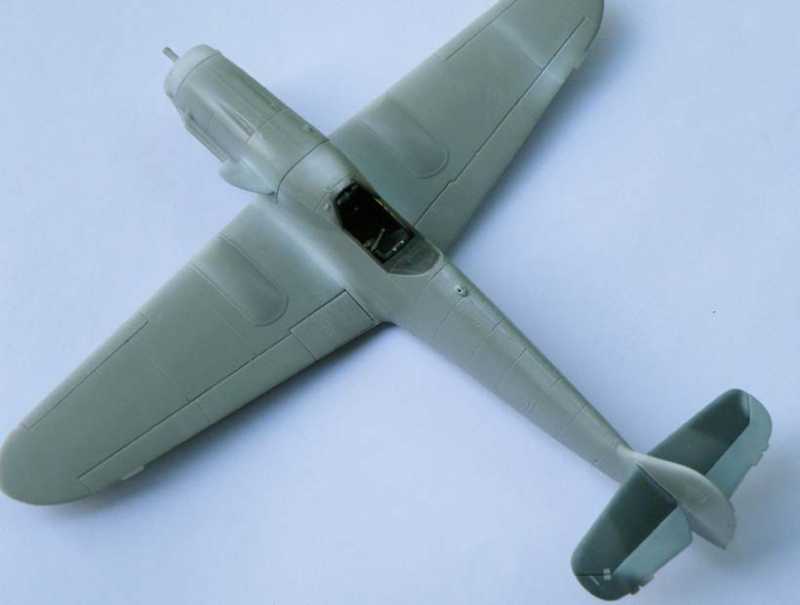
The Revell kit is being painted as one of the 109's I spotted in one of my JaPo books and it has a very distinctive painted tail, here are the tail planes after painting and they are pretty much spot on. The odd painting on them might be from re-painting after repairs were done or perhaps they were taken from another 109 to keep it serviceable. The tail planes have not been glued in yet.

h914e1b7.JPG

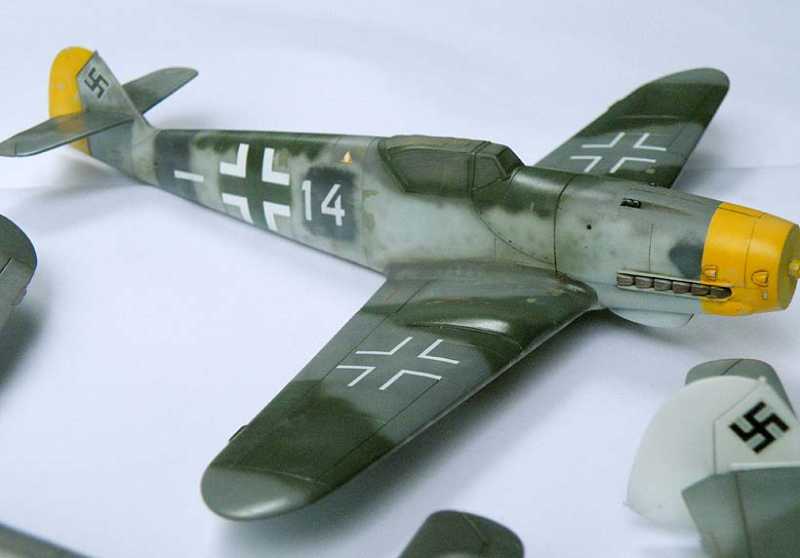
Here is the airframe. The tail planes will not be glued on until after the airframe is painted, the fin/rudder will get the late war stencil applied mottle similar to my painting demonstration above.

hd554bd8.JPG


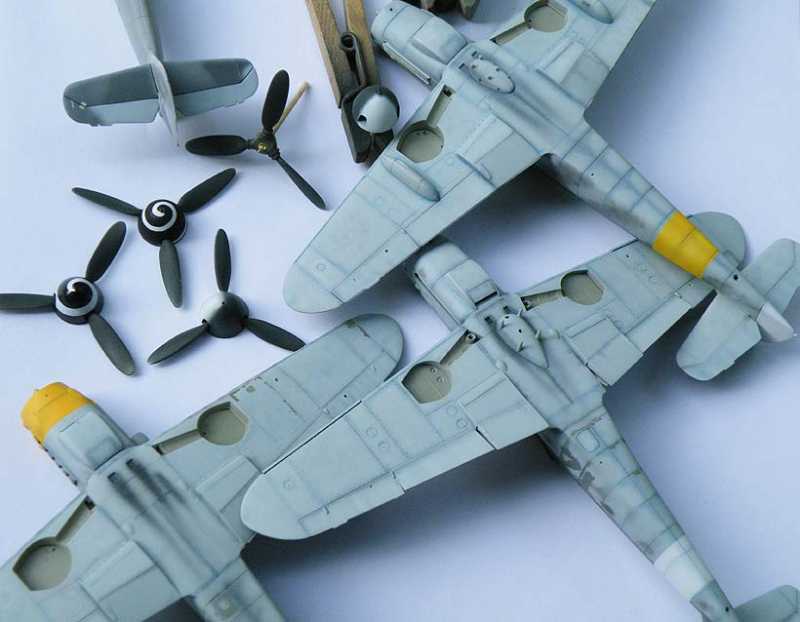
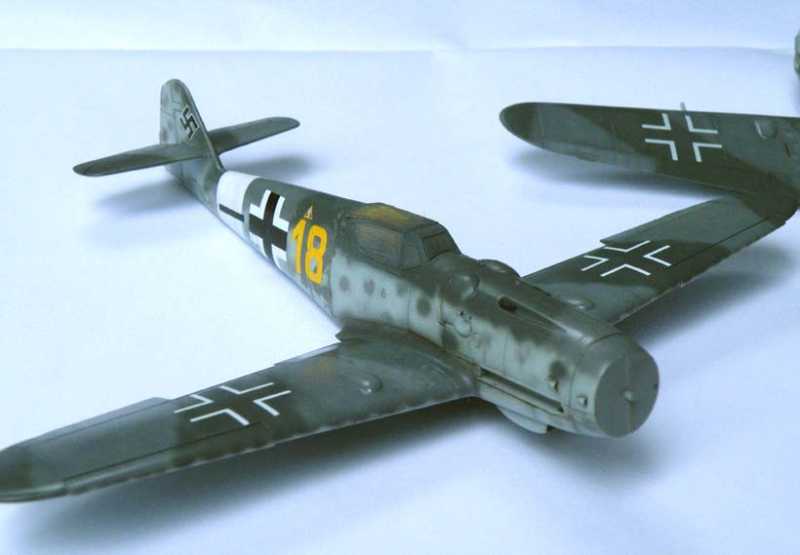
The other 109's have had their wheel wells painted RLM 02.

he7cddb1.JPG


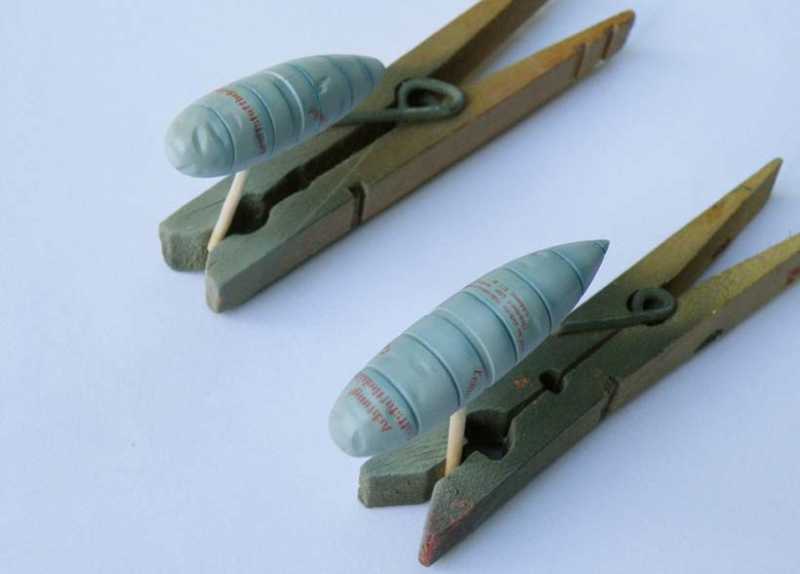
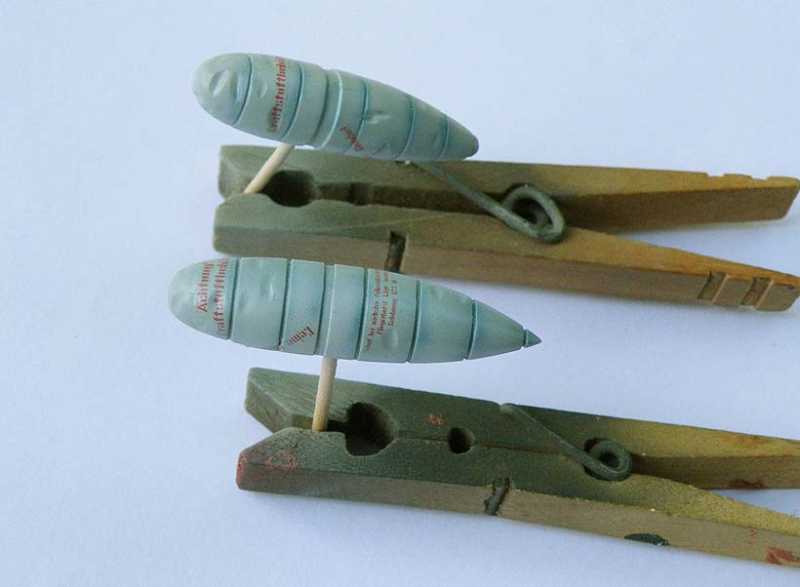
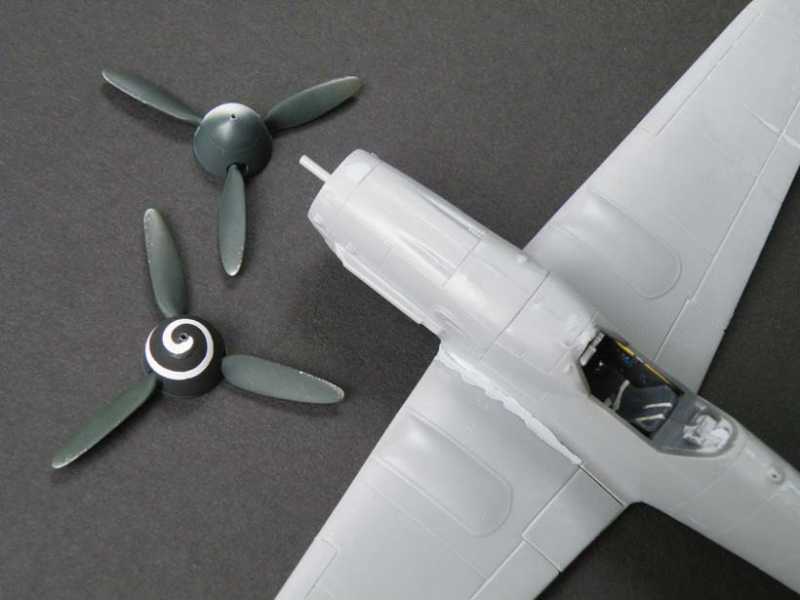
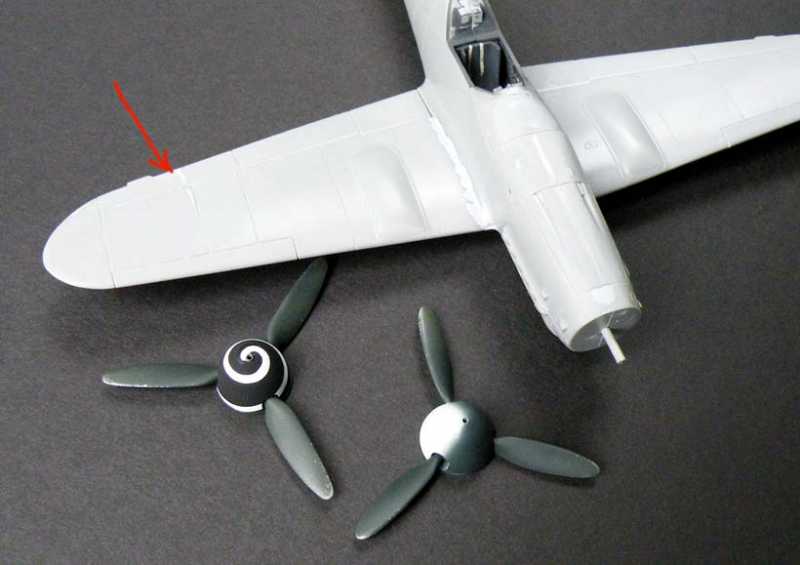
And here are the drop tanks after the decals have been put on and the decals have been lightly oversprayed with highly thinned RLM 76.

h837229c.JPG


hc6bdaaa.JPG


Matrixone
 
That's pretty cool Les but I'm sure you can appreciate them using stencil after that much airbrushing. you ever have problem with brush strokes?
 
Thanks guys, much appreciated. :)

Bob,
During the last months of the war the tail assembly of the 109's were constructed of wood and were built by sub-contractors, some contractors painted the tails with the usual mottle pattern sprayed free-handed with a spray gun, other contractor(s) used the stencil method. Using the stencil would make the most sense so as to ensure the exact camouflage pattern was followed while at the same time speeding up production.
Below is a color photograph of a 109 tail painted using stencil, the colors look to be non-standard as well as the pattern, the wavy RLM 76 looks to be from known stencil patterns.
h47a1436.jpg


Not sure of your question about brush strokes but I can be very sure I don't like painting with the hairy sticks. I prefer to airbrush as much of my models as practical.


Matrixone
 
More work done on three of the Messerschmitt's, the gloss coat of Future has been applied and the decals are now on. Some work with oil paints has been done too but there is still a little more to go before I am finished with that stage of weathering.

Bf 109K-4
he28b8a4.JPG


h7c83aa6.JPG


Bf 109G-14

hda8a74e.JPG


h17d71d2.JPG


Bf 109G-6

h6418c9b.JPG


h2a5a9f3.JPG


The Revell Bf 109G-10 is on hold until I get these three 109's out of the way.


Matrixone
 
Back
Top