ausf
Master at Arms
Okay Bob, I went back and looked at your Eindecker (don't know how I missed it the first time) and I wish I saw it before I started, I could have used a lot of that info going into this one. Although if I did, I might have tried some of your detailing, then this would've ended up boxed. Here all along I though the pencil line wood pattern was my brilliant idea (or at least until you mentioned it earlier). That build is inspiring.
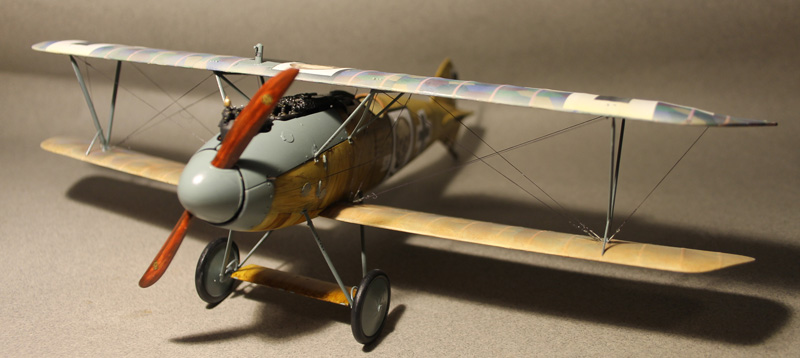
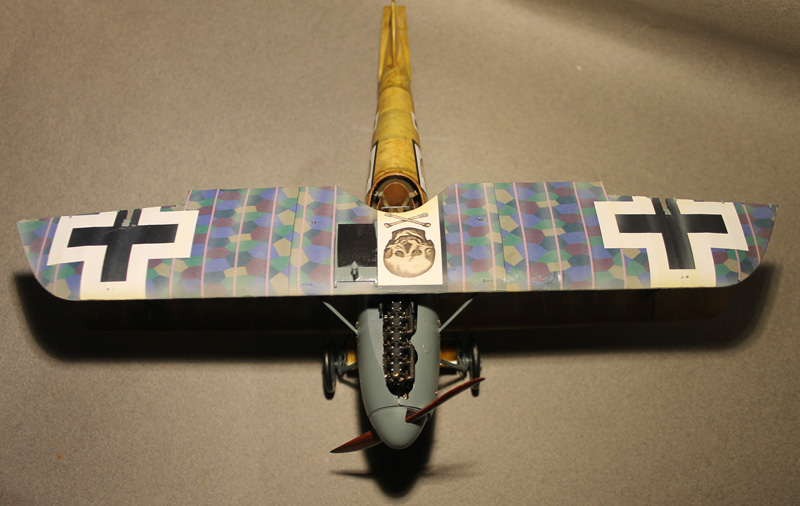
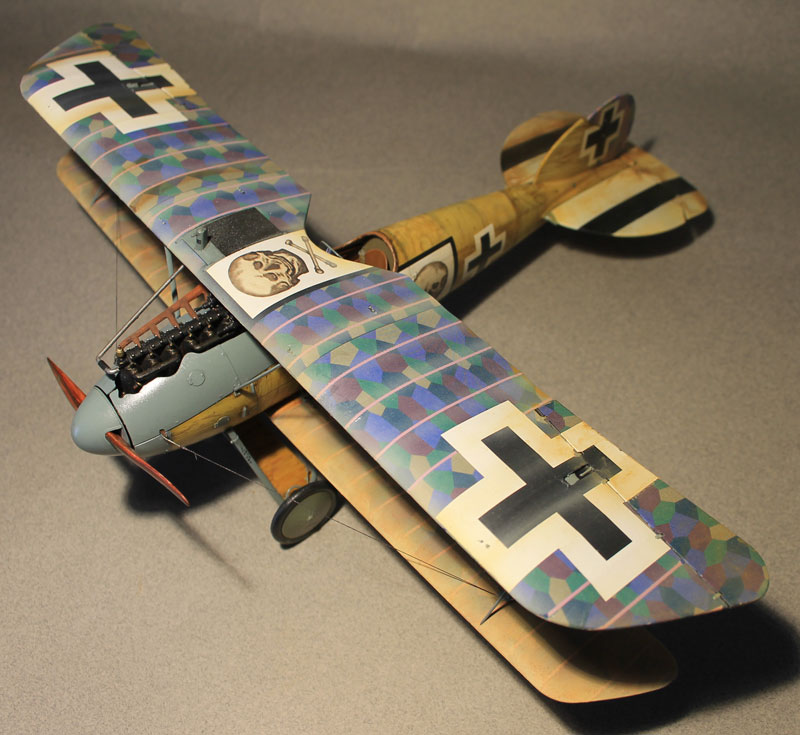
I really had/have no idea how to pull off a fading effect over lozenge decals, I'd be much more comfortable with a painted wing, but here I am. My original idea was to paint this as the first red-washed Red Baron, stain-like over wood (no idea whatsoever about accuracy of plane or anything else) but when I cracked the kit and saw what they offered in terms of their research, I had to go with what they did.
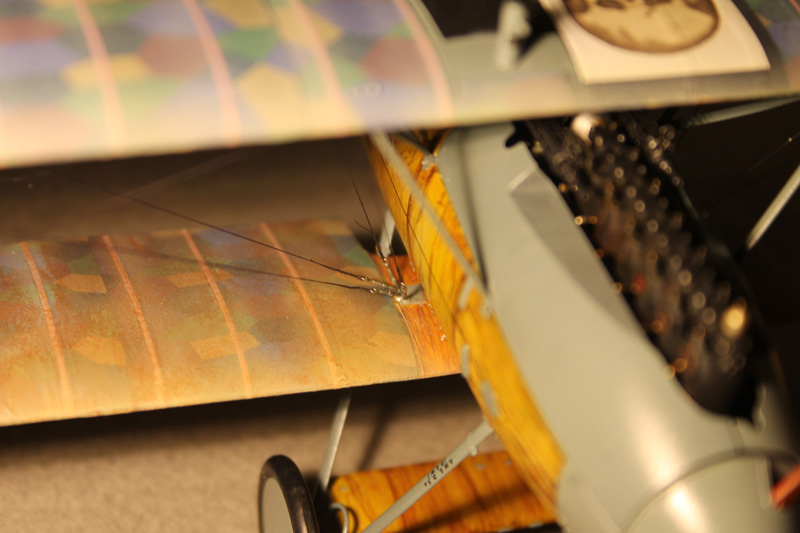
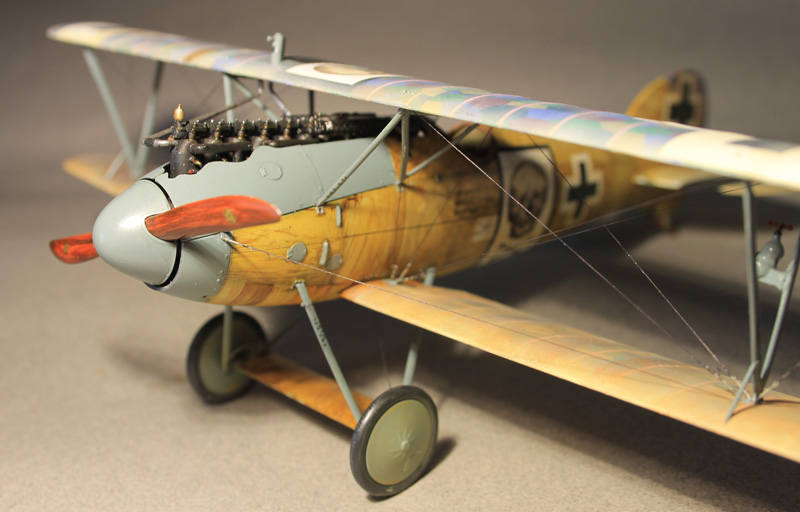
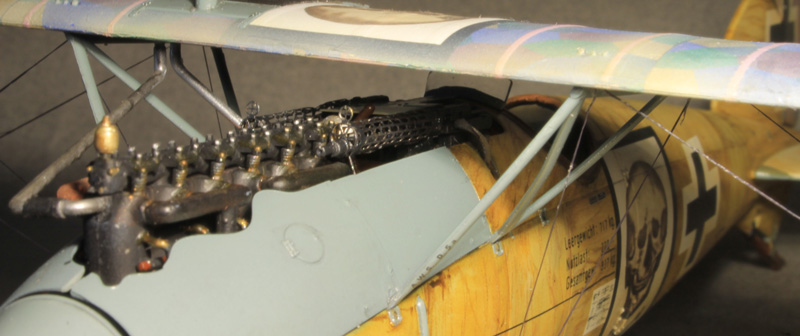
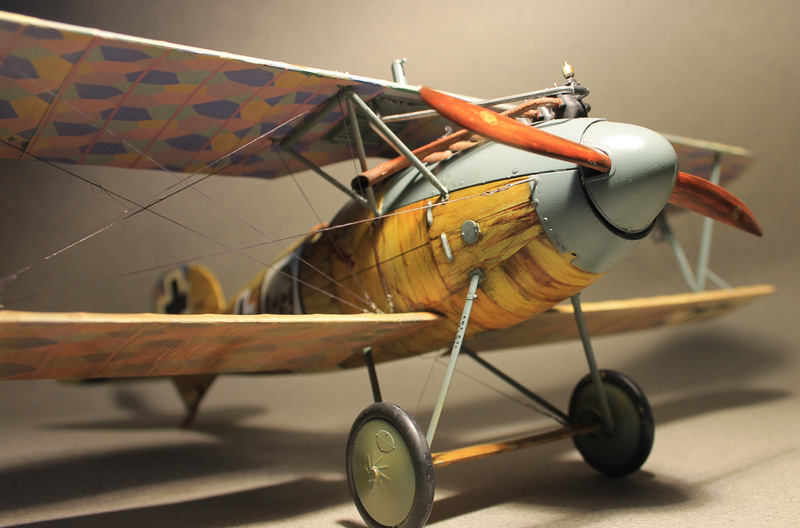
I was also thinking about some oil dripping from between the panels around the engine compartment as well as some running back, but I think it would get lost in the wood grain. Did this type of engine throw oil like the Eindecker?
Tom, I hear you on knocking down the blindingly white decal. I can't sink it further, it's Futured in place, but it's pretty deep in the lines, I Sol'ed it a few times. I didn't think of slicing the decal in the lines, I only did it where I need to eliminate a bubble. I'll certainly use that on future builds. I'll still wash the panels as well as some dry brushing of hardware, etc. That dark line leading into the decal is actually a decal itself, not a recess. Don't know why or what it serves, but that's what the directions directed. I do appreciate the points made. I'm hoping that just a lightly colored matte finish with knock down the brightness, then some dry pigment faded up from the bottom.
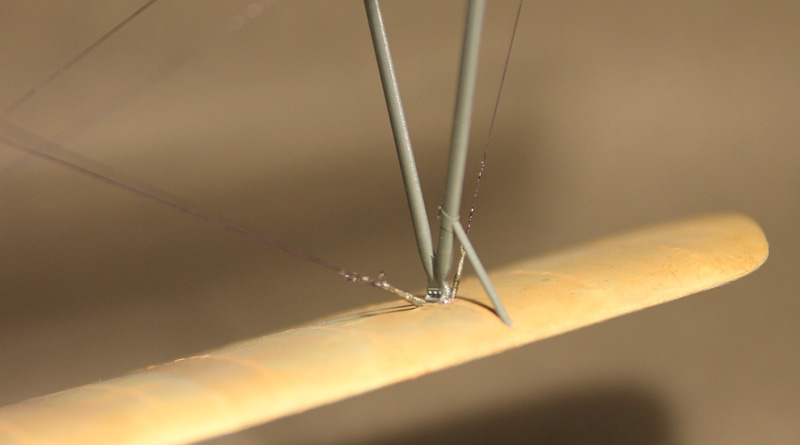
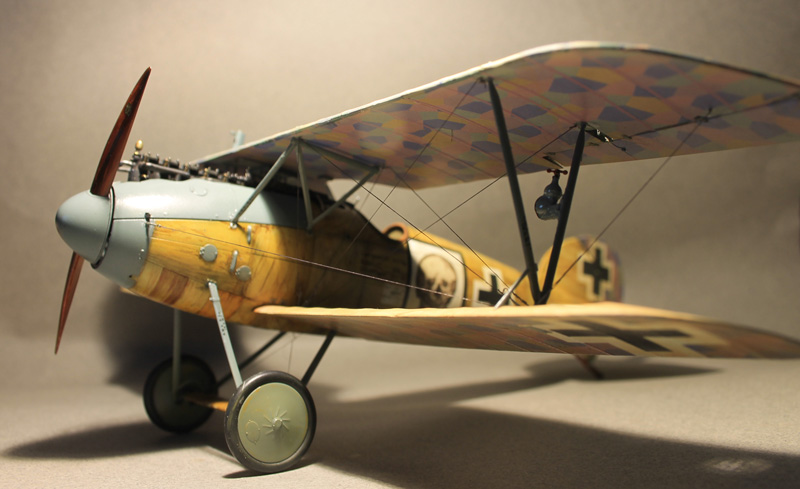
James, I don't think there is a problem with the upper wing on this kit, I don't think the lowers have enough dihedral. I had a nasty time setting the upper, all the while expecting something to snap. I couldn't get the outboard cabanes to meet long enough to set some tape for the glue to set. Out of frustration, I just started pouring CA everywhere and it finally held. I really thought it was over there for a while. Between the pitch of the upper wing compared to the lower and the lower dihedral issue, it's a bear to set. There's little room for error with those support parts, if ever there was a need to metal AM pieces, this is it. LG too, when I put the model down, it dances for about 20 seconds before it settles.
I really had/have no idea how to pull off a fading effect over lozenge decals, I'd be much more comfortable with a painted wing, but here I am. My original idea was to paint this as the first red-washed Red Baron, stain-like over wood (no idea whatsoever about accuracy of plane or anything else) but when I cracked the kit and saw what they offered in terms of their research, I had to go with what they did.
I was also thinking about some oil dripping from between the panels around the engine compartment as well as some running back, but I think it would get lost in the wood grain. Did this type of engine throw oil like the Eindecker?
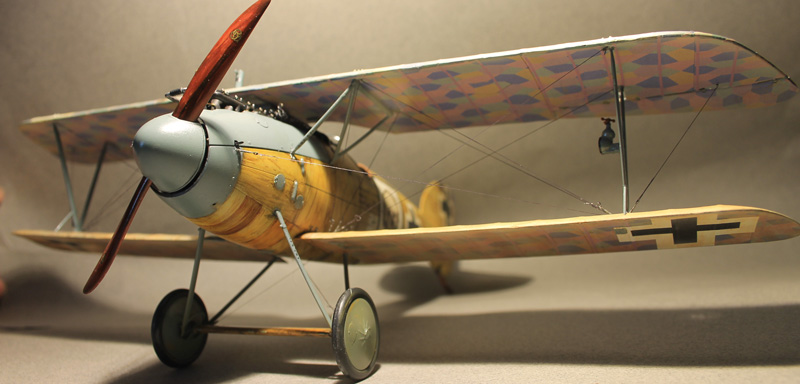
Tom, I hear you on knocking down the blindingly white decal. I can't sink it further, it's Futured in place, but it's pretty deep in the lines, I Sol'ed it a few times. I didn't think of slicing the decal in the lines, I only did it where I need to eliminate a bubble. I'll certainly use that on future builds. I'll still wash the panels as well as some dry brushing of hardware, etc. That dark line leading into the decal is actually a decal itself, not a recess. Don't know why or what it serves, but that's what the directions directed. I do appreciate the points made. I'm hoping that just a lightly colored matte finish with knock down the brightness, then some dry pigment faded up from the bottom.
James, I don't think there is a problem with the upper wing on this kit, I don't think the lowers have enough dihedral. I had a nasty time setting the upper, all the while expecting something to snap. I couldn't get the outboard cabanes to meet long enough to set some tape for the glue to set. Out of frustration, I just started pouring CA everywhere and it finally held. I really thought it was over there for a while. Between the pitch of the upper wing compared to the lower and the lower dihedral issue, it's a bear to set. There's little room for error with those support parts, if ever there was a need to metal AM pieces, this is it. LG too, when I put the model down, it dances for about 20 seconds before it settles.
") ).
).