
-
Modelers Alliance has updated the forum software on our website. We have migrated all post, content and user accounts but we could not migrate the passwords.
This requires that you manually reset your password.
Please click here, http://modelersalliance.org/forums/login to go to logon page and use the "Forgot your Password" option.
- Home
- Forums
- Current Campaigns
- Past Campaigns
- Finished Campaigns
- 2016 Campaigns
- Deja Vu All Over Again
You are using an out of date browser. It may not display this or other websites correctly.
You should upgrade or use an alternative browser.
You should upgrade or use an alternative browser.
Piaggio-Pegna P.C.7
- Thread starter sharkman
- Start date
sharkman
Master at Arms
Painted the bling bling!!
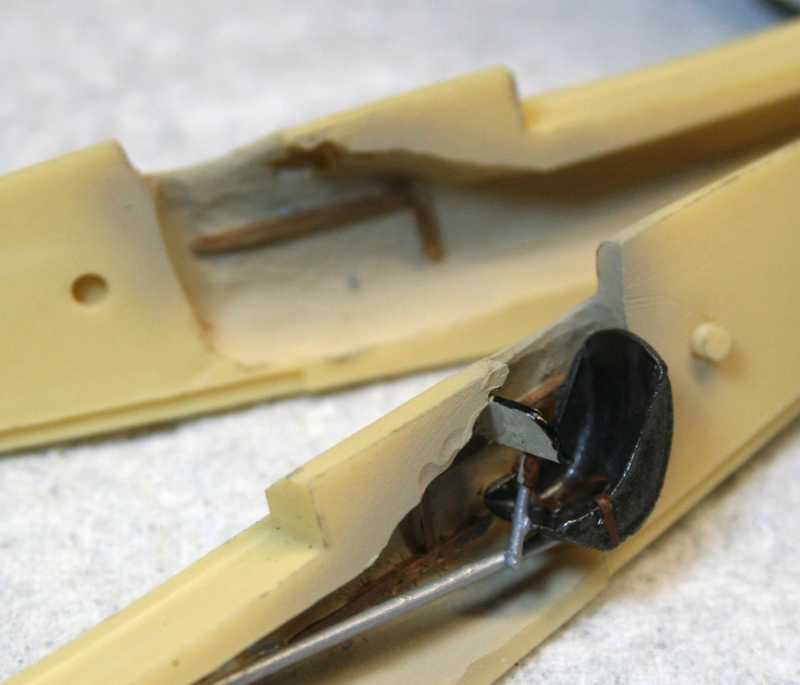

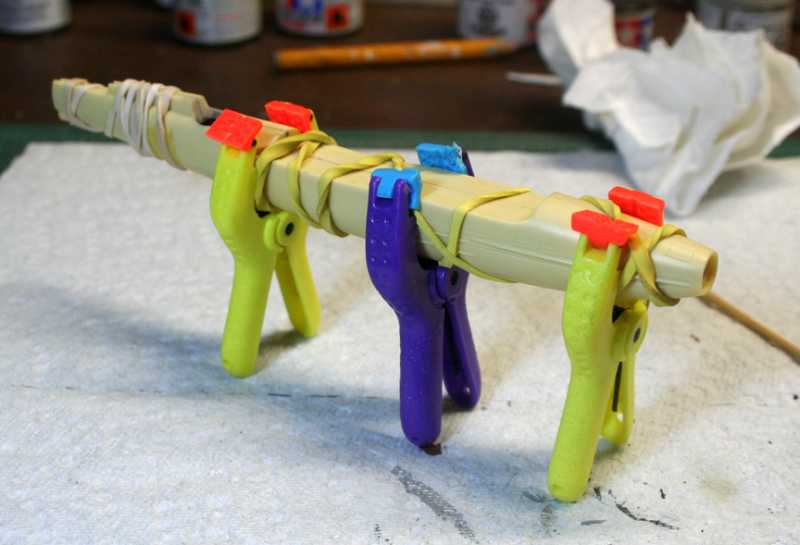
And buttoned up the fuse/hull! All wrapped up in resin and super glue!!! :gogo
Ok, a question for all you modeling gurus out there!!!
White metal parts!!! What else should I do to prep them except sand them and clean them up???

You can see there are some mold lines I can't seem to get rid of..
:hmmm
And buttoned up the fuse/hull! All wrapped up in resin and super glue!!! :gogo
Ok, a question for all you modeling gurus out there!!!
White metal parts!!! What else should I do to prep them except sand them and clean them up???
You can see there are some mold lines I can't seem to get rid of..
:hmmm
"I'm with you fellers." 
sharkman
Master at Arms
Thanks guys! I started attacking those parts with my files and already have some better results. I'll work more on this! 
But...It's a race to the finish!!! (for me anyway!)
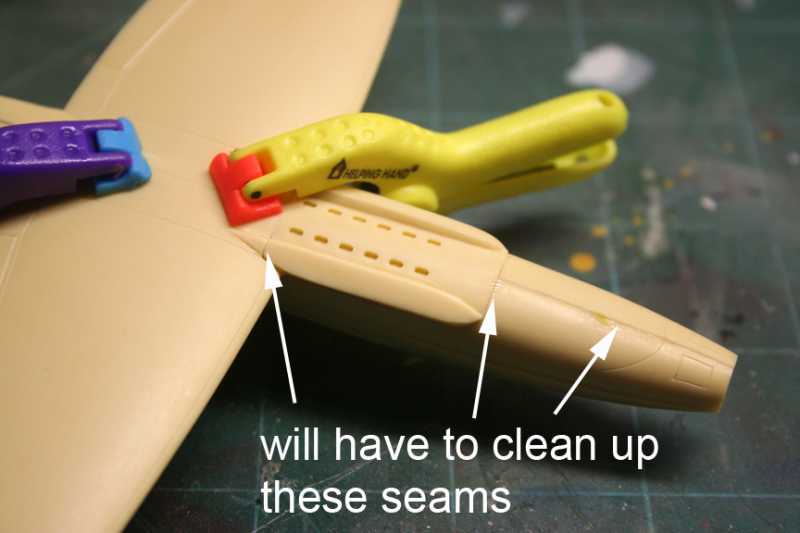
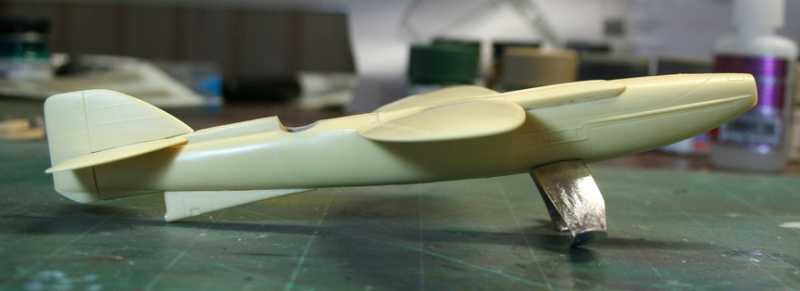
Got the main wing on!

The rear skeg
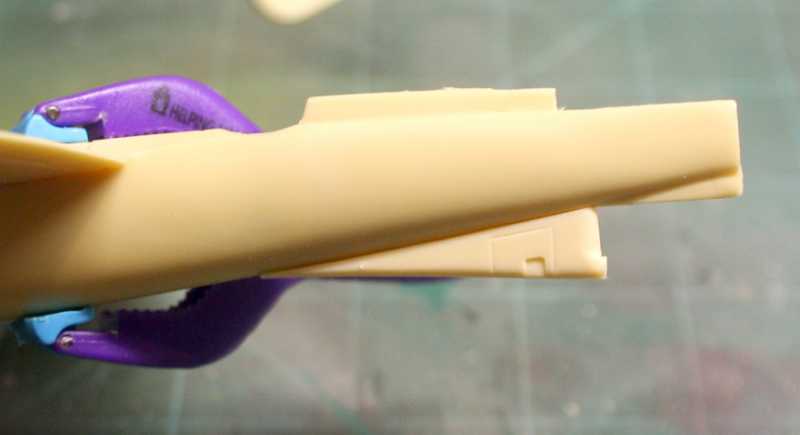
and the engine cover. there won't be a lot to clean up on this kit! the resin is beautiful and for the most part, fits like a glove!
The tail is just sitting in place at the moment, but she's starting to come together!! :drool

But...It's a race to the finish!!! (for me anyway!)
Got the main wing on!
The rear skeg
and the engine cover. there won't be a lot to clean up on this kit! the resin is beautiful and for the most part, fits like a glove!
The tail is just sitting in place at the moment, but she's starting to come together!! :drool
sharkman
Master at Arms
A lot of work tonight, though mostly sanding, filing and fitting pieces!
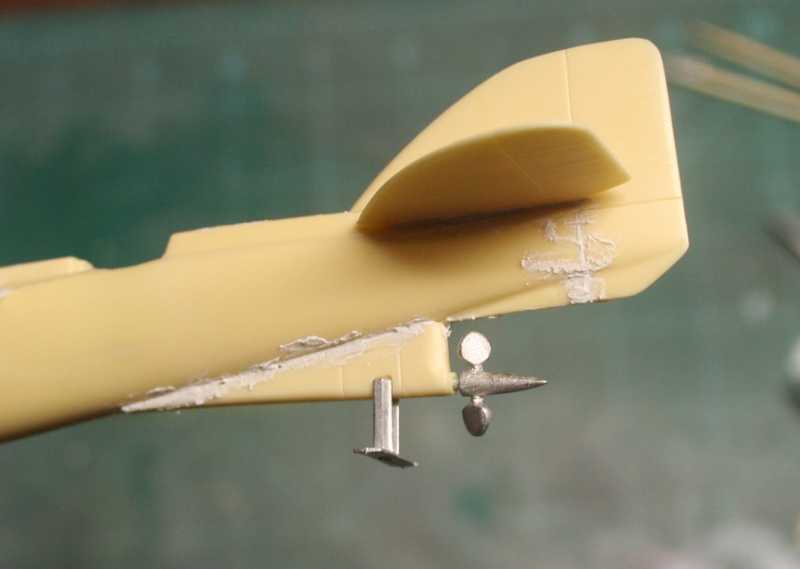
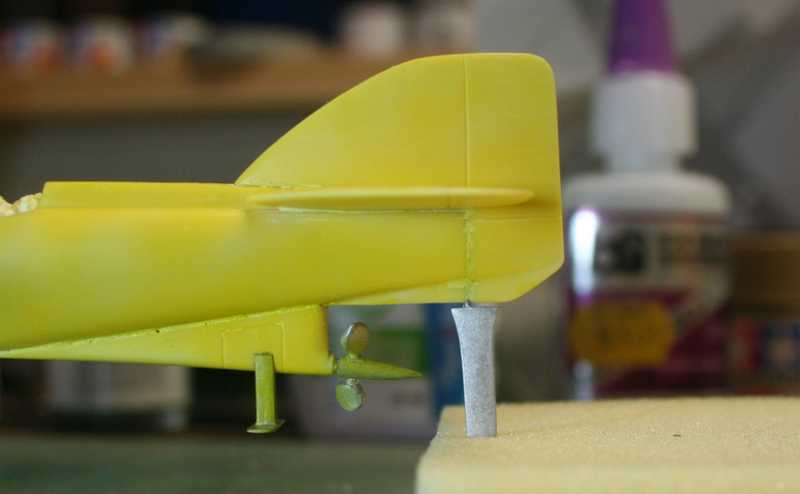
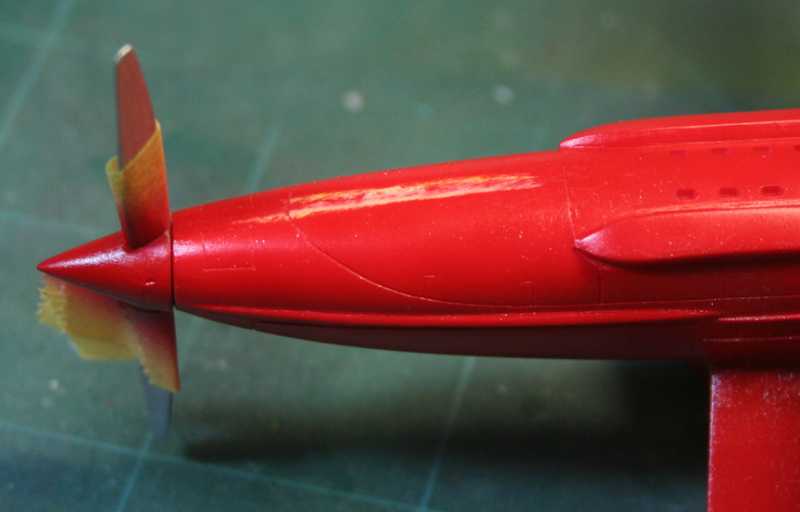
The prop is a 4 part affair, a retaining bushing, a pin, the outer bushing and the prop.
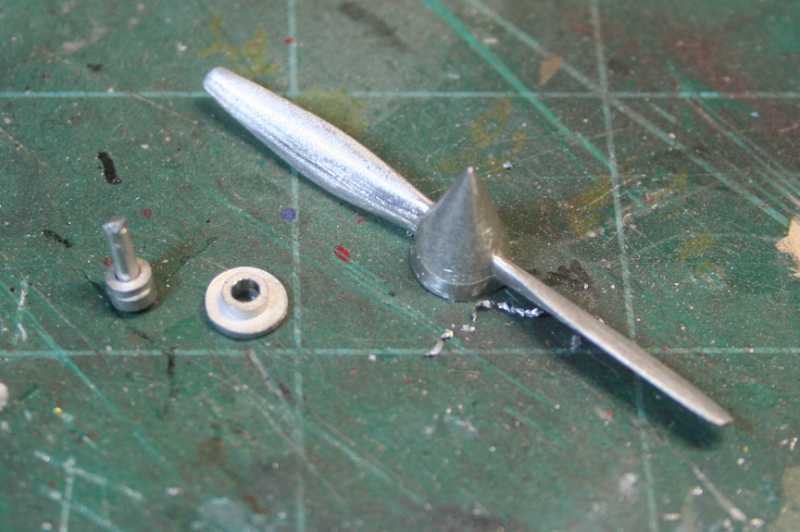
ca'd the bushing on the pin and then drilled out the prop a bit and cut the pin down a little so it will make a tight fit when glued to the fuselage.

it'll fit neatly in the front


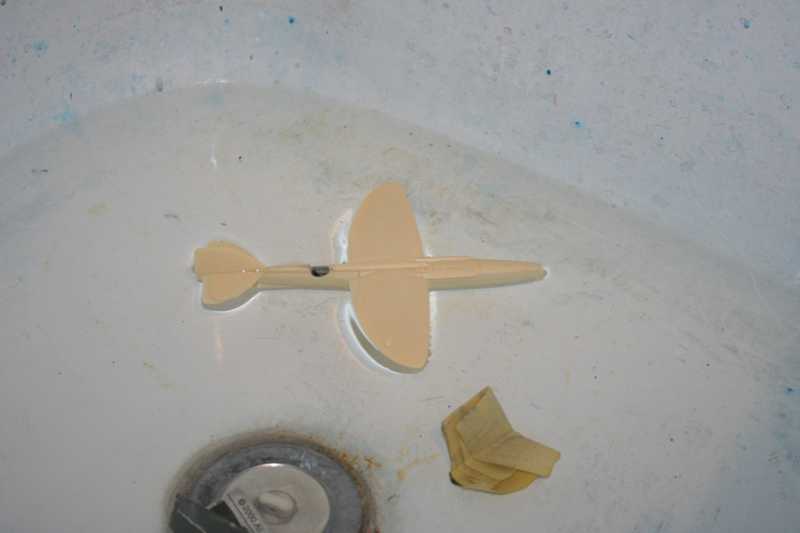
I've also been doing some wet sanding on the body and the metal pieces tonight. Found out that it actually floats like the real thing!
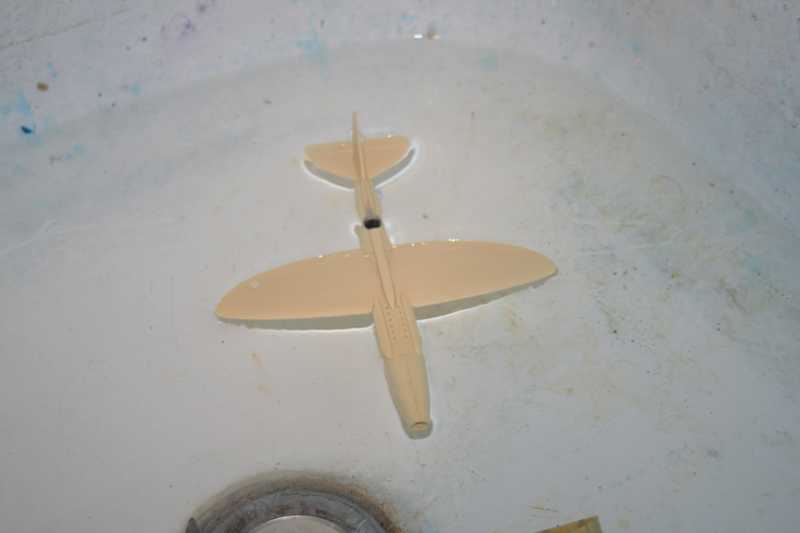
once the first round of sanding was down I added some filler. Every great model needs some!!
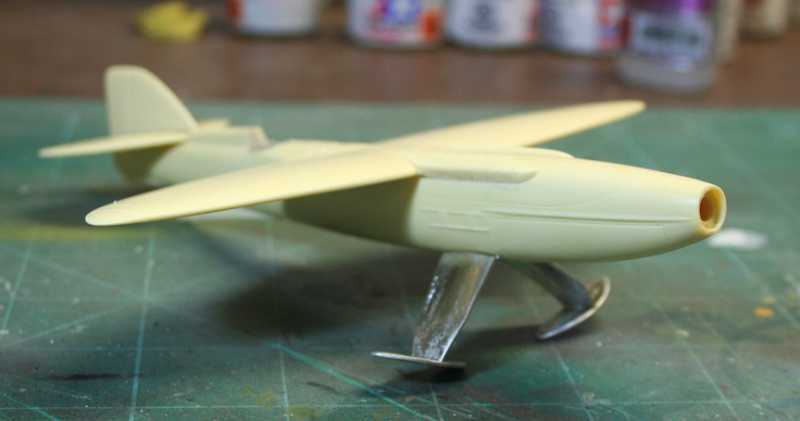
Then on to fitting some of the rest of the parts, had to drill out the skeg for the other prop!
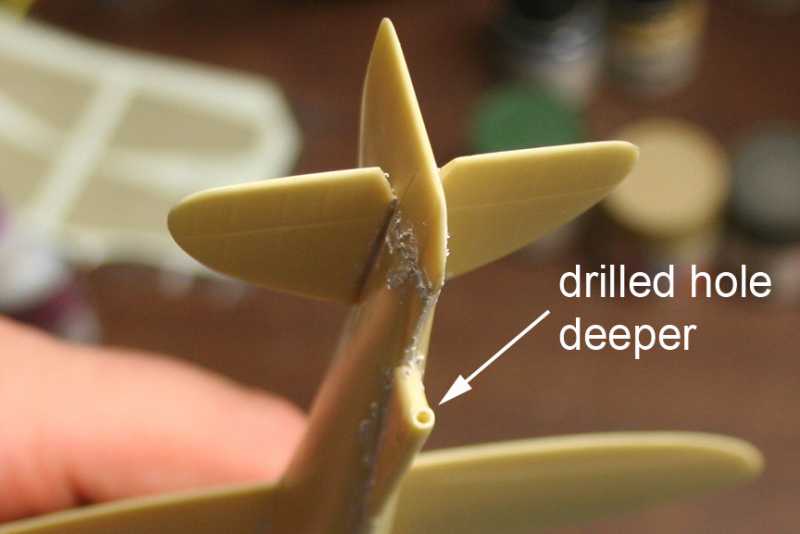

and test fit the rear foil
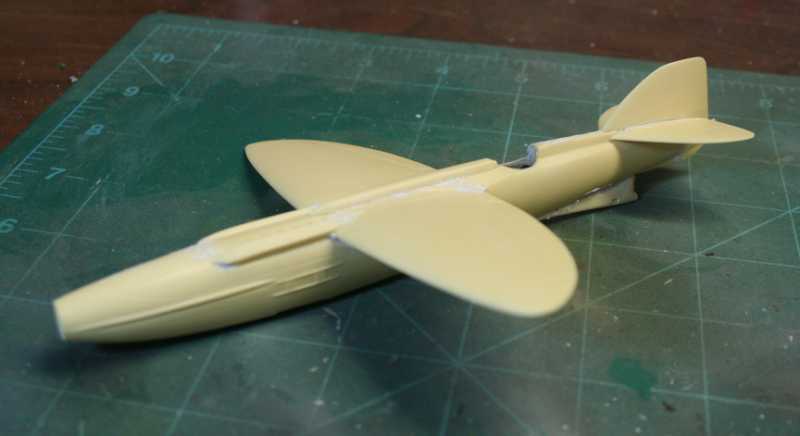
So, here how she sits mocked up minus the rudder, wind screen and exhausts, while I wait for the putty to dry!

should have it close to paint time by tomorrow! :coolio
The prop is a 4 part affair, a retaining bushing, a pin, the outer bushing and the prop.
ca'd the bushing on the pin and then drilled out the prop a bit and cut the pin down a little so it will make a tight fit when glued to the fuselage.
it'll fit neatly in the front
I've also been doing some wet sanding on the body and the metal pieces tonight. Found out that it actually floats like the real thing!
once the first round of sanding was down I added some filler. Every great model needs some!!
Then on to fitting some of the rest of the parts, had to drill out the skeg for the other prop!
and test fit the rear foil
So, here how she sits mocked up minus the rudder, wind screen and exhausts, while I wait for the putty to dry!
should have it close to paint time by tomorrow! :coolio

Very nice Warren, That Prop is outstanding !!! now quit playing in the tub and get it painted ...
I CORNCUR!!!
That's so cool! 
randy_ditton
Master at Arms
Hi Warren,
Great job building this one, a lot of different materials you have here
Randy
Great job building this one, a lot of different materials you have here
Randy
sharkman
Master at Arms
Been at this the last two evenings and have a few more updates!
Nov. 28th....
I've been hard at work filling and sanding. I tried Chuk's suggestion to use Liquid Paper for some of the smaller seams and it seemed to work fine!

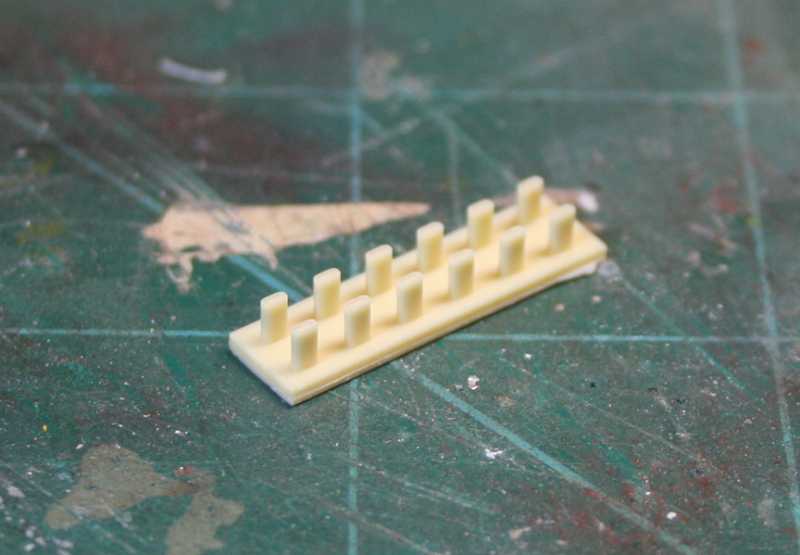
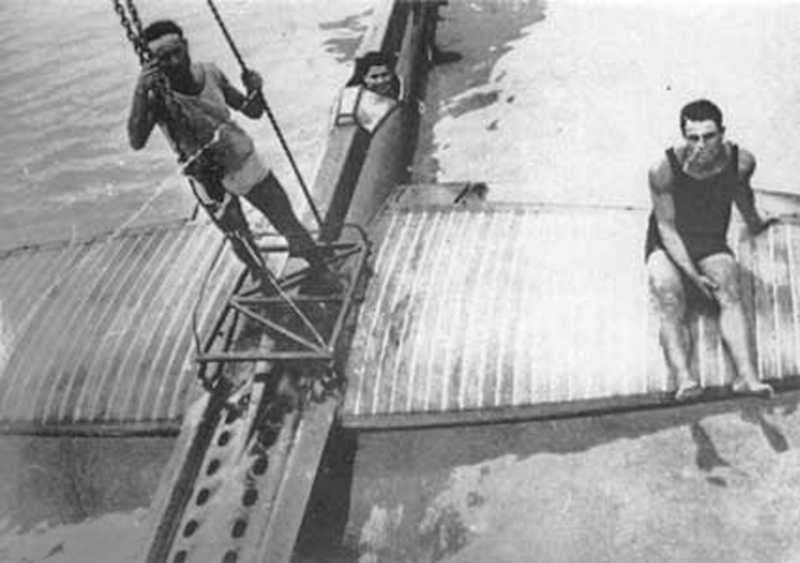
These little exhaust stacks came with the kit but I think I am going to exclude them. I did find a couple reference images that seems to show them but the main images of the test on the lake looks like the craft didn't have them.

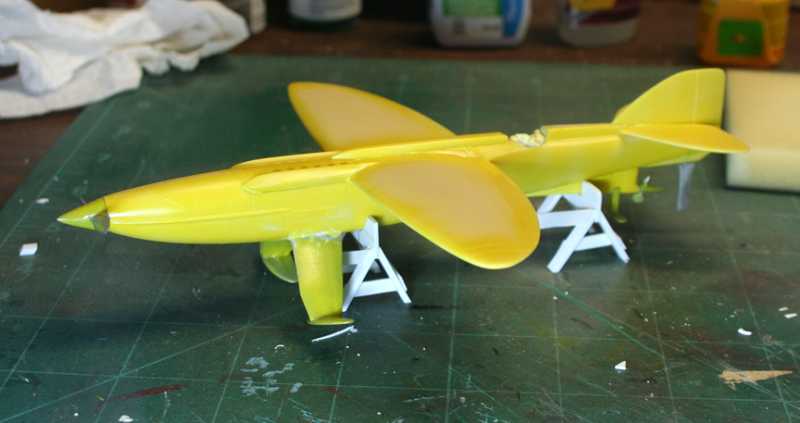
I had read somewhere that if you want a really nice red finish, you should prime in yellow so.....
Banana boat!!

Nov. 29th....
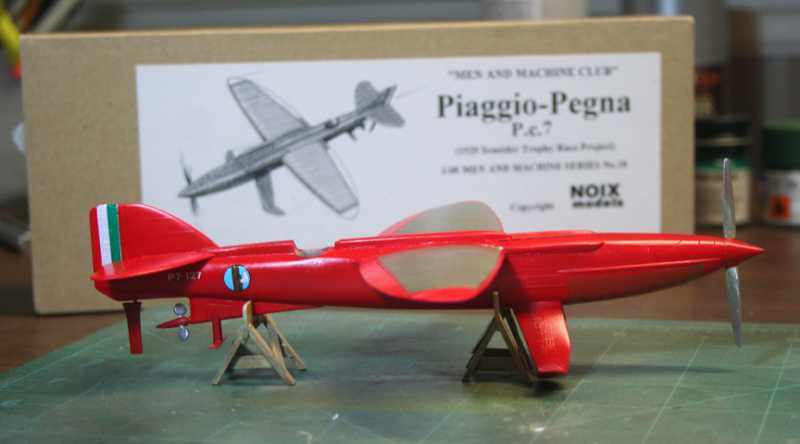
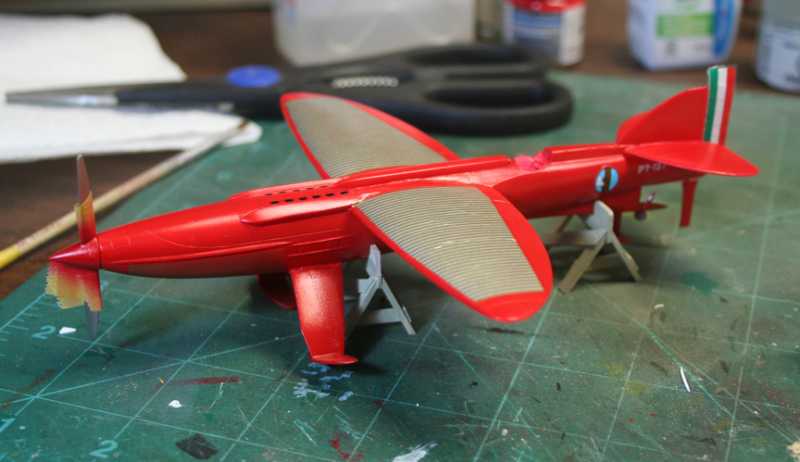
I added the last piece tonight, the rear rudder. Just drilled out a small hole and attached it.
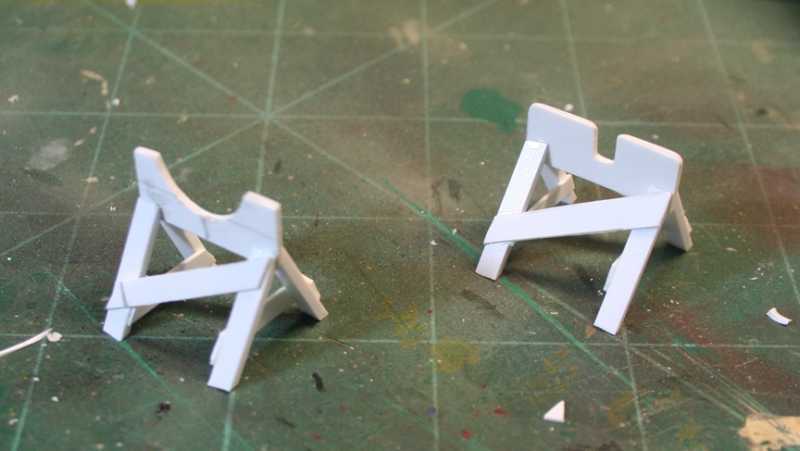
Started to work on a couple wooden stands to support my little sub/plane!
and finally gave it a nice red colour. i used ModelMaster acrylic Guards red.

So, I still have a bit to do but I have all evening tomorrow to work on it. Let's see what happens!!
:frantic
Nov. 28th....
I've been hard at work filling and sanding. I tried Chuk's suggestion to use Liquid Paper for some of the smaller seams and it seemed to work fine!
These little exhaust stacks came with the kit but I think I am going to exclude them. I did find a couple reference images that seems to show them but the main images of the test on the lake looks like the craft didn't have them.
I had read somewhere that if you want a really nice red finish, you should prime in yellow so.....
Banana boat!!
Nov. 29th....
I added the last piece tonight, the rear rudder. Just drilled out a small hole and attached it.
Started to work on a couple wooden stands to support my little sub/plane!
and finally gave it a nice red colour. i used ModelMaster acrylic Guards red.
So, I still have a bit to do but I have all evening tomorrow to work on it. Let's see what happens!!
:frantic
sharkman
Master at Arms
And it's.......
Not going to be finished!
I only have 40 min left with 3 more decals to add, the windshield, a bit of a panel wash and any final touch ups. Can't do it without chancing ruining it.
Here's how she looks so far
Had to sand some spots on the fuselage that needed a touch up, painted the inner parts of the wings silver, painted the work horses, touched up the body with more red then started adding decals. Really thought I could get it done tonight but oh well!!
:smack
sharkman
Master at Arms
Piaggio Pegna P.C.7...going for last place!!
Well, I wasn't able to get it in under the wire so let's try and finish it up here!
Started out last evening by masking the upper and lower wings so I can paint them silver.
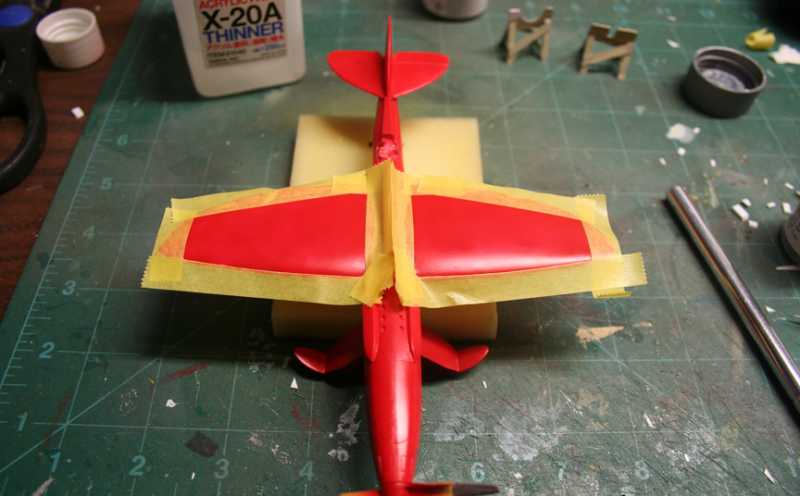
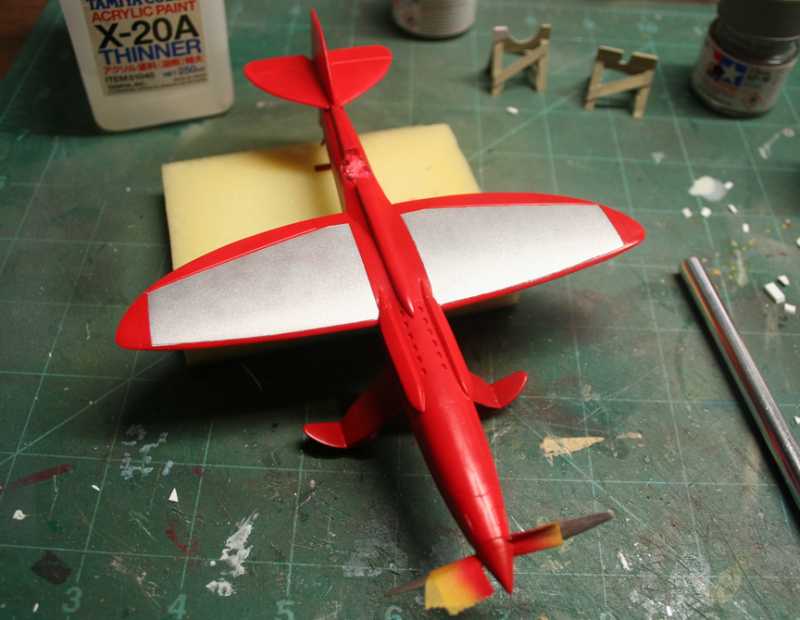
Why, on the original wing had flat tubular water radiators smoothly faired into the wings, like all the other Italian racers at the time. You can see the colour difference in this original pic again.
so, I wanted to try and show that with the decals supplied

decal applied (these worked really well)!
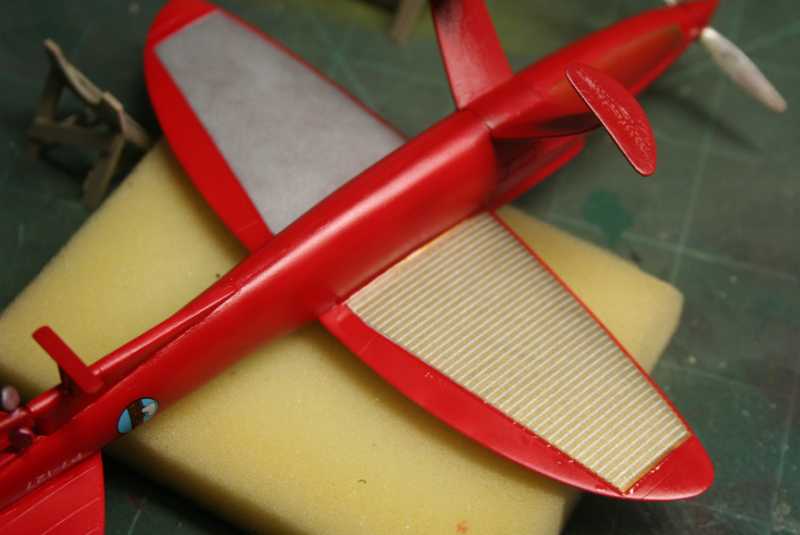
close up

I also had to touch up a few areas on the fuselage with some sanding and then had to paint it red again
plus, painted the work horses and the exhaust outlets.
This is where i left off last night
and here is what she looks like at the moment

All that is left is the wind screen, a gloss coat, a few touch up points and a little bit of a wash to highlight a few panel lines.
Well, I wasn't able to get it in under the wire so let's try and finish it up here!
Started out last evening by masking the upper and lower wings so I can paint them silver.
Why, on the original wing had flat tubular water radiators smoothly faired into the wings, like all the other Italian racers at the time. You can see the colour difference in this original pic again.
so, I wanted to try and show that with the decals supplied
decal applied (these worked really well)!
close up
I also had to touch up a few areas on the fuselage with some sanding and then had to paint it red again
plus, painted the work horses and the exhaust outlets.
This is where i left off last night
and here is what she looks like at the moment
All that is left is the wind screen, a gloss coat, a few touch up points and a little bit of a wash to highlight a few panel lines.