• Modelers Alliance has updated the forum software on our website. We have migrated all post, content and user accounts but we could not migrate the passwords.
    This requires that you manually reset your password.
    Please click here, http://modelersalliance.org/forums/login to go to logon page and use the "Forgot your Password" option.

Academy King Tiger

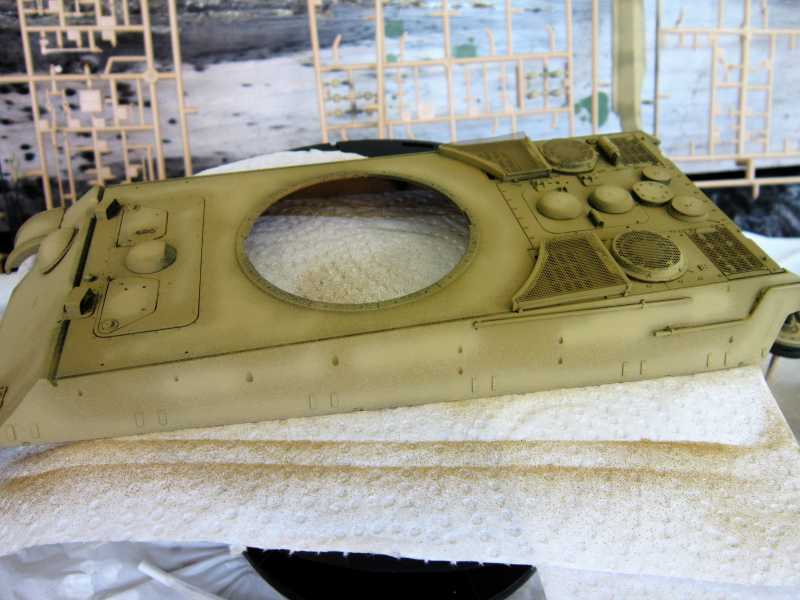
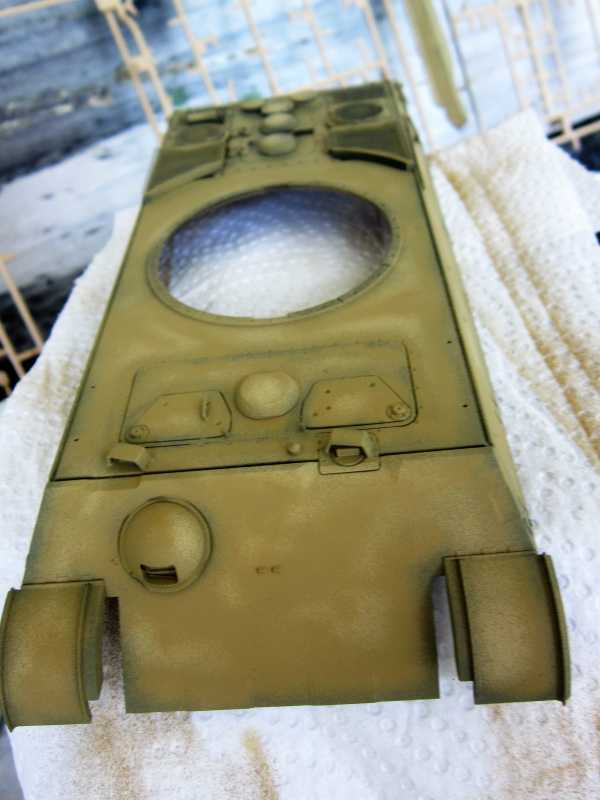
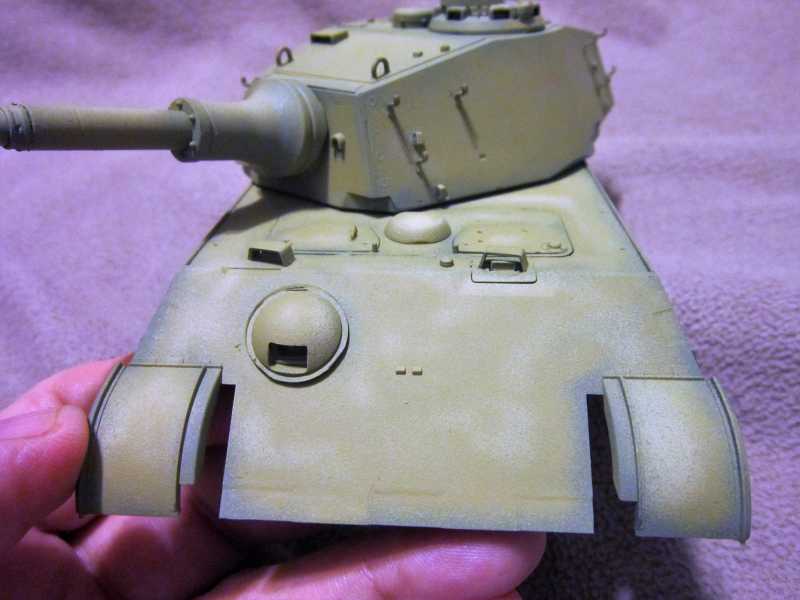
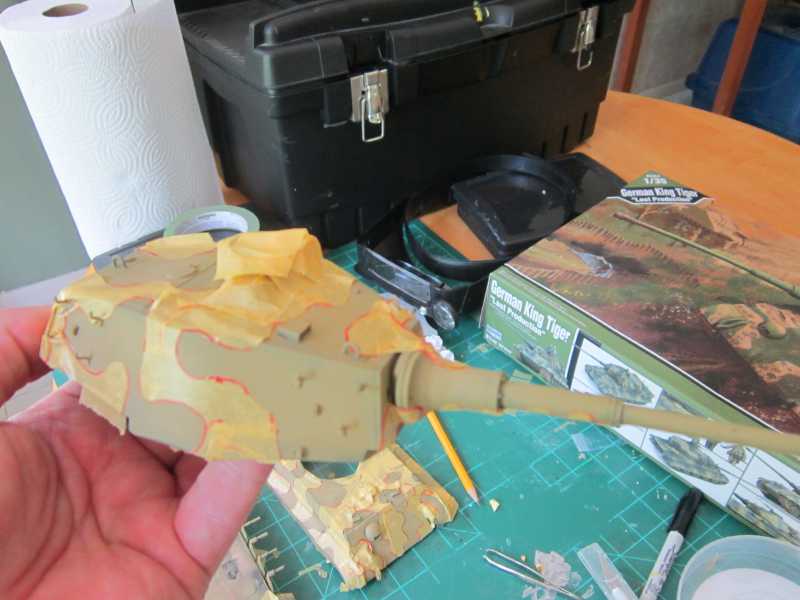
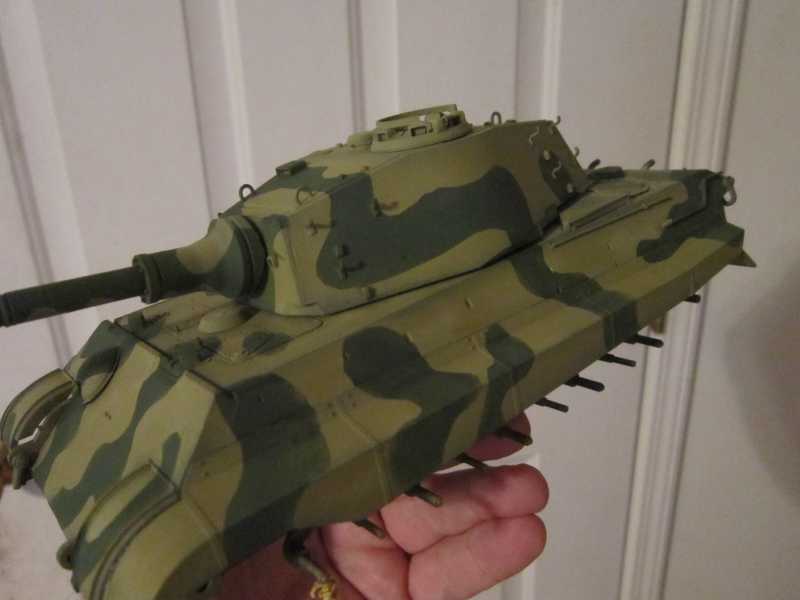
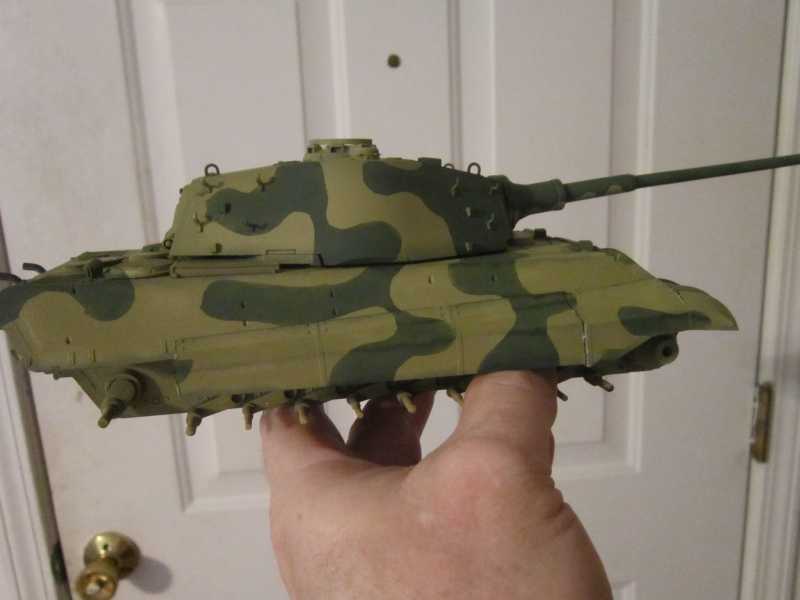
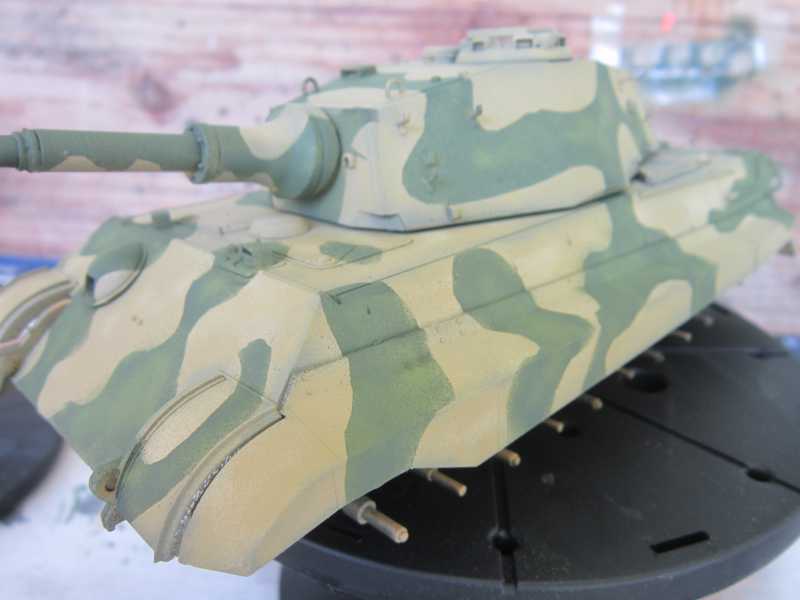
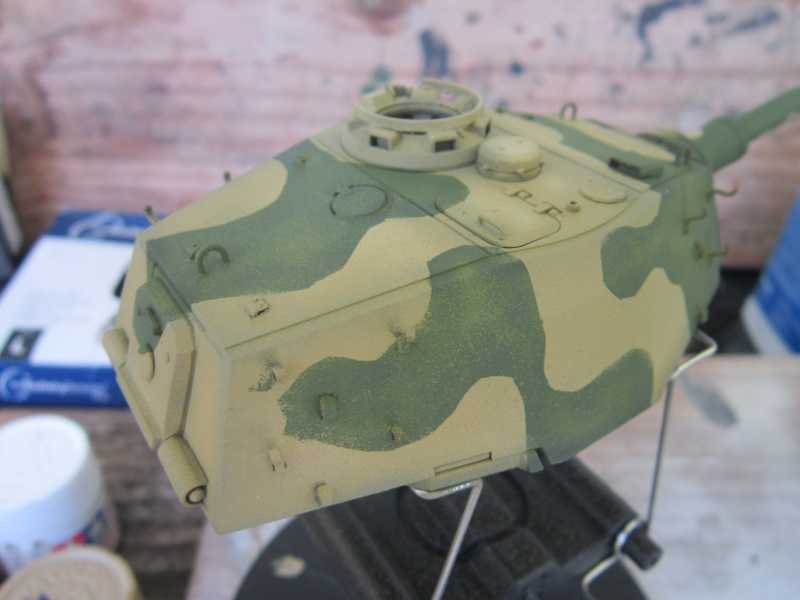
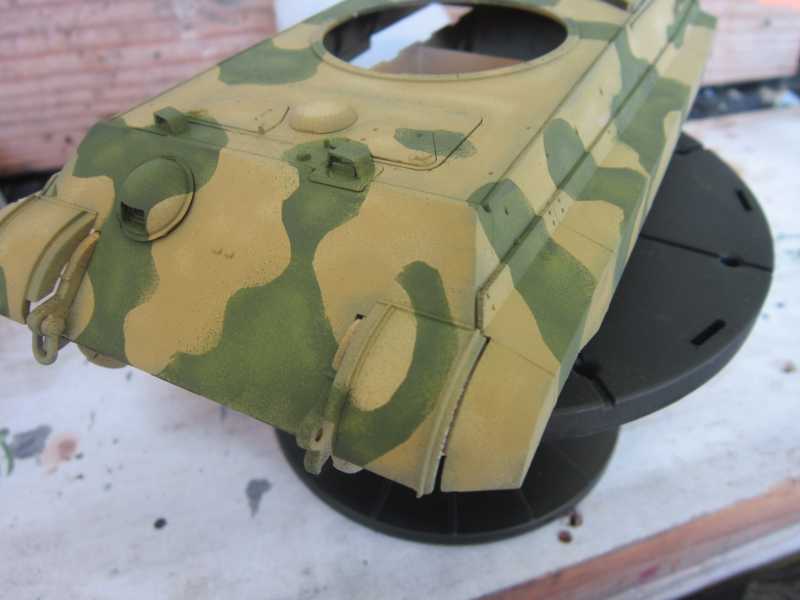
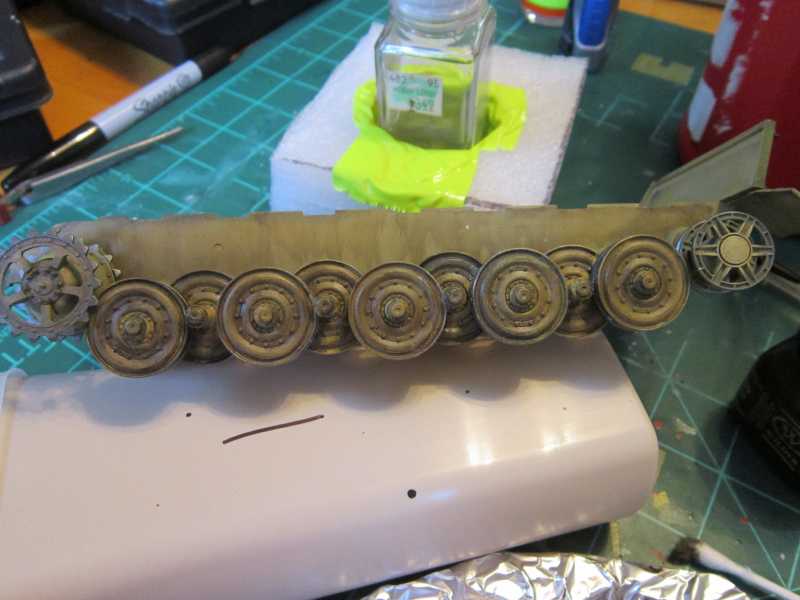
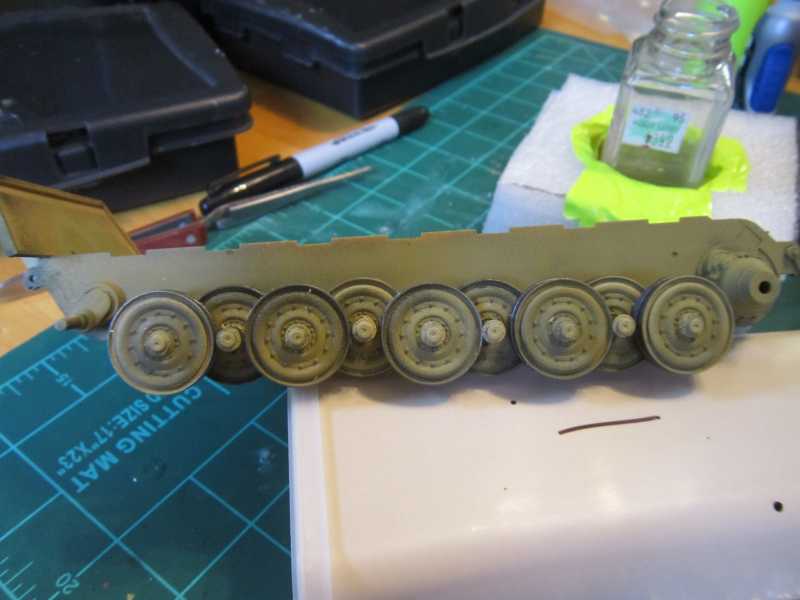
Here is the latest on my KT. Really not too much to show. I got most all of the turret complete, and started on the hull and just sorta pooped out. I will jump back into it early next Saturday, assuming I do not have to work


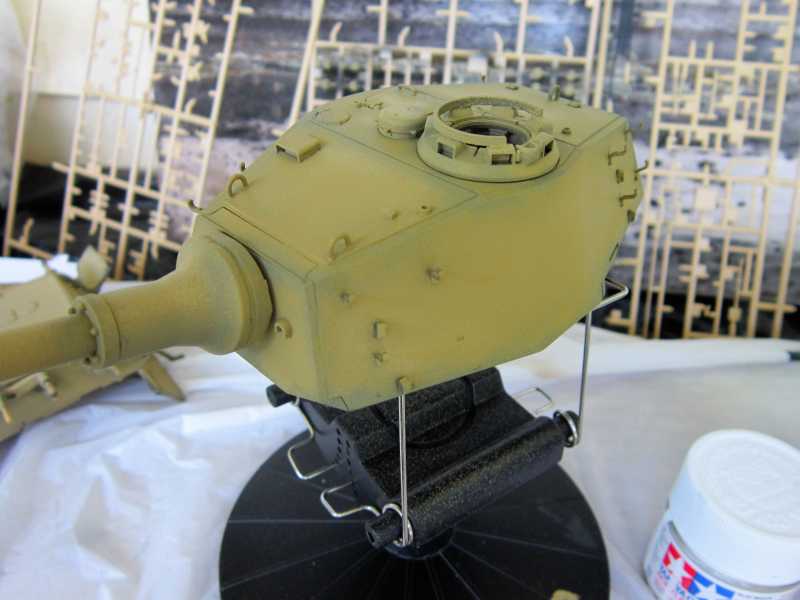
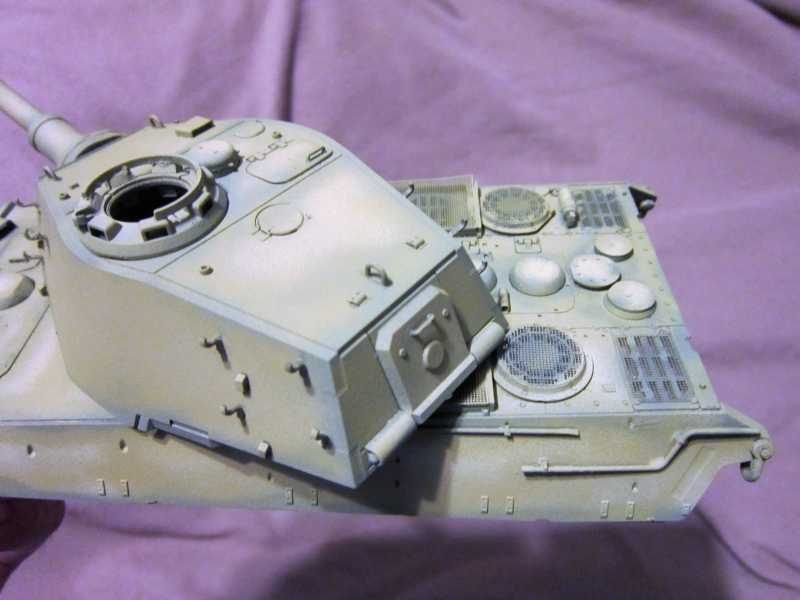
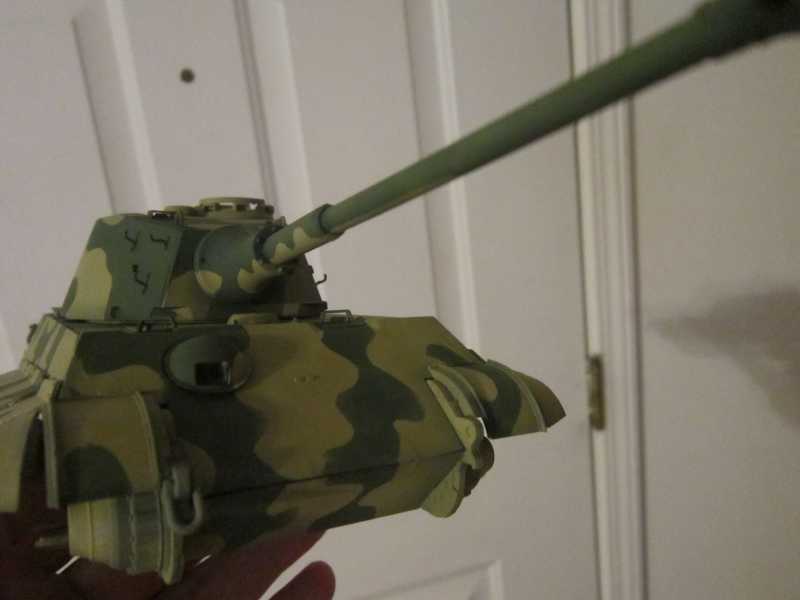
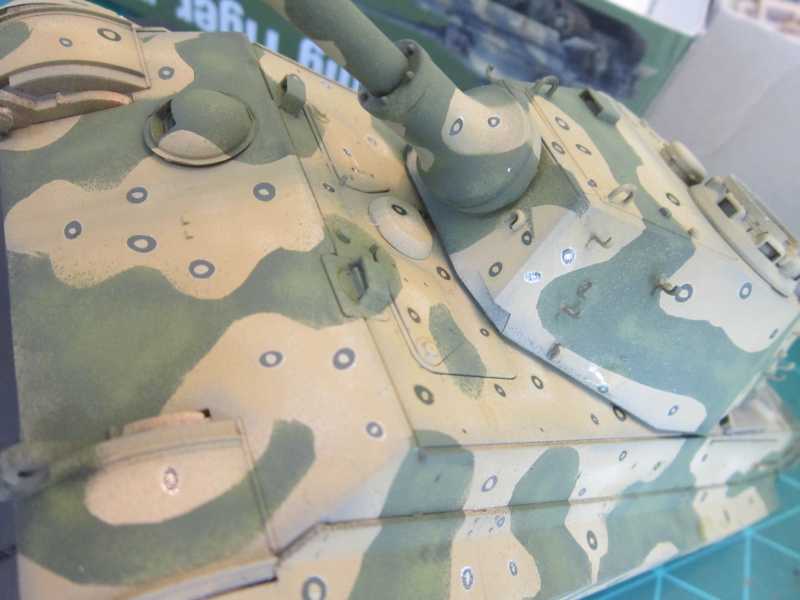
You can easily see that I am missing two track hangers on the turret. I got in a new reverse-action tweezer, and it had this suuuweeeet rosewood grip on it, but it held the part so strongly that 2x SPRONG! The part took off for who knows where! I am sure the vacuum will find it. For reference the little all stainless reverse action tweezer there is the bomb, I am going to get a few more of those. It holds the part with juuuuust enough force to hold it but not fling/”Sprong” it.

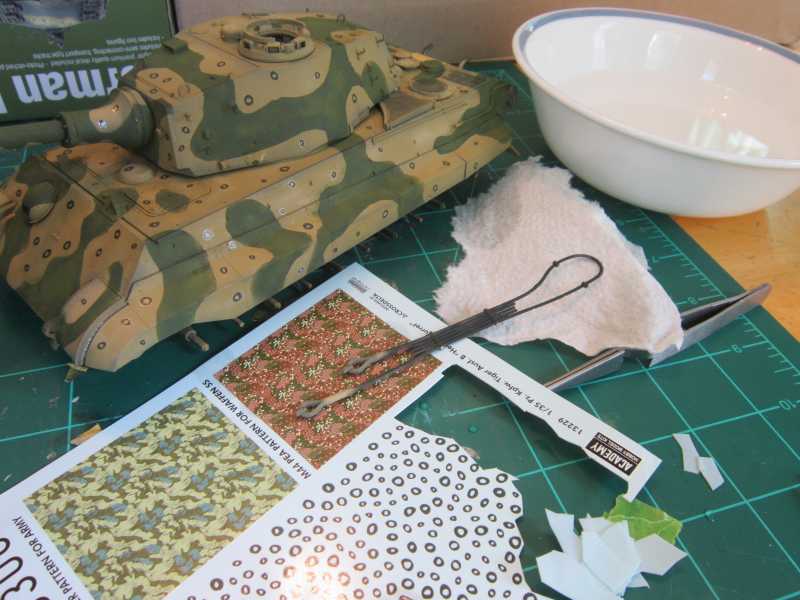
And lastly I did not care for the kit figure, so I got a Tamiya set you see there for the commander and I think possibly a driver as well. Lastly I sprang for the Hobbyboss late productions tracks. Though individual plinks of plastic, they are supposed to be correct for this tank, whereas the kit tracks are not. Will let y’all know how they build up!

So my plan is to spend and hour or two on this nest Sat., and then likewise on the M50 Ontos. Will be lurking and commenting on the great work you guys do…. ‘Till then!
 
IMG_0563_zpsn005f3zb.jpg
[/URL]

Two questions.. Are those tracks workable? And where did you find them?
:yipee
 
Ok so you would not know it by the crummy pics, but I am almost at paint stage! Here is it, I still lack a few bits and some PE to add. Note that as I am leaving off the easily broken items like the hull MG and the headlight, this is only press fit together.


neat/odd how sharp the slope is on that rear hull


And here is the guy from the Tamiya figure set I think I am going to use. Not sure if I will show him like this or just the torso, but he appears to be what I am looking for.


Not so sure about those huge field glasses though.

Well that is it for right now! Thinking Monday is a holiday so I will likely start plugging away at the Ontos. Would be neat to have both of these ready for paint in a few weekends from now!
 
OK so today I really only had time to spray the Dunkelgelb. I got all the parts, which is a lot of paint BTW, but in these pics I wanted to really show How after I got the inisitl coat I then wen over it with a faded color and then a darker, then the standard color all in bits and pieces to lay the foundation. Perhaps tomorrow (Or Tuesday when I am off) to get the green vor the Octopus camo, but for right now am quite pleased with what I have so far!

h4b963f9.JPG


h16a1c02.JPG


h73098d4.JPG


h161a876.JPG


h5c1c039.JPG


Here are just a par of shots of what the turret sitting on the upeer hull looks like at this point. Note that I was trying to have a dark/light - "mottled" effect on it before I go on with the greem that will (hopefully) have the same. really coming along!
h18c0d4b.JPG


h778f025.JPG
 
Nice work! I think the yellow turned out really well. Lots of nice shadows and texture to it.

:good:

Thanks guys! That was what I was going for!. Iron Mike had told me multiple times to use layering to get that look :good: , and MP/Bob had preached to me repeatedly :smack to "keep the layers light" and the two have workedreally well! Now I just need a repeat of the Green and I am "in Bid-niss"!!!!
 
OK so on the 4th and yesterday, I got some MAJOR modeling time and knocked out most of the camo, here is a look!

These two pics don't even come close to showing the amount of tape used, and escpecially the amount of TIME it took to create the tape female portions

Initial Tamiya Nato Green
h42ce755.JPG


h7c10c9b.JPG


This is where I blended a much ligther green on top of the Nato Green, then toned it down

hdce5cae.JPG


h39c3e6a.JPG


h325fdb9.JPG


h6023754.JPG


and here it is after "First pass" Note that the green portion of this camo pattern is just "too Busy" and there was I thought not enough of it, so I remasked and tied alot of it together.

haefec57.JPG


h75292ef.JPG


h0c95bd8.JPG


hb731c20.JPG


And here it is! At this point I am going to stop and get the rest of the little exterior stuff painted and on there, like tools, cables, etc., and then finish up the decal work. I was able to blend the green in a "mottled" manner very similar to the earlier Dunkelgelb, I think it is looking great!

h1f8a9a2_2017-07-09.JPG


h68fda99_2017-07-09.JPG


h36b2590.JPG


h61c1c67_2017-07-09.JPG


h3d759e6_2017-07-09.JPG
 
must be a limit or something in the amount of pics in one post? Anyway, here it is at this point, sorry if some of that other post is "corn-fusing"


h2627ea5_2017-07-09.JPG


h9125633_2017-07-09.JPG
 
Adding a clear satin or gloss coat before decaling makes silvering less likely and you can run your pin washes for the panel lines over it too. Flat coat will eliminate the shine when you're satisfied with the washes. :soldier
:ro:
 
Thanks guys! I thinkt hat is what I am going to do before I go any farther! After I get the "upper" done, I still have yet to even mount the roadwheels, so I have to do all that, plus the tracks! I think that is the next part, tough I might jump back for the Ontos for a bit, now that I learned a bit more about blending and lightening colors.
 
Whew - FINALLY got some bench time! Doggone this thing we call The Real World! It has been nagging at me hard, like having the A/C go out on the hottest week of the summer! FINALLY got it working again, so managed a bit of time, here is the incremental bit done:

First up are a few pics of the wheels, that I finally got installed and applied a very basic wash (Note that the idler and drive sprockets are not glued)


hcb0dd15.JPG


h28f0370.JPG


And next up was the Hobby Boss individual track links. Came in this box:

h2b9ec3b.JPG


and here is ALL there is in there, no notes, no instructions.... no-nuthin', so to speak

h83cb8ba.JPG


So afer I divided them into two stacks, I found that each tree had 4 links, and they were two per side, so with a few basic calculations, I came up with this formula:

h2aa87bb.JPG


So they figure 90 links per side. These silly pics do not do the work justice, took about one hour of steady work to get the links cut from the trees (thank good noess I just got a new Xuron cutter!) and get them sanded!
 
Back
Top