• Modelers Alliance has updated the forum software on our website. We have migrated all post, content and user accounts but we could not migrate the passwords.
    This requires that you manually reset your password.
    Please click here, http://modelersalliance.org/forums/login to go to logon page and use the "Forgot your Password" option.

hawkenstien 3...........finished

fightnjoe

Active member
well here i sit. the wildcat only needs a few small things and she will be finished. i contemplate my next project. i have been looking alot at cutaway builds. as i look at them i am drawn to the incredible skill needed to create a build that has such incredible detail. now i wonder if i am capable of pulling off one of these.

for it i would need a subject that i am somewhat familiar with. easy. the p-40 fits the bill very very well. i have some knowledge of it and have a number of references for it. next up will be am i up for such a challenge? i think so, maybe, possibly, i hope ???.

so next up is what kit to do.

i have the 1/48 revell/monogram p-40b. (used for hawkenstien 2)
i have the 1/32 hasegawa p-40e.
i have the 1/32 trumpeter p-40b.

they each have pros and cons.

decisions, decisions.

i am thinking of a cutaway showing engine area, cockpit area, and area behind the pit. so much i could do with the 1/32 stuff. the revell kit however is inexpensive and i have no sorrow with cutting one up.


stay tuned sports fans. will i or wont i? that would be a great question.


joe
 
hawkenstien 3......the beginning

well i have made the choice, i think.


for discussion only

boxart_zps542e88f8.jpg


so with that choice made next up step one....

instructions call for the engine area to be worked on. i think i am a bit away from that. first for me is choosing where the cuts will be made to show some of the interior.

so.........

cuts_zps69a618cb.jpg


so onward and upward my friends. onward and upward.


just hope i do it justice.


joe
 
hawkenstien 3......sliced and diced

This should be interesting..:popcorn

i agree for sure.

ok folks we have sliced and diced a bit today and here is where we are.

first the slice....

cutting-done-1_zpscfdbb356.jpg

cutting-done-2_zps33eb6eee.jpg


i wanted to show some of the areas that have the most interest as well as giving a show to what is behind closed doors in the back.

now what took me most of the day.

ribbing-2_zps52d90c40.jpg

ribbing-1_zps766d2996.jpg


now i did notice one of the vertical pieces is off a bit. fixed. i also forgot to cut out the hatch on the oposite side. no biggie. i will get that done.

so the madness has begun for sure and there is no turning back now.


comments, critiques, and criticism are encouraged.

joe
 
hawkenstien 3......sliced and diced

......wheel assembly. did i get ya????

well just a little update.

i am working this tail to nose. i can see some things that may not go well if i work it the other way.

working with the kit tail wheel assembly. this may stay or go. depending on if i can find decent pictures of the assembly between now and when i get ready to close it up.

so first here it is...

tail-wheel-assembly-4_zps3f483a18.jpg

tail-wheel-assembly-5_zpsc3d9c47f.jpg


and then with just a generic wash.

tail-wheel-assembly-1_zps76b6c8fc.jpg

tail-wheel-assembly-2_zpse349ada8.jpg

tail-wheel-assembly-3_zps8ca1249f.jpg


i still need to dry wash this to get some of the detail to pop a bit. i added bolt heads to the areas that seemed logical. this may not seem like much but all told it took me and my shakey hands about 4 hours to get it decent.


comments, critiques, and criticism are encouraged.


joe
 
hawkenstien 3.............a little tail...

a little bonus.

i browsed the net for a while looking for some good pictures i could use to help with the pit and found some that showed a different look than i expected. after a few words i succumbed to the need to fix what i had done so here is my fix.

mod-2_zps82346cfb.jpg


while doing this i wanted to make sure that everything would work. first up is to modify the rear bulkhead of the pit and drop the floor.

success....

i think.

mod-1_zps046ab83d.jpg


next up will be to make sure the front bulkhead will fit the way i need it to.


comments, critiques, and criticism are encouraged.


joe
 
hawkenstien 3.............a little tail...

Very daring doing a build like this. So much work and exptra details and scratchbuilding to do. Watching intently. As for a critique, the formers in the cockpit should go all the way to the floor. Is it too late to add more? They should probably also form to the wall, but I'm not really up on the P-40 so cant say with any authority. Looking forward to the next step.
James
 
hawkenstien 3.............a little tail...

Also watch out for the thickness of the skin around where the panels are. I don't think I have seen one yet where the scale thickness is like battle armor when real world the sheets of aluminum, well thin as sheets.

:popcorn
 
hawkenstien 3.............a little tail...

james you are right. i tried to get them close but there is still a bit of room between them and the floor. hopefully the pit will be busy enough to hide that. they do form part of the wall but there is alot that will hide that they are not the exact shape they are supposed to be.

mp spent a good amount of time trying to get the cuts to be thinner. lots of sanding and prepping. they are better than they were but i was a bit nervous getting them too thin. the glue would have caused them issues.

ian, barney many thanks for tagging along. barney, not better just not smart enough to know my limitations.


joe
 
hawkenstien 3.............a little tail...

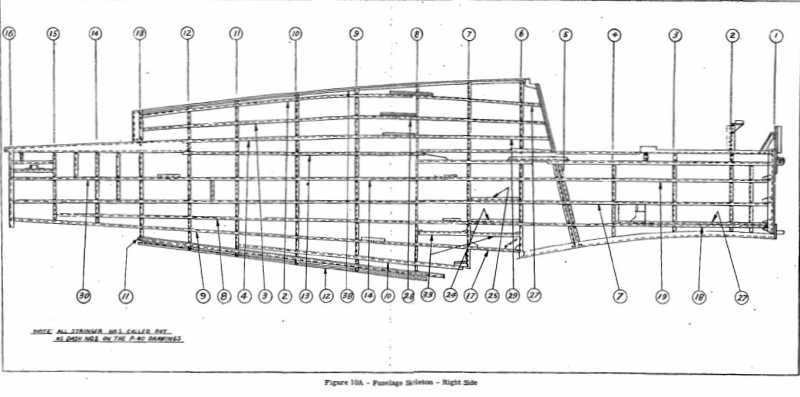
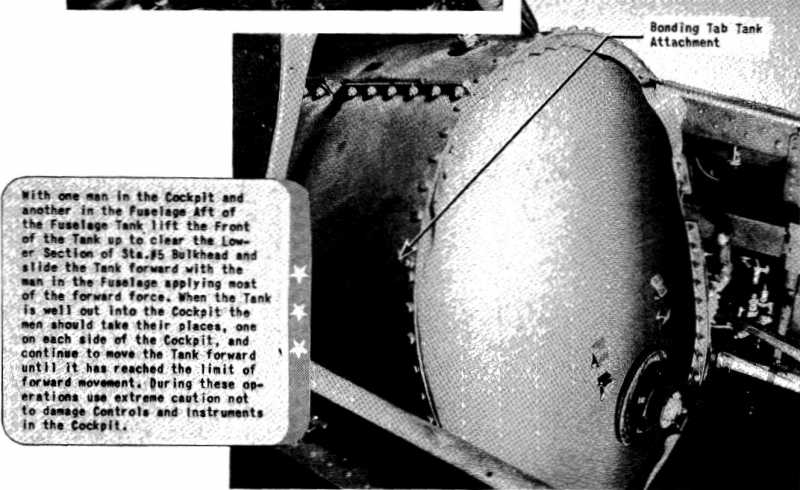
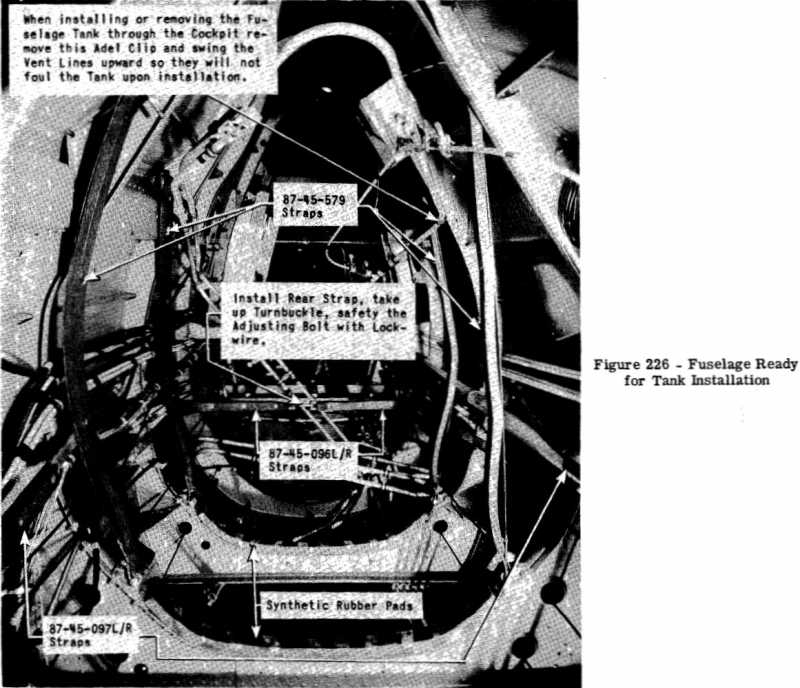
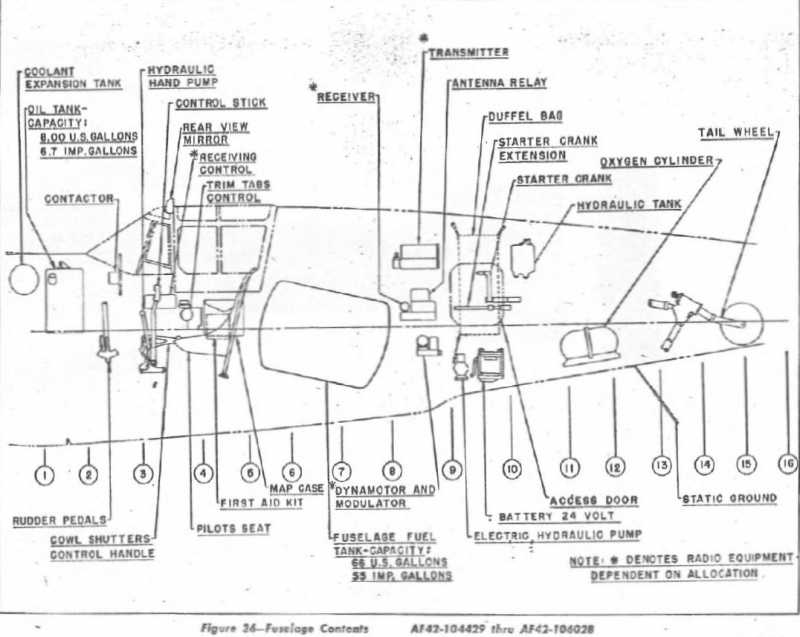
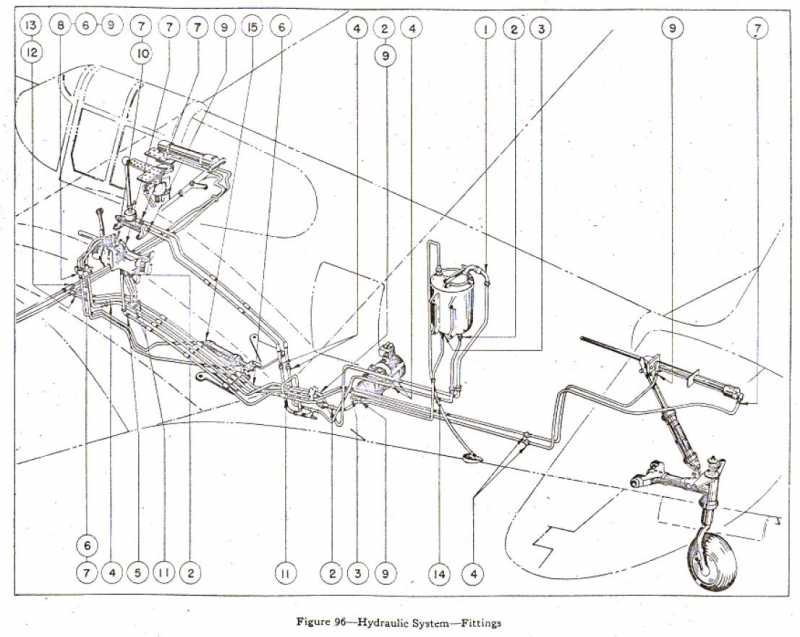
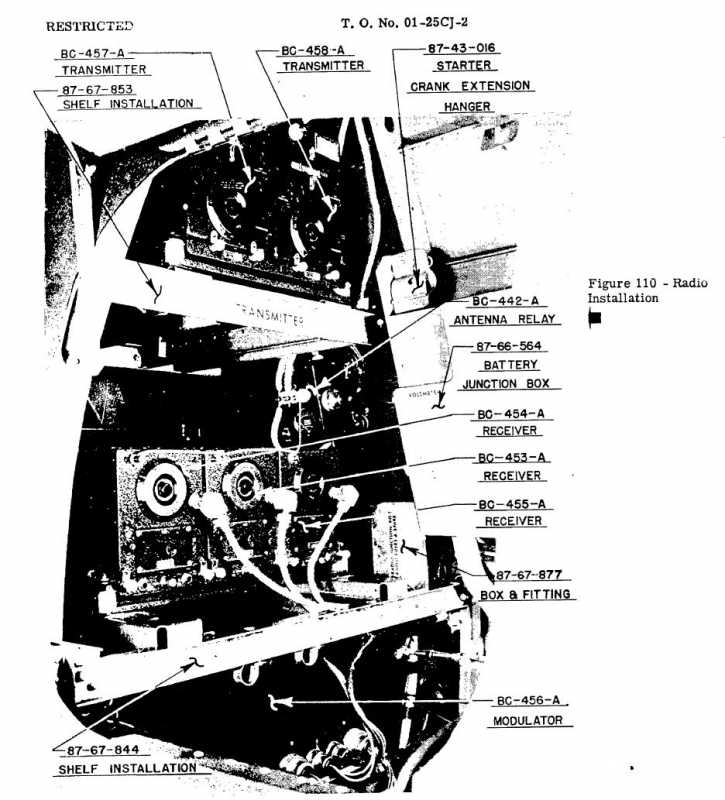
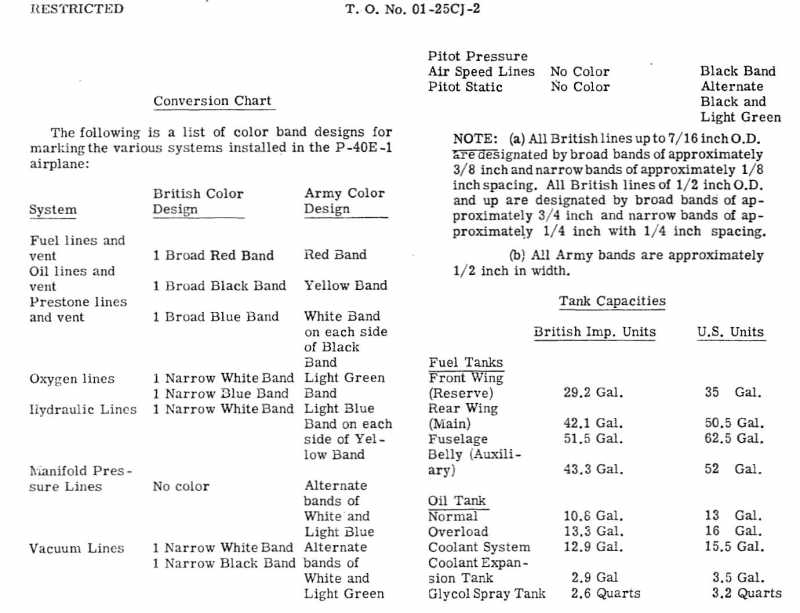
Lucky for me, I have been sandbagging with a P-40E so my technical manuals are out. Let me know what you need.

h2ca0be5.jpg


h835f09b.jpg


hf7aa175.jpg


h1d045d1.jpg


h5f86a79.jpg


hb67e339.jpg


hb13c1b6.jpg


Regards,
 
hawkenstien 3.............a little tail...

saul those are awesome, and extremely helpful. do you by chance have anything of the battery or the recievers?


joe
 
hawkenstien 3.............a little tail...

saul those are awesome, and extremely helpful. do you by chance have anything of the battery or the recievers?

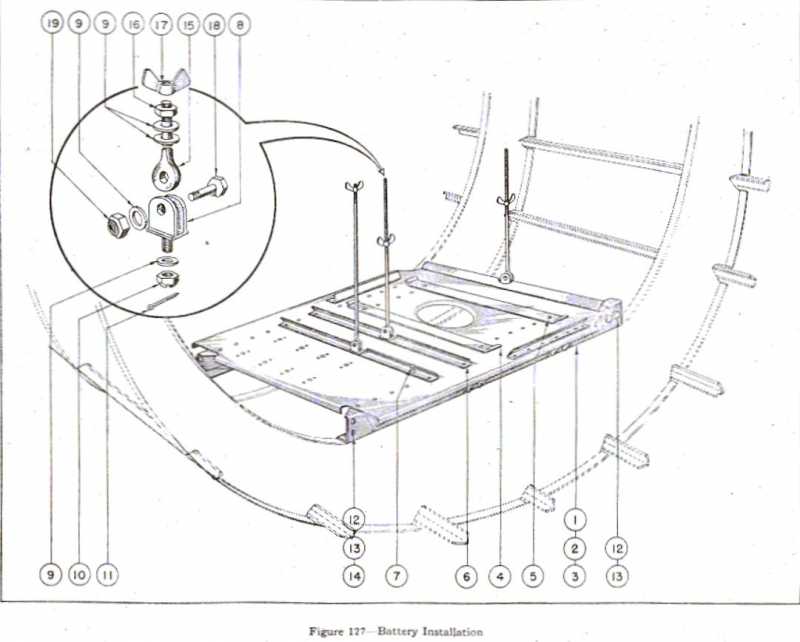
No clear views of the battery except this image of the portable one used for testing.
h0e8c853.jpg


This is the fuselage battery rack used up until the P-40N-5 in which it moved to the firewall:
h8284911.jpg


Location:
hcabb9f5.jpg


This is the P-40N hydraulics, should be the same:
h9e72324.jpg


Radios:
h39afe3a.jpg


h9a0b13b.jpg


This may help when painting the cables, tubes, and pipes:
hd79763d.jpg


Regards,
 
hawkenstien 3.............receiving now

well it has been a while since an update was posted. had some issues with the white not showing very well in the pictures. with that in mind i waited and fabricated and then painted.

and the results.......well not entirely happy but i will explain that in a few.

first of all was the fuel tank. this is one of four tanks that is present. thanks to saul "sharkmouth" garcia and his vault of references.

my rendition.

fuse-tank-1_zps47bd0b46.jpg


and a first for me. the recievers. all 5 of them are represented as well as the dynamotors.

recievers-6_zps10c8d1ef.jpg

recievers-5_zps68ccaa7f.jpg


and skipping ahead a bit, here is all of it together.

recievers-2_zps9769ad56.jpg

recievers-1_zps8bc8367a.jpg


now with all of that what can you possibly see? well here...

recievers-3_zps70dca6a9.jpg

recievers-4_zps45aa97e5.jpg


all told i am not unsatisfied with the receivers and such. they look almost ok. i am however not real happy with the pipping, wiring, and such.

may have to revisit that before it gets closed up.

next up will be either the pit or the engine compartment. not sure just yet.


comments, critiques, and criticism are encouraged.


joe
 
Back
Top