
Duke Maddog
Well-known member
Now it's a new year and the final Pass in Review has been posted. Time to reopen Maddog Manufacturing and show what is happening this year!
Before we show all the new construction, we'll recap some of the projects that had been sidelined in the past.
In the Hangar we have these projects in the works that I'm hoping we'll finish this year. Frankly I'm tired of their boxes taking up space!
In the first bay here we have this monstrosity, the A-400 Grizzly. It's about time to get this bird done:

Next is this one, another large plane that needs finishing. This is the C-54 Skymaster that I need to get done:
Another long term project that has driven me crazy is this Japanese Shinmeiwa. Time to get this finished:
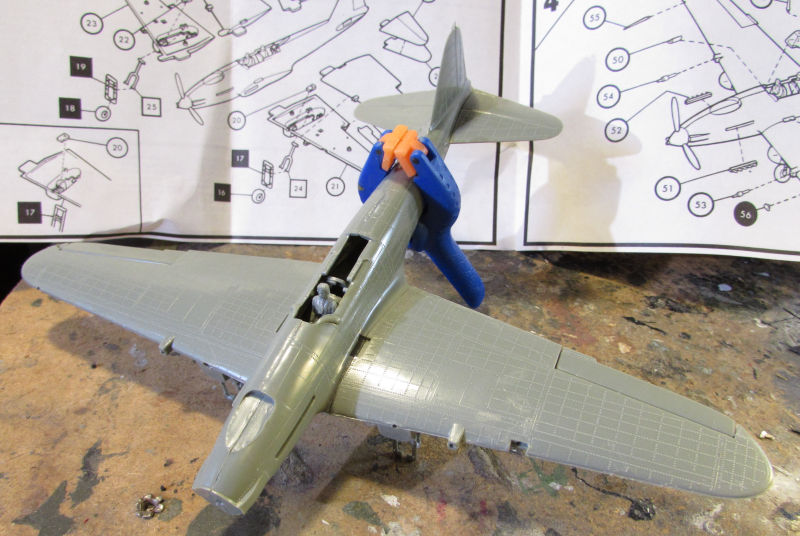
We also have this Russian Shtormovik under construction:
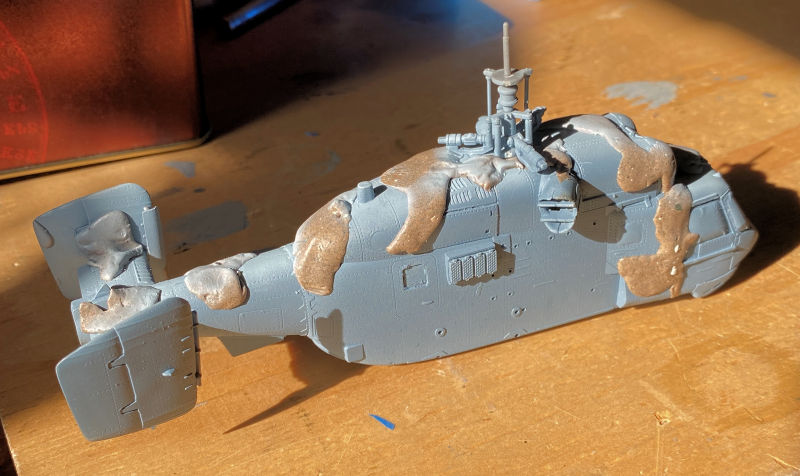
Speaking of Russians, we need to move forward on this Ka-29 Helix:
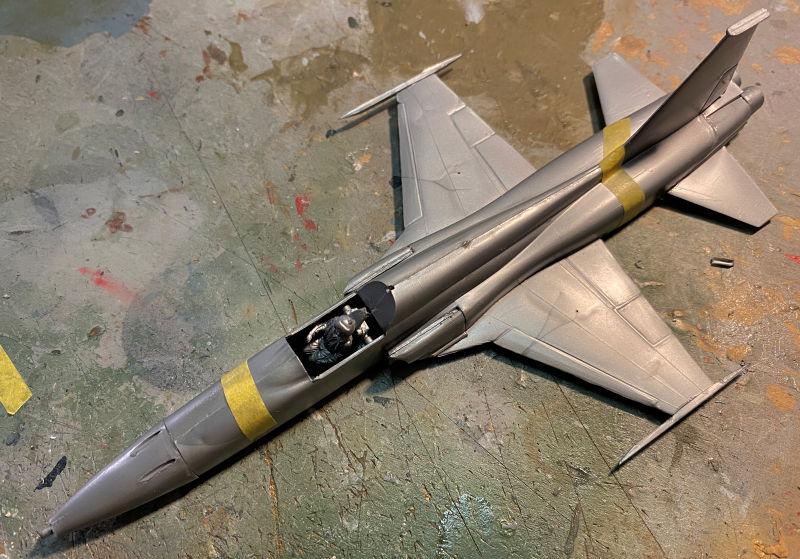
And now on to current projects, This is an ancient Airfix F-5B Tiger II with Iranian markings. We started this as a fast and easy going build. Our first Aircraft started in 2023:
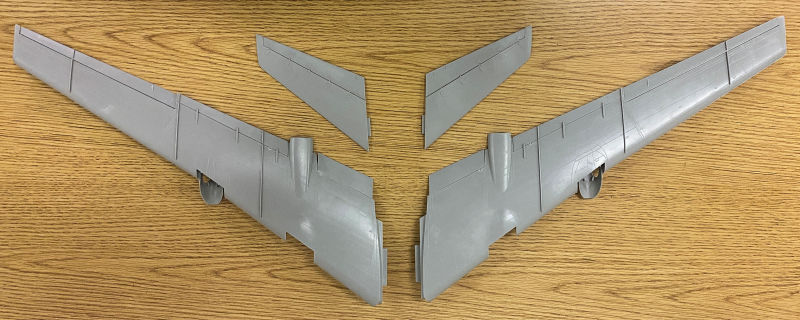
Another new project started, another big box model. This is Trumpeter's Russian Tu-95 Bear H. So far all we got done was the wings and tail surfaces. That was hard enough!
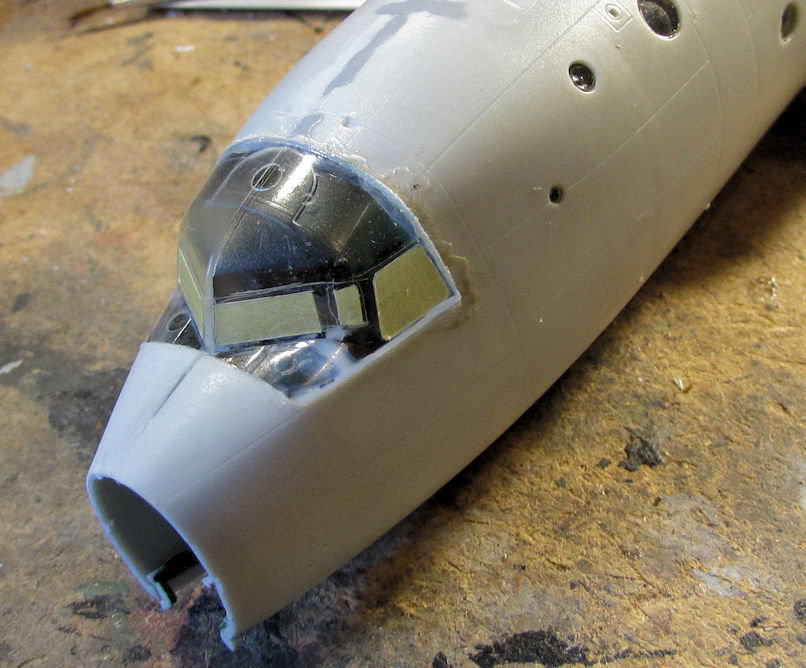
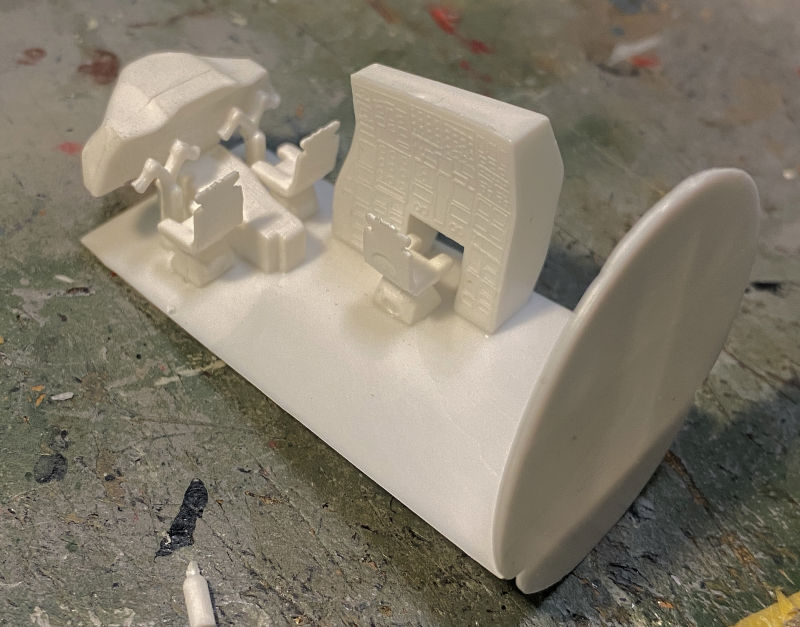
And a final first start for the year is this Revell Concorde I got from an estate sale. This one will be in British Airways markings because that's all that was included in the box. We started with the cockpit on this one:
The tail was a separate assembly so that was next:

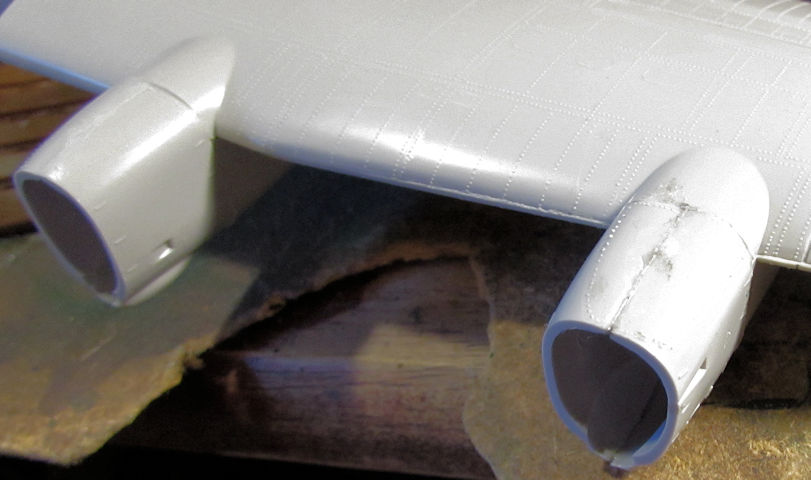
Revell got smart, they had outer wing panels set to glue into the upper wing sections behind the leading edge so no edge seam can be seen. Then the whole sub assembly is attached to the central lower wing after adding the main landing gear bays:
The main fuselage is then put together; first by adding the bulkheads they included to allow it to keep it's shape:
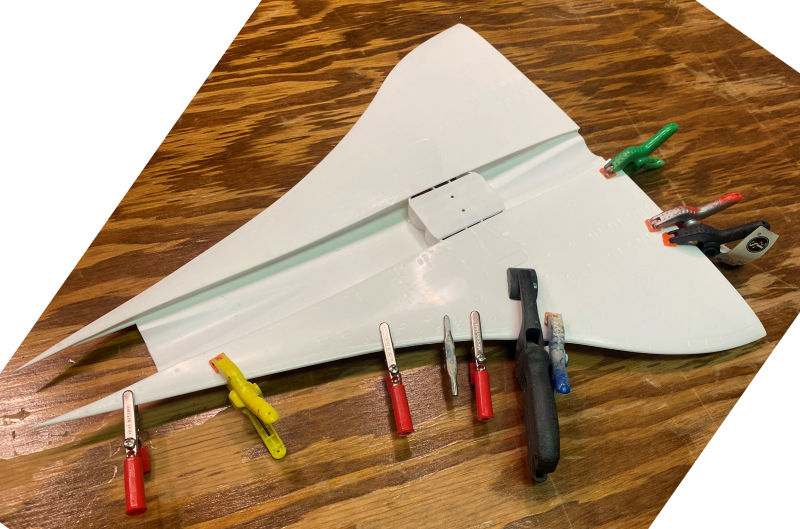
The tail is just taped on to mock it up and see how big this beastie is going to be. Speaking of mocking it up, here's how the wings and fuselage look together more or less:
That's all that's happening in the Hangar, lets go out to the Shipyards...
In our Shipyards, we have the following in our slipways. Our biggest project is this USS Enterprise:
She's going to move up on the list of models to do first. Meanwhile, another slipway has the USS Sacramento which is very close to being launched:
You can see the additional deck fittings that were added to the superstructure. The hull and superstructure or not glued together.....yet.
In another slipways we had laid down the keel to another motor torpedo boat; this one from Vospers:
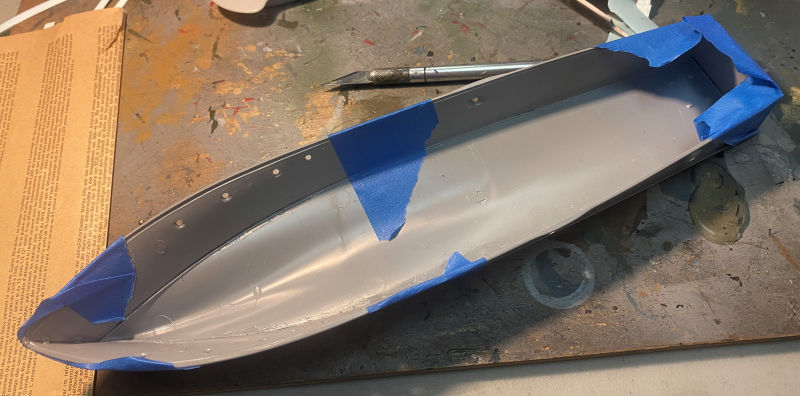
So far that where that one stands, It is stalled due ot the two-tone paint pattern on the hull sides. It involves a curve that I need to replicate on both sides. Hopefully more to come on that soon.
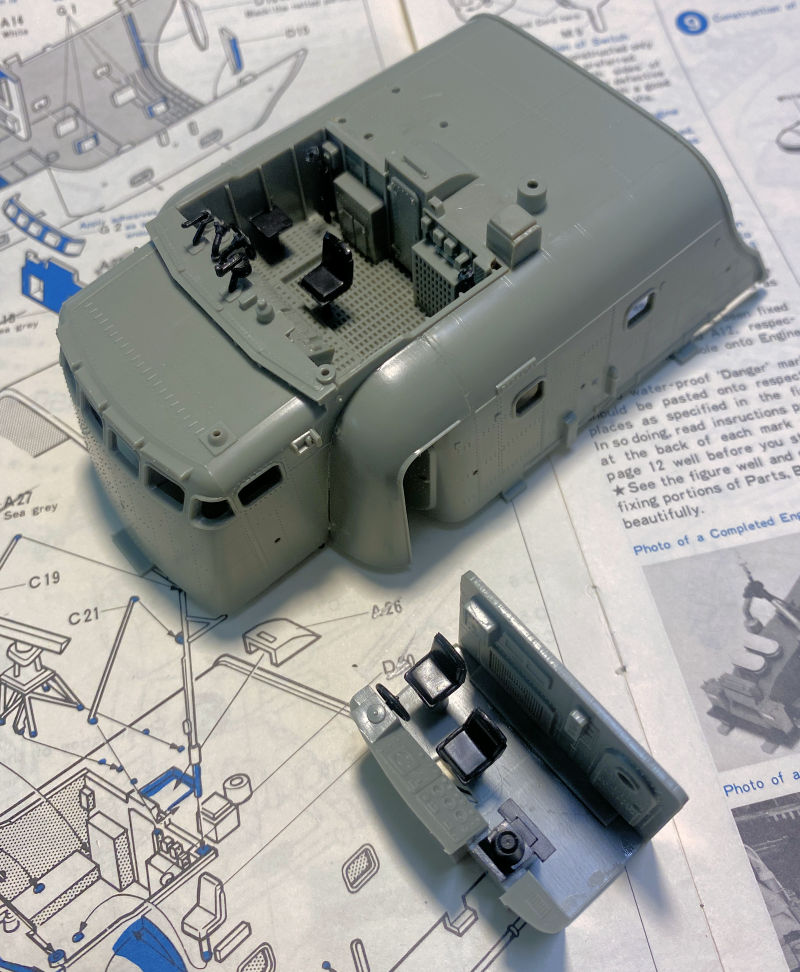
Followed by another Vospers boat in the next slipway, this time the Perkasa Motor Torpedo Boat. First the main bridge interior was constructed:

Then the outer cabin was completed....mostly:
The engine cover was completed next and the whole boat was mocked up:
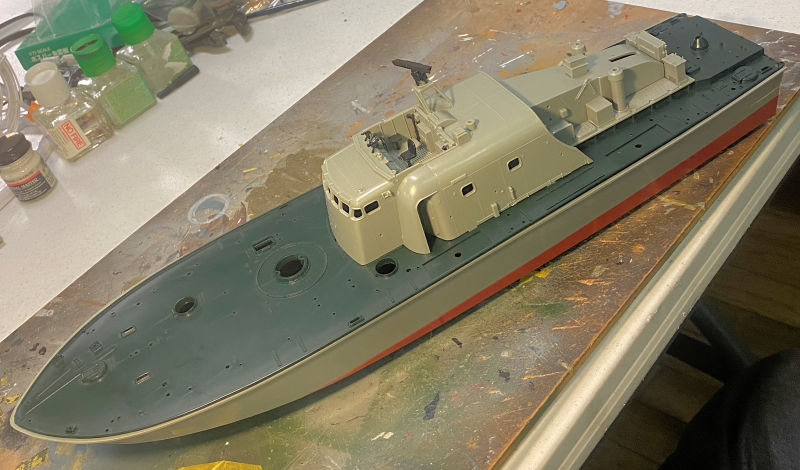
This is gonna be awesome!
That's all that's happening in the shipyards now. Let's see what's going on in the Motor Pool.
Surprisingly. there isn't anything being worked on from the previous year, save for this commission build of this TKS. It's slowly coming along:
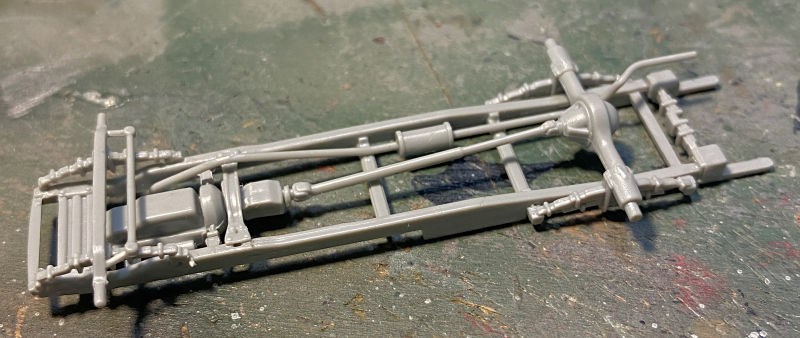
The only other projects we started for this new year in the Motor Pool is this British LRDG truck. The chassis was assembled first:
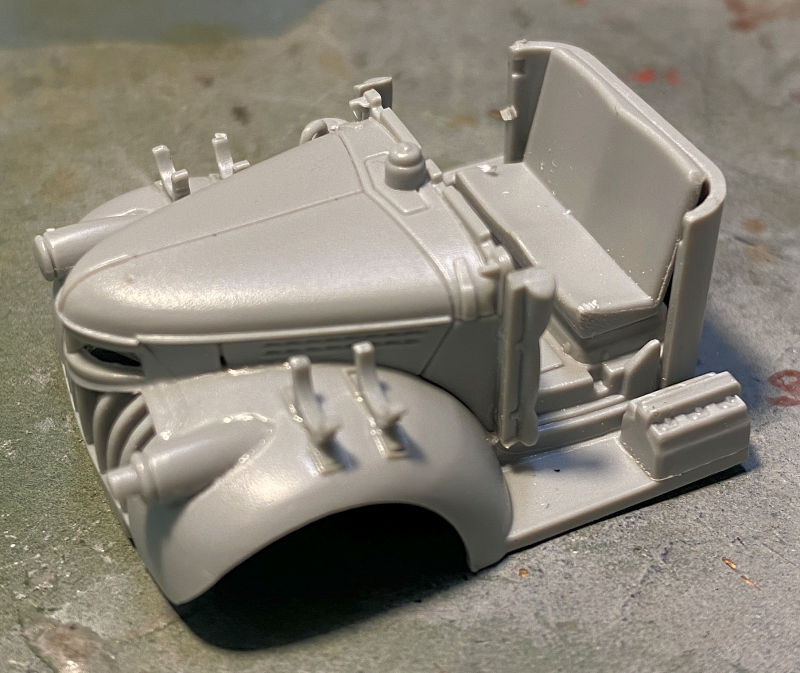
Followed by the main cab:
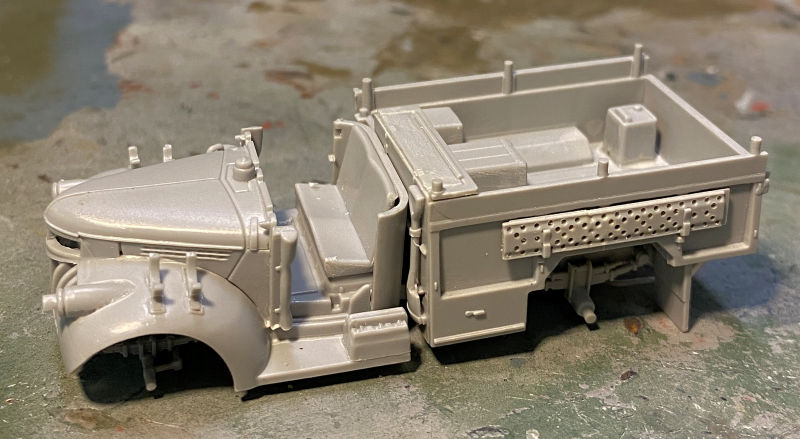
That was mostly done; I had gotten this from a friend's estate who passed away back in August. He did well, but hadn't done the chassis so I had to build that above. Since he had also completed the back bed, I didn't have to worry about it so I shot this pick of all three sub assemblies altogether:
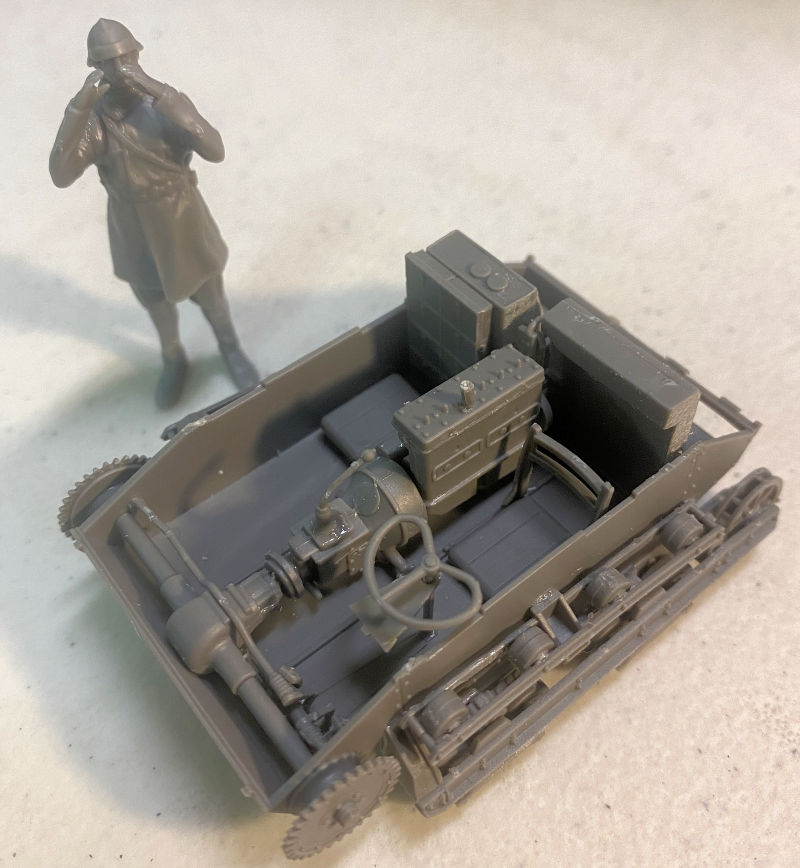
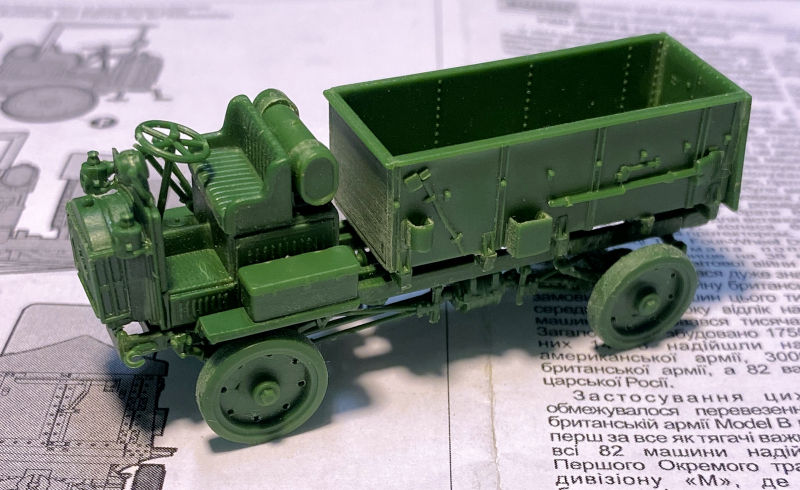
Finally there is this little FWD 3-ton ammo carrier. This was another acquisition from the estate and was about half finished. So, we finished it up and got it ready for paint. Since I have one built with the cab cover and cargo cover; this one will be a 'convertible':
And that completes this first tour of Maddog Manufacturing during the 2023 Grand Reopening! Thank you to all for coming along and as always, comments are welcome.
Before we show all the new construction, we'll recap some of the projects that had been sidelined in the past.
In the Hangar we have these projects in the works that I'm hoping we'll finish this year. Frankly I'm tired of their boxes taking up space!
In the first bay here we have this monstrosity, the A-400 Grizzly. It's about time to get this bird done:
Next is this one, another large plane that needs finishing. This is the C-54 Skymaster that I need to get done:
Another long term project that has driven me crazy is this Japanese Shinmeiwa. Time to get this finished:
We also have this Russian Shtormovik under construction:
Speaking of Russians, we need to move forward on this Ka-29 Helix:
And now on to current projects, This is an ancient Airfix F-5B Tiger II with Iranian markings. We started this as a fast and easy going build. Our first Aircraft started in 2023:
Another new project started, another big box model. This is Trumpeter's Russian Tu-95 Bear H. So far all we got done was the wings and tail surfaces. That was hard enough!
And a final first start for the year is this Revell Concorde I got from an estate sale. This one will be in British Airways markings because that's all that was included in the box. We started with the cockpit on this one:
The tail was a separate assembly so that was next:
Revell got smart, they had outer wing panels set to glue into the upper wing sections behind the leading edge so no edge seam can be seen. Then the whole sub assembly is attached to the central lower wing after adding the main landing gear bays:
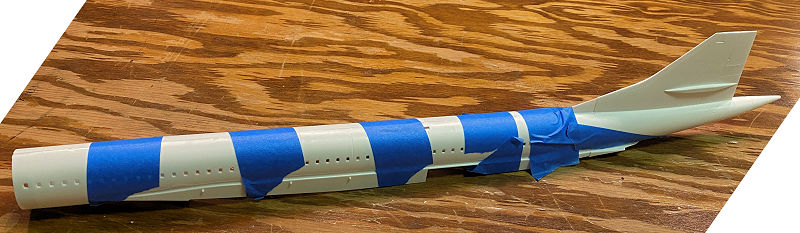
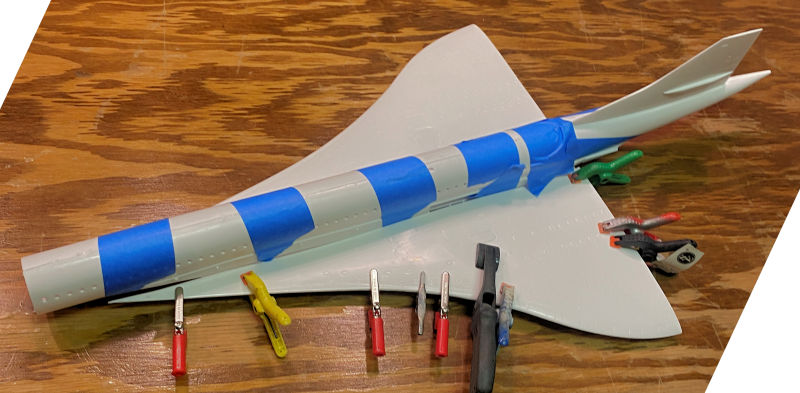
The main fuselage is then put together; first by adding the bulkheads they included to allow it to keep it's shape:
The tail is just taped on to mock it up and see how big this beastie is going to be. Speaking of mocking it up, here's how the wings and fuselage look together more or less:
That's all that's happening in the Hangar, lets go out to the Shipyards...
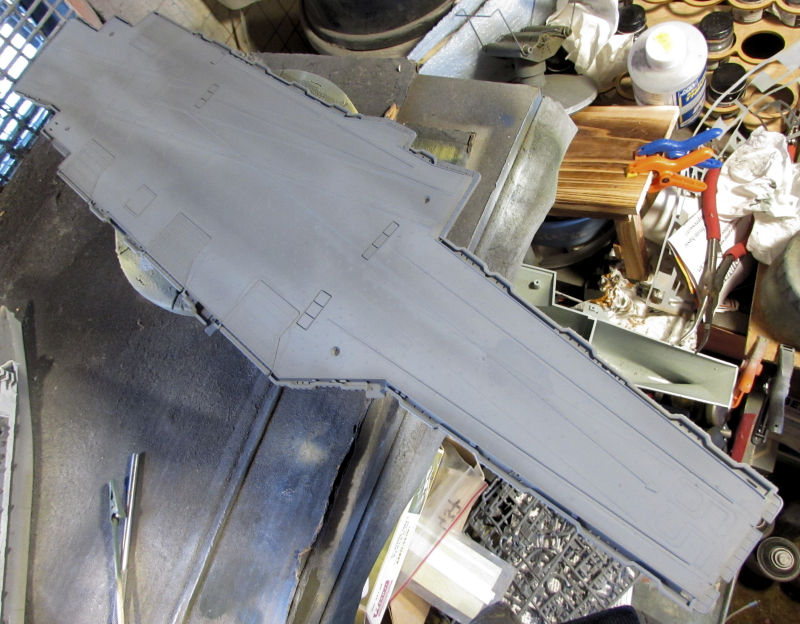
In our Shipyards, we have the following in our slipways. Our biggest project is this USS Enterprise:
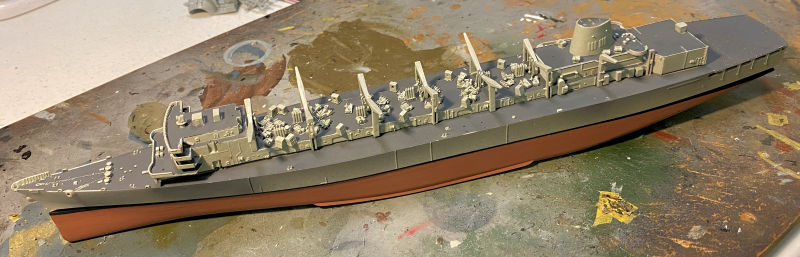
She's going to move up on the list of models to do first. Meanwhile, another slipway has the USS Sacramento which is very close to being launched:
You can see the additional deck fittings that were added to the superstructure. The hull and superstructure or not glued together.....yet.
In another slipways we had laid down the keel to another motor torpedo boat; this one from Vospers:
So far that where that one stands, It is stalled due ot the two-tone paint pattern on the hull sides. It involves a curve that I need to replicate on both sides. Hopefully more to come on that soon.
Followed by another Vospers boat in the next slipway, this time the Perkasa Motor Torpedo Boat. First the main bridge interior was constructed:
Then the outer cabin was completed....mostly:
The engine cover was completed next and the whole boat was mocked up:
This is gonna be awesome!
That's all that's happening in the shipyards now. Let's see what's going on in the Motor Pool.
Surprisingly. there isn't anything being worked on from the previous year, save for this commission build of this TKS. It's slowly coming along:
The only other projects we started for this new year in the Motor Pool is this British LRDG truck. The chassis was assembled first:
Followed by the main cab:
That was mostly done; I had gotten this from a friend's estate who passed away back in August. He did well, but hadn't done the chassis so I had to build that above. Since he had also completed the back bed, I didn't have to worry about it so I shot this pick of all three sub assemblies altogether:
Finally there is this little FWD 3-ton ammo carrier. This was another acquisition from the estate and was about half finished. So, we finished it up and got it ready for paint. Since I have one built with the cab cover and cargo cover; this one will be a 'convertible':
And that completes this first tour of Maddog Manufacturing during the 2023 Grand Reopening! Thank you to all for coming along and as always, comments are welcome.
Last edited: