
ausf
Master at Arms
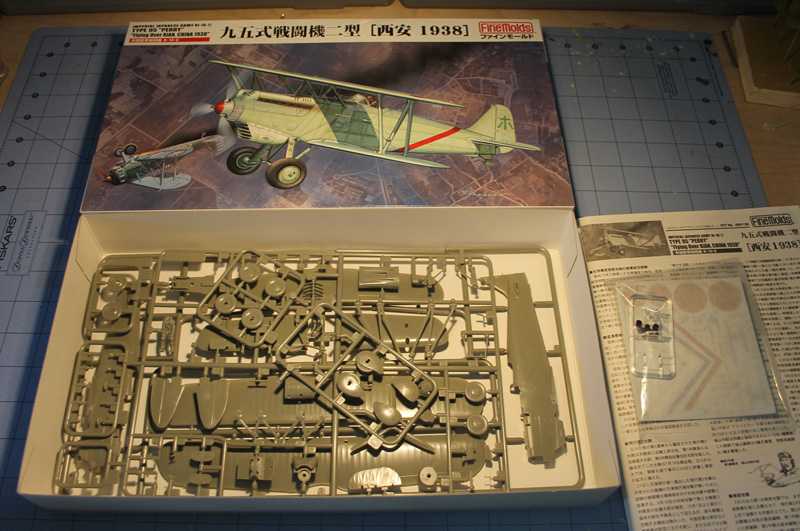
Fine Molds kit.
At first glimpse, it has some flash and I thought I might have bought the wrong one since Mike had mentioned how well it was engineered. But once I started building it, it's a dream so far.
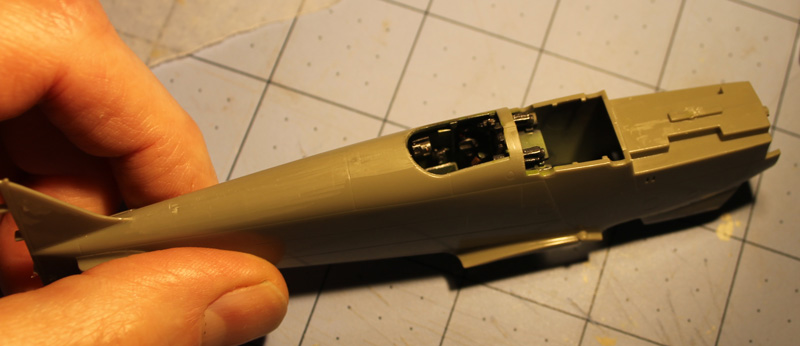
I was wondering how I was going to address the rigging, Mike used steel wire and I've used EZ line on the Albatross, but fortunately, the way the kit is designed, the areas where the rigging connects are separate molded pieces, so I can make that decision after the wings are set. I thought I was going to have to do some weird half wing installation, but it should be okay. The rigging doesn't have turnbuckles like the WWI stuff.
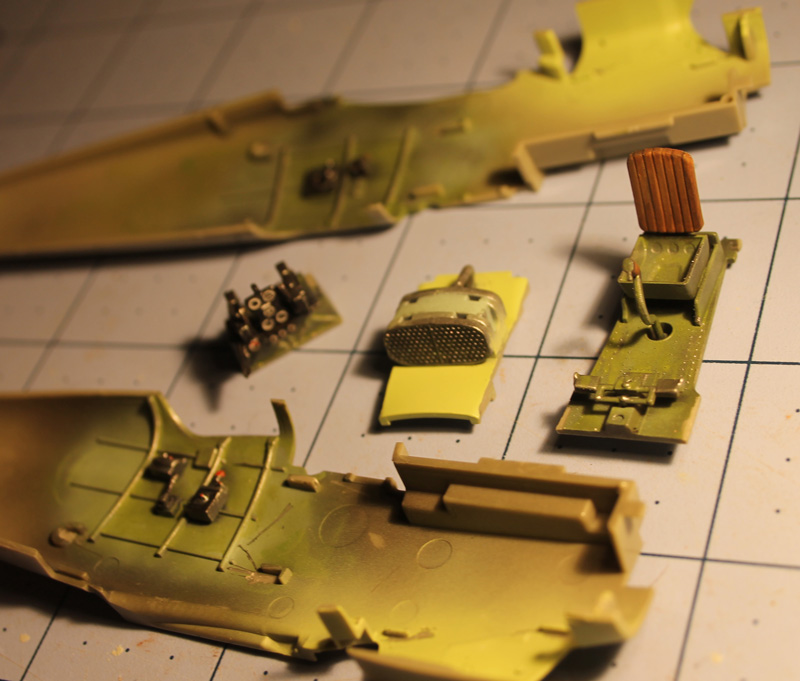
The instructions called for a Sandy Brown interior. A quick google didn't get a lot of info, just that it was fabric on metal frame. The molding looks like the fuse sides are either wood or metal, but I went with my mix of IJN interior, which I just realized was Mitsubshi and this is Kawasaki. Anyway, I'm not getting hung up on it.
Here's a few shots, kit, interior parts prepped and closed up. I like the radiator, even though it's styrene. Fine Molds taunts you along the way with all the extra details you can buy, but this is meant to just be a fun build, which it has been so far.

At first glimpse, it has some flash and I thought I might have bought the wrong one since Mike had mentioned how well it was engineered. But once I started building it, it's a dream so far.
I was wondering how I was going to address the rigging, Mike used steel wire and I've used EZ line on the Albatross, but fortunately, the way the kit is designed, the areas where the rigging connects are separate molded pieces, so I can make that decision after the wings are set. I thought I was going to have to do some weird half wing installation, but it should be okay. The rigging doesn't have turnbuckles like the WWI stuff.
The instructions called for a Sandy Brown interior. A quick google didn't get a lot of info, just that it was fabric on metal frame. The molding looks like the fuse sides are either wood or metal, but I went with my mix of IJN interior, which I just realized was Mitsubshi and this is Kawasaki. Anyway, I'm not getting hung up on it.
Here's a few shots, kit, interior parts prepped and closed up. I like the radiator, even though it's styrene. Fine Molds taunts you along the way with all the extra details you can buy, but this is meant to just be a fun build, which it has been so far.

") Yours looks convincing enough to me.
Yours looks convincing enough to me. 