
-
Modelers Alliance has updated the forum software on our website. We have migrated all post, content and user accounts but we could not migrate the passwords.
This requires that you manually reset your password.
Please click here, http://modelersalliance.org/forums/login to go to logon page and use the "Forgot your Password" option.
You are using an out of date browser. It may not display this or other websites correctly.
You should upgrade or use an alternative browser.
You should upgrade or use an alternative browser.
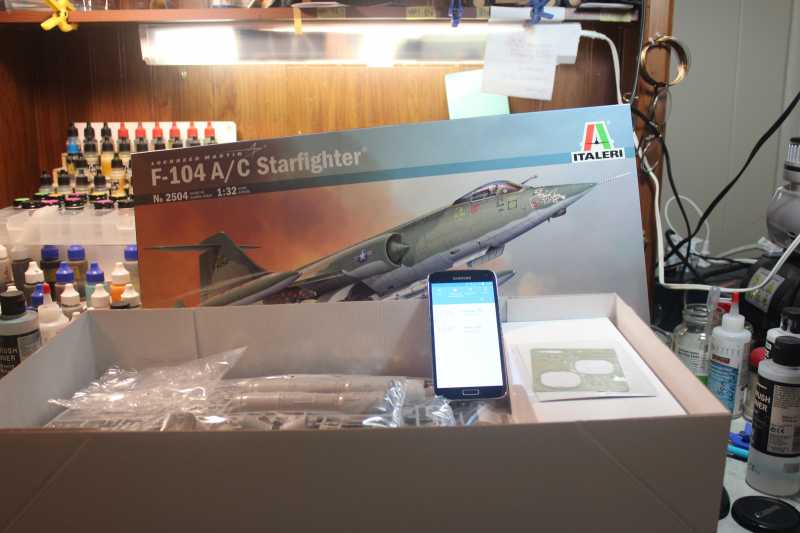
1/32 Italeri F-104 C
- Thread starter Paulw
- Start date
JamesOLeary
Master at Arms
I look forward to seeing this model in person at Soonercon!
Cheers,
James
Cheers,
James

Paulw
Well-known member
I had a whole big spiel about how this kit goes together but I failed to post it properly and lost it all.
I am waiting on my a.m. seats and instrument decals to get the pit going so until then I will be doing sub assemblies.
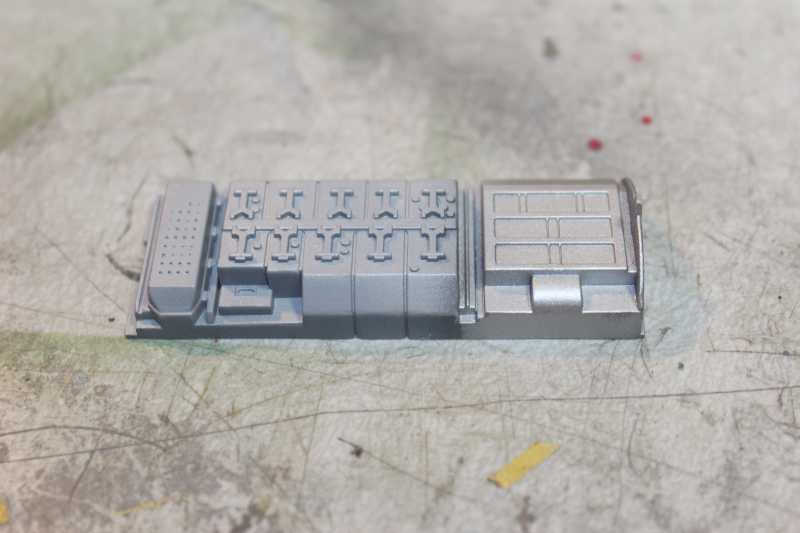
Here is what I have so far.
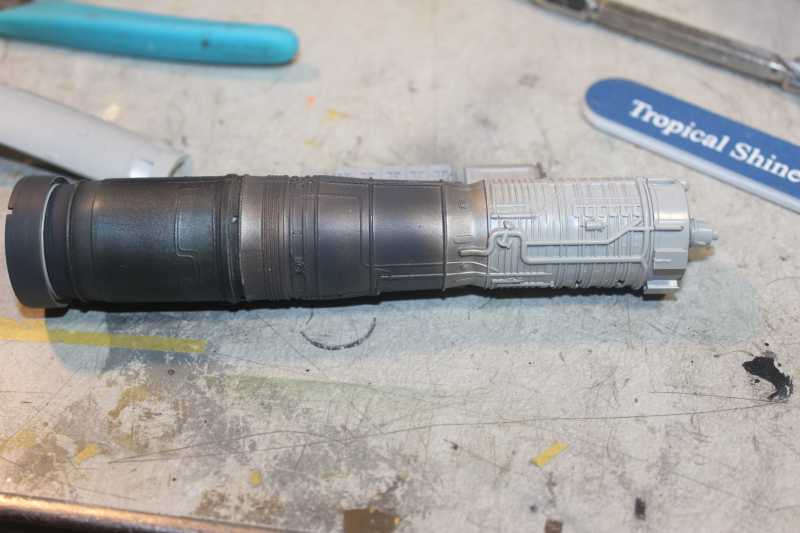
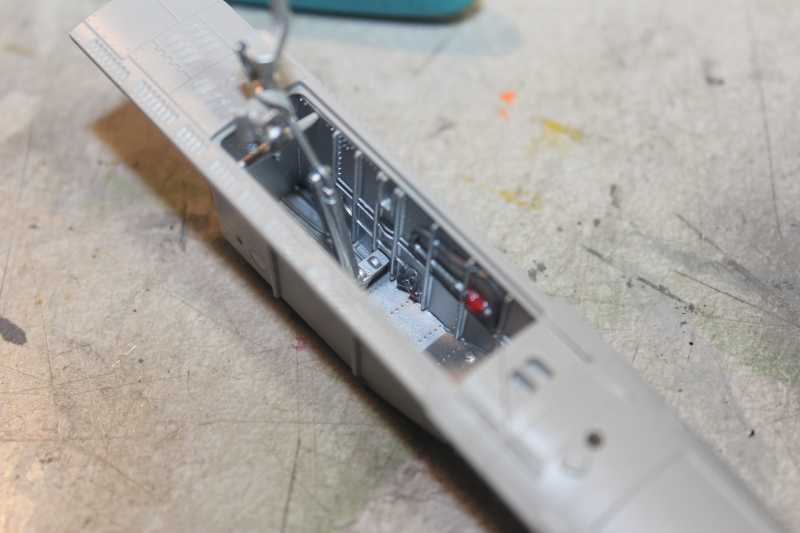

I got that far on the engine and thought I won't finish it because the fuselage will be closed and I need the engine to close the fuse with.
I am waiting on my a.m. seats and instrument decals to get the pit going so until then I will be doing sub assemblies.
Here is what I have so far.
I got that far on the engine and thought I won't finish it because the fuselage will be closed and I need the engine to close the fuse with.
What markings are you aiming for?
NMF?

or SEA camouflage?

KA-3B Skywarrior NL602 of VAH-2 in the background also flew as EKA-3B with VAQ-133 & VAQ-308 (in case someone is interested).
maybe with nose art?

Regards,
NMF?
or SEA camouflage?
KA-3B Skywarrior NL602 of VAH-2 in the background also flew as EKA-3B with VAQ-133 & VAQ-308 (in case someone is interested).
maybe with nose art?
Regards,
:snoopy

Skinny_Mike
Well-known member
Either way it'll be cool!
helios
Well-known member
KA-3B Skywarrior NL602 of VAH-2 in the background also flew as EKA-3B with VAQ-133 & VAQ-308 (in case someone is interested).
I'd love to find a EKA-3 kit that doesn't cost a fortune.

Paulw
Well-known member
I always have a problem getting any type of jet aircraft completed. I think the last one was that Kitty Hawk 1/32 F-86D which was really nothing to boast about. I fear this may be the same boat. All of these kits with the separate pull apart fuselages give me fits and cause for stress when it comes time to close things up because no matter what you do you always wind up with a butt joint and the panel lines never line up or there is alway a gap or seam about the size of the grand canyon to fill and sand. I have test fit the fuselage and it seems to close up pretty nice but there is more to do to the join that requires two pe pieces and a lot of hope.
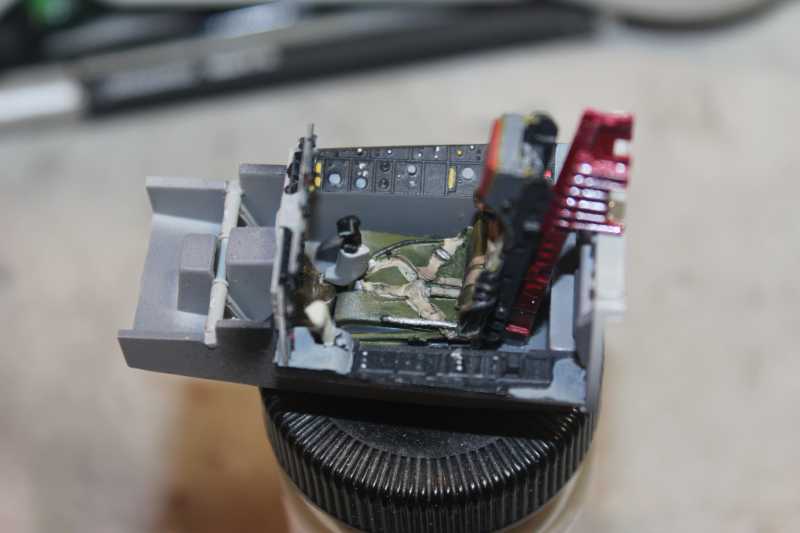
Earlier today I finally got the pit together, finished the ip and the a.m. seat. It came out OK and again nothing to crow about.


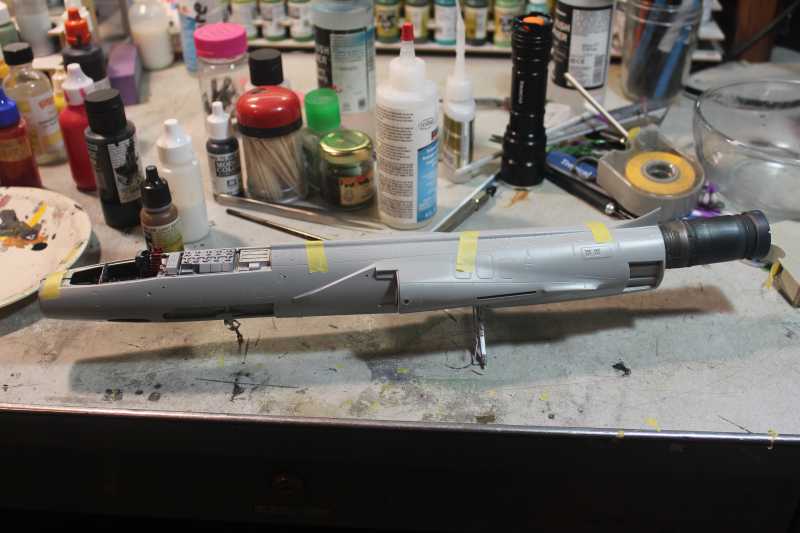
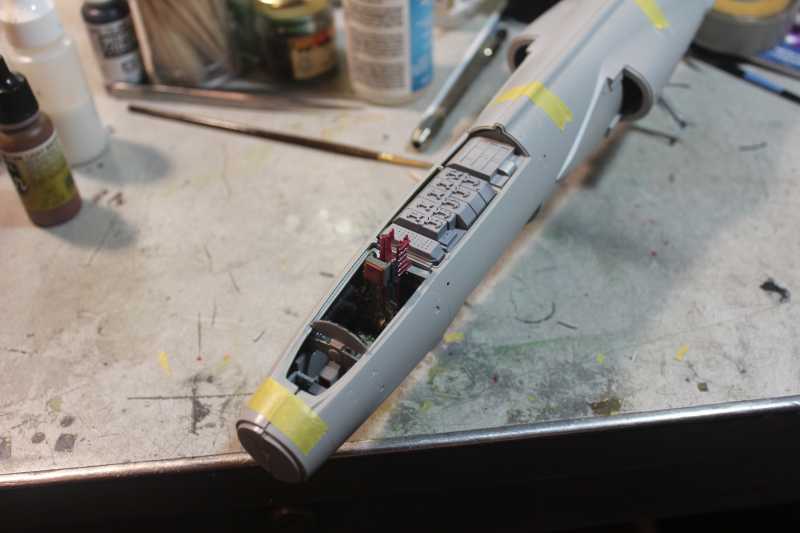
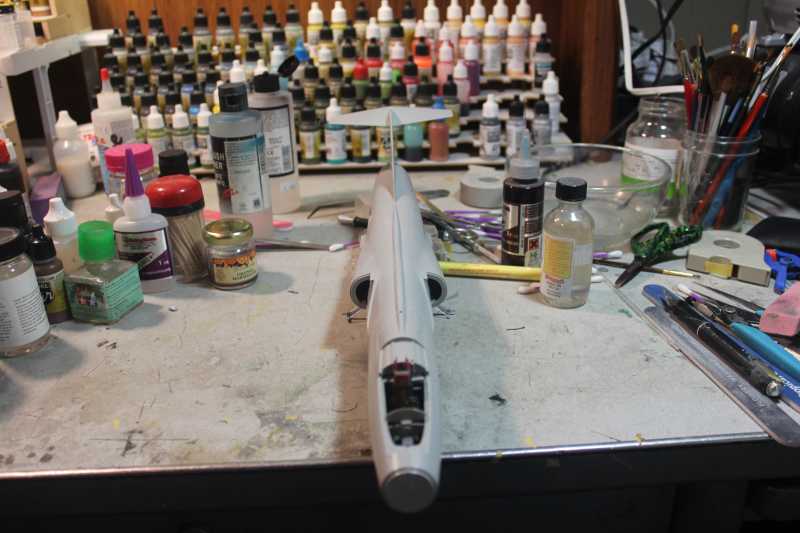
The parts fit in the forward part of the fuselage with no effort so I taped it together with the guts inside to see how it looks and voila! No gaps. Real scary. I am wondering what lurks around the corner. Tomorrow I add the cement.

Earlier today I finally got the pit together, finished the ip and the a.m. seat. It came out OK and again nothing to crow about.
The parts fit in the forward part of the fuselage with no effort so I taped it together with the guts inside to see how it looks and voila! No gaps. Real scary. I am wondering what lurks around the corner. Tomorrow I add the cement.
Great job Paul
Paulw
Well-known member
So, Continuing on I laid the fuselage halves down and butt joined the tail section to it with careful cementing and some colorful language. I ran some thin styrene sheet for reinforcement on the inside near the vertical stab.I added some tube glue and thick C/A on top of the join on the inside to hold things in place and set it to cure over night. I put all the guts in and slapped the fuse sides together and to my surprise it pretty much fit together with out too much fuss. All the panel lines that are supposed to line up lined up and I am happy so far.
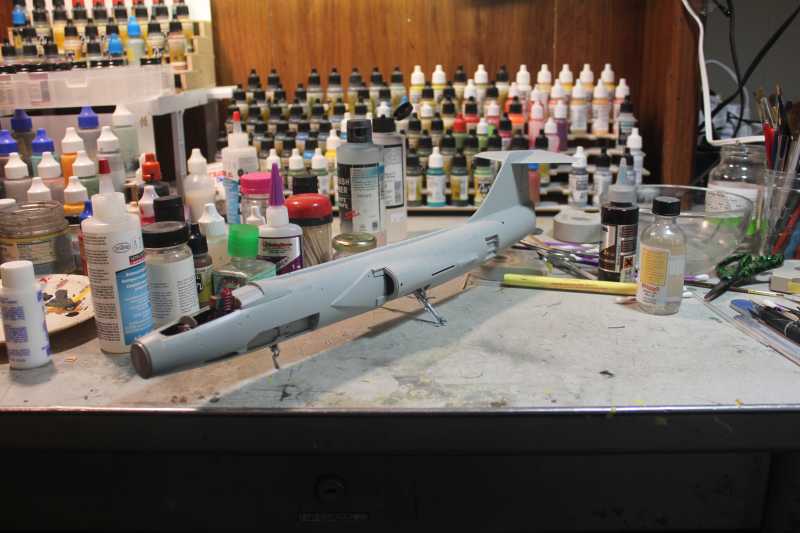
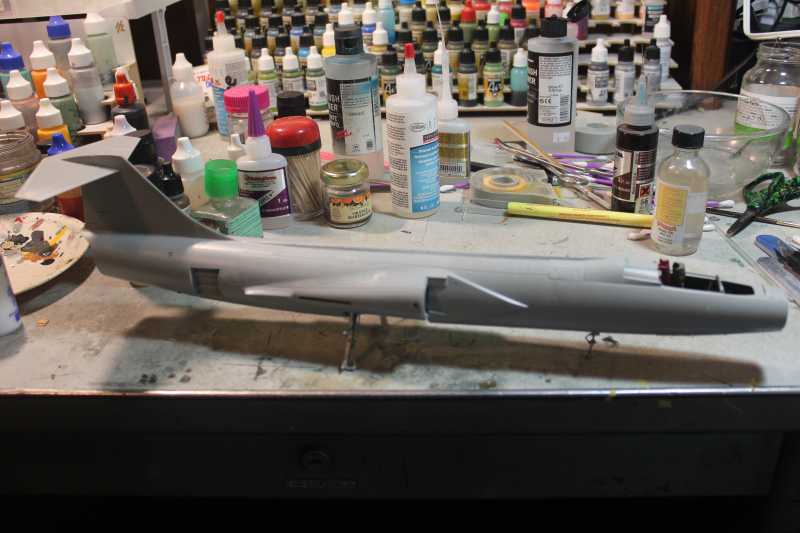
So far it even balances well with the tail feathers on.
So far it even balances well with the tail feathers on.
")