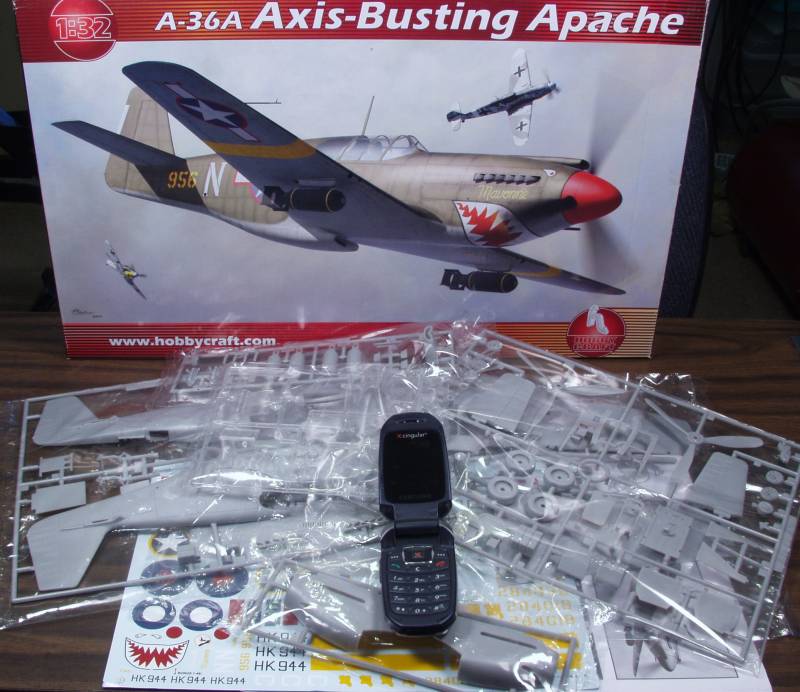
Well, OK, I didn't get back during the weekend, but let's get the show on the road anyway.

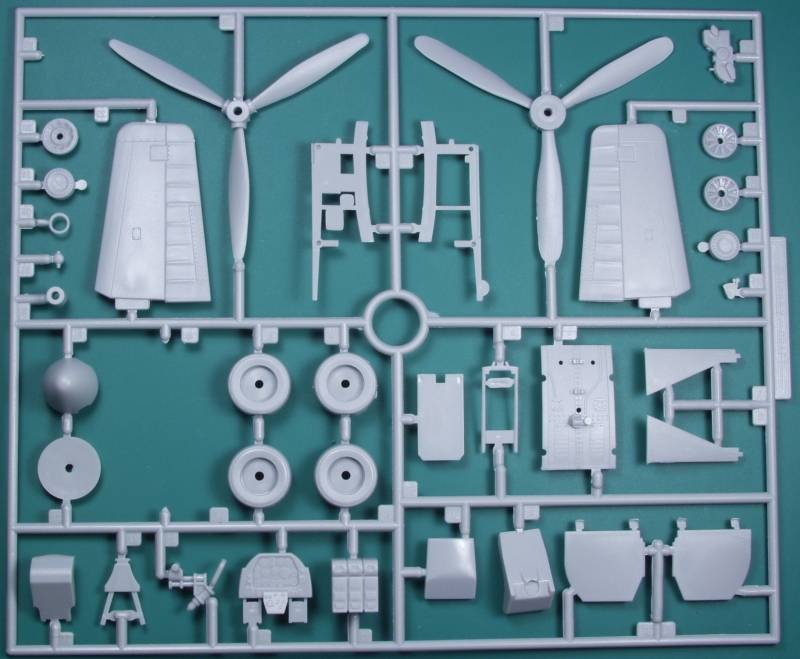
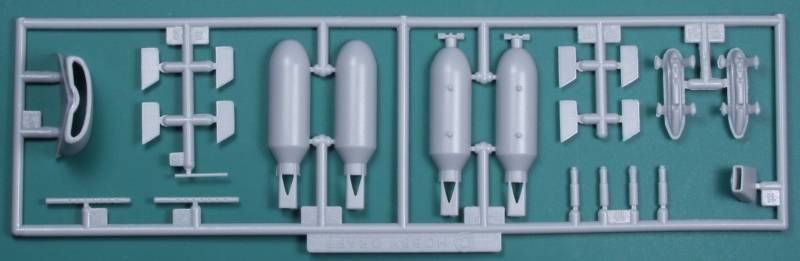
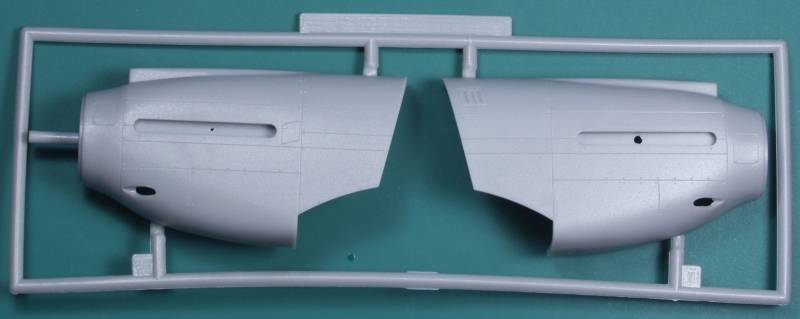
First off some general info and my goal going into this build. The kit is an upscaled version of the Accurite Miniatures Allison Mustang and Hobbycraft made no effort to embellish the detail in any way which is a shame but that's the way it goes. As such it's a simple kit with fewer total parts than the cockpit of some of the newer high tech kits. It is however reasonably accurate for all but the most anal and for one reason and another I like the early Mustangs better than the later models.
My main reason for building this kit is to try some new ideas and techniques (for me anyway) on creating the bleached out sand blasted look that most of these desert based aircraft acquired if they survived more than a few missions. I have an ulterior motive for this as I have another more ambitious build I'm planning for the future. Everything I have read concerning the war in the desert talks about how pervasive the sand and dust was, getting into everything, machinery, weapons, food, clothing and in general making life miserable. Prop wash from other planes and from a planes own prop would sand blast the finish and all those maintenance personnel climbing around on the aircraft with sand ground into the soles of their boots and walking on sand and dust covered wings would soon take its toll on the aircraft finish.
While the kit interior begs to be decked out to the nines it's not going to happen on this build. I have two more early tangs in the stash and one of those may get the treatment but it ain't happening on this build.
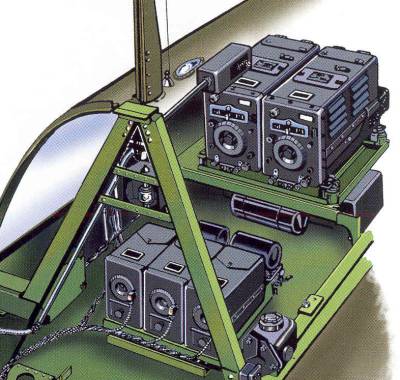
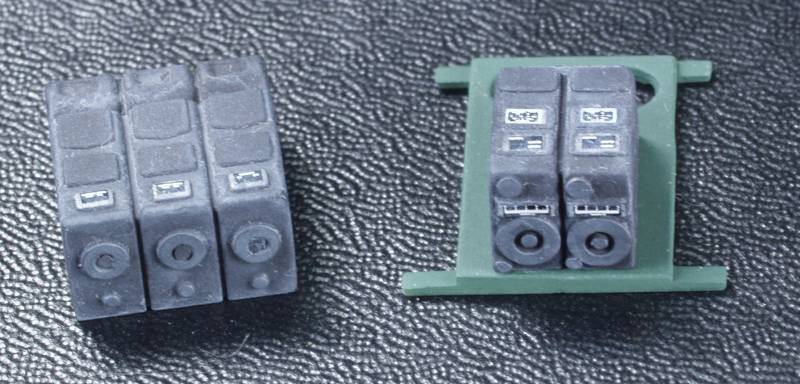
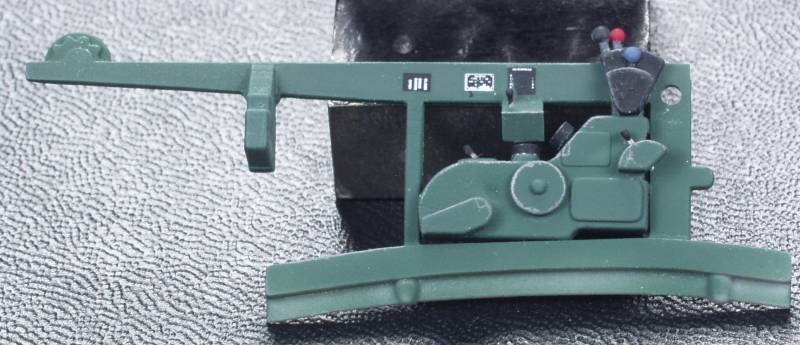
As with most kits I started with the pit. Specifically the radio rack. This is what the kit supplies for the transmitters and receivers
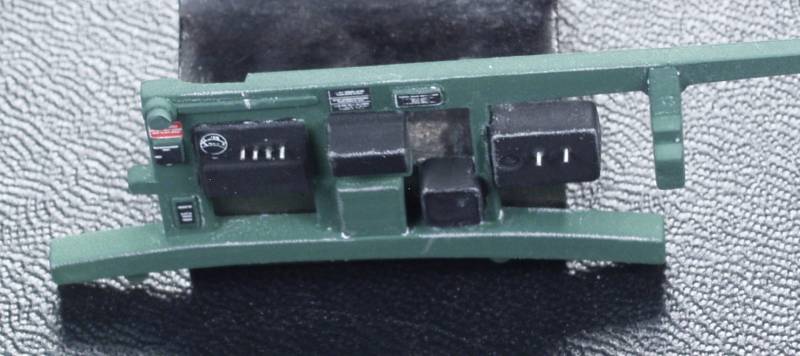
Some pretty nondescript looking blobs that should look something like this
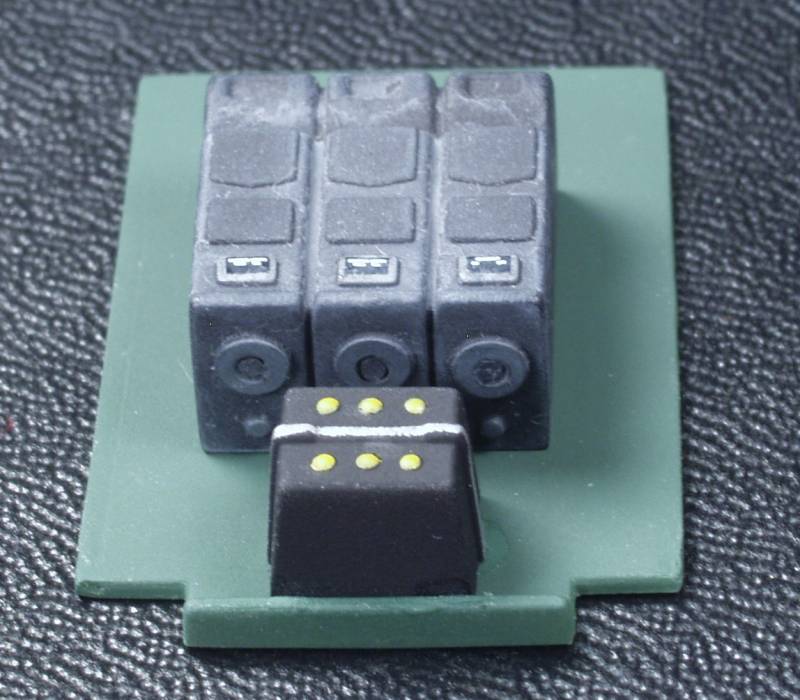
So using my Waldron punch I punched out a bunch of pieces to make knobs and dials and added some placard decals for nameplates and data placards. Not duplicates for sure but a bit better I think
I was going to add some wiring as well but it would pretty much disappear behind the pilots seat so I decided against it.
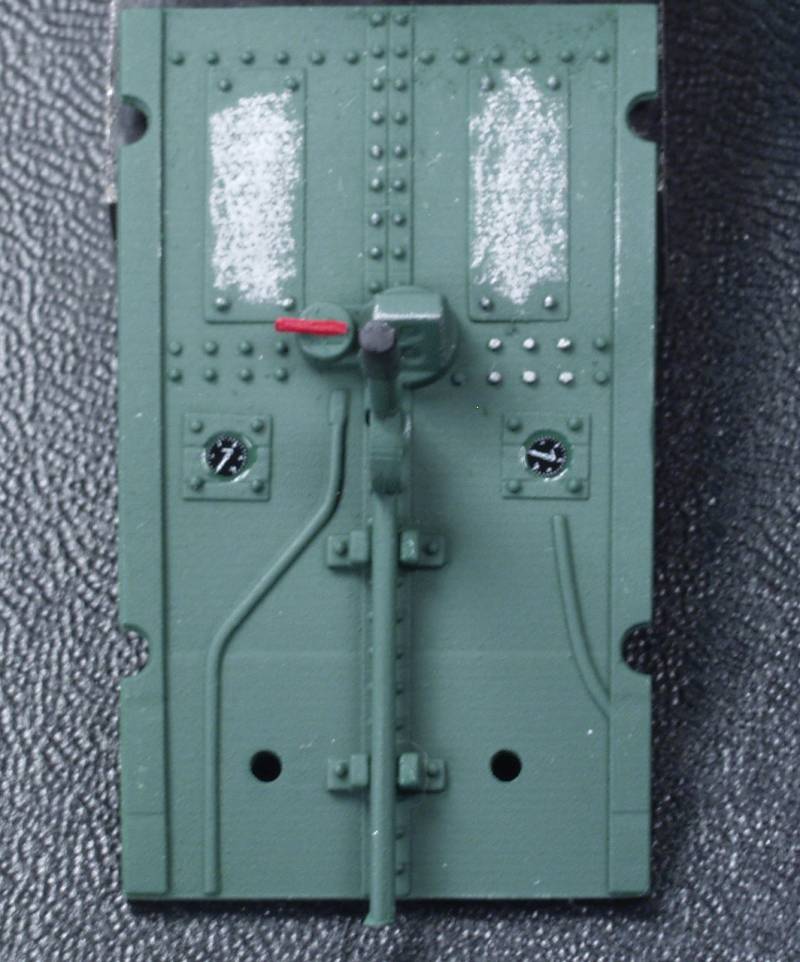
On the cockpit floor I added some Airscale dials to the fuel gauges and added the rather prominent fuel selector dial
The receivers mounted on the radio rack with the battery
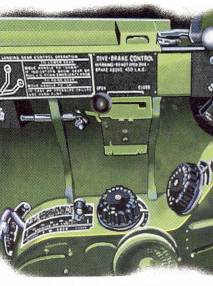
On the port side I added some missing levers, some placards and the control for the dive brakes. I wanted to redo the throttle quadrant but ended up going with the kit part, maybe next time.
The dive brake control is not perfect, but close
On the starboard side more placards and added a gauge and some toggle switches so it didn't look so barren
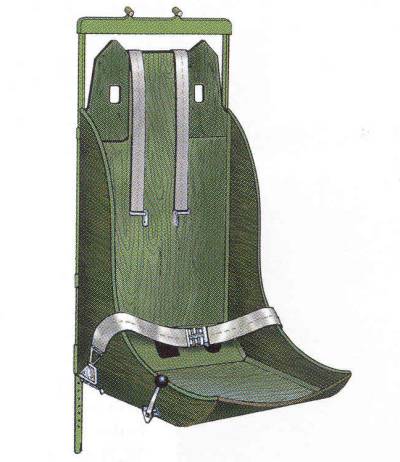
When I got to the seat I found I was lacking not only good info on the harness and belts these birds were equipped with but also any 1/32 scale US PE belts. Most of the photos I have are from restored birds, one has what looks similar to Sutton harness the other just doesn't look WWII vintage. There is a diagram in the walk around book showing the wooden seat with harness and belts but they look a little wimpy so I'm still undecided at this point, may just wing it.
None of the cockpit parts except the radios has a wash on it yet going to wait till its all together and remember the dust was all pervasive !
More on this soon I hope !

")