ij001
Well-known member
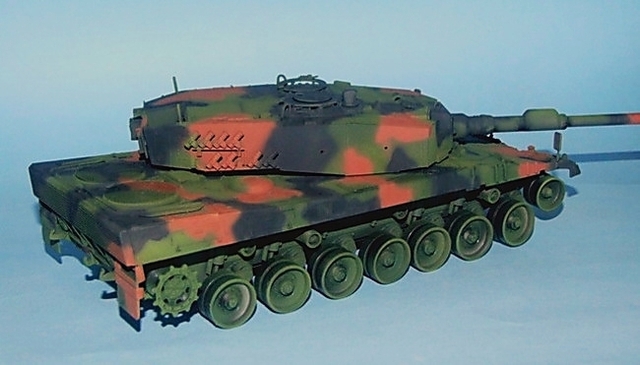
Inspired by Ron's build of the RoG kit for the Modern Armour Campaign last year, I bought the TAKOM Leopard 1A5, which let's be honest is a wonderful exercise in plastic mould engineering, but 710 pieces go to make up the tracks and I'm an unhealthy 52 year old male with blood pressure issues... Not likely to live long enough to get it done, so I sold it last week after buying the MUCH easier Hobbyboss 2A4 that you see here:


Now the sharp-eyed here will see that this has got... Rubber tracks, and I know in these days rubber tracks are akin to heresy or treason, but not too much of the tracks are going to be seen, and anyway, I stand a much higher chance of living to complete this build, so most unusually for me, within a couple of days I set-about this project.
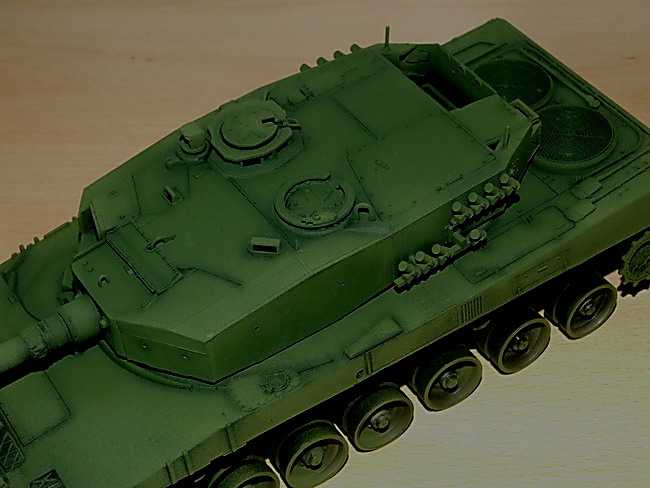
First thing I noticed (apart from the sheer size of the beast), is the very low parts count, and the very large number of mould-release /sink holes, they're everywhere !! :frantic The other 'issue' which surprised the h*ll out of me was just how soft the moulded details are, very reminiscent of 1970's Heller kits, especially surprising as the Hobbyboss V100 that I'm also building at the moment has the sharpest details I've seen outside a Hasegawa 1:48 aircraft kit... Go figure !!
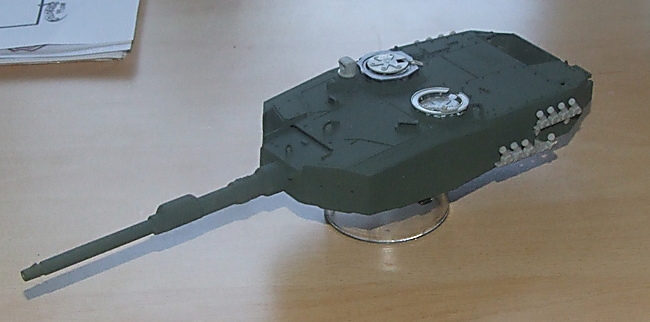
This is the first sub-assembly I started with. The turret bustle is very well done, made-up of 21 parts in total, but I swear to you every last one has at least two 'sink holes' to fill:

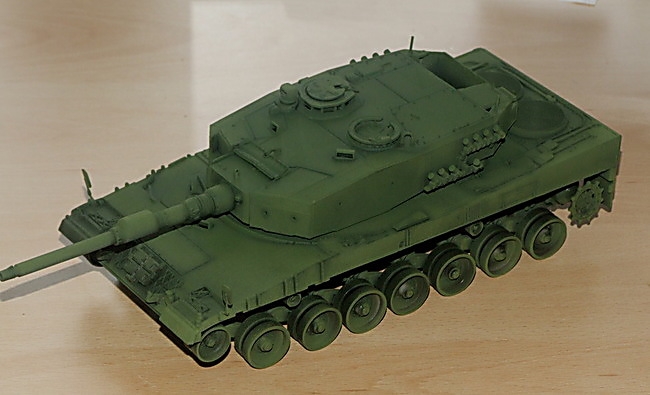
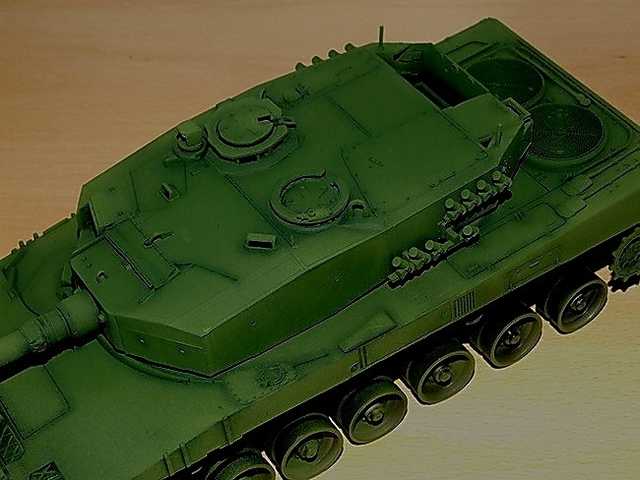
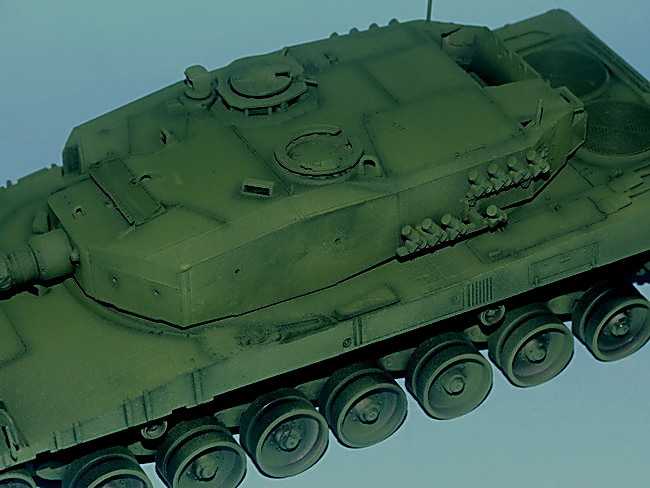
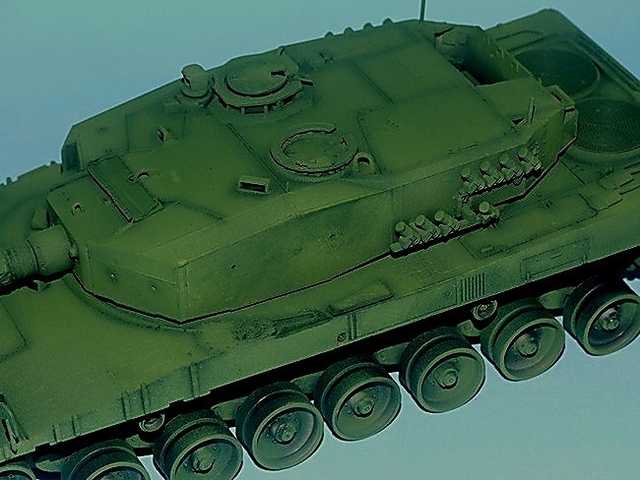
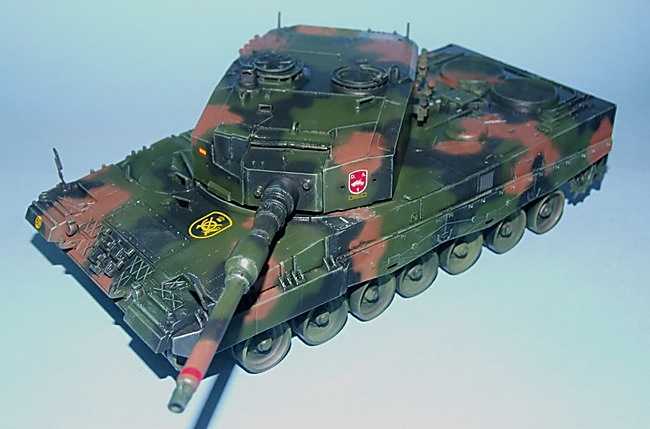
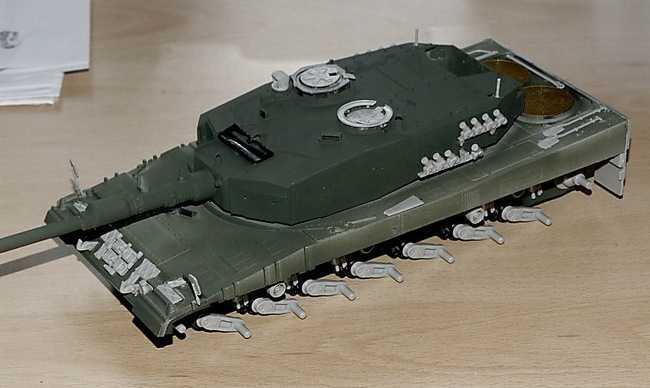
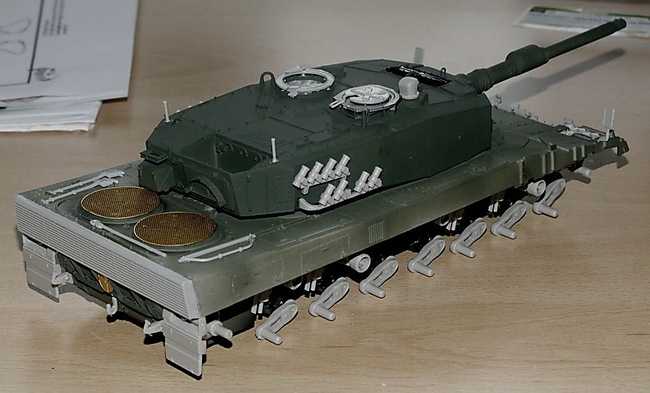
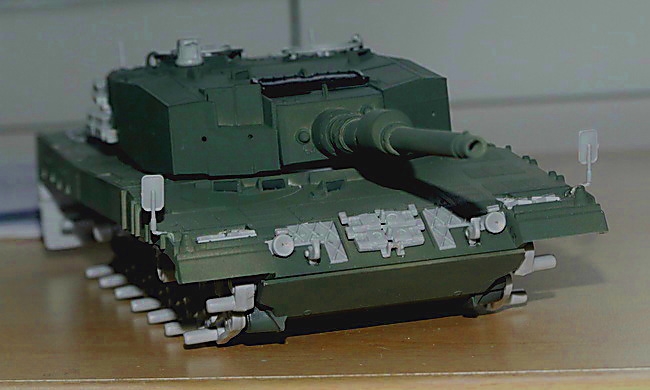
Ok so some time after the filling and sanding, I had the major turret sections done and undercoated with Tamiya 'Field Grey', I even used the kit barrel, which needed the numerous rings and vent holes re-scribed due to the aforementioned soft detail issues.


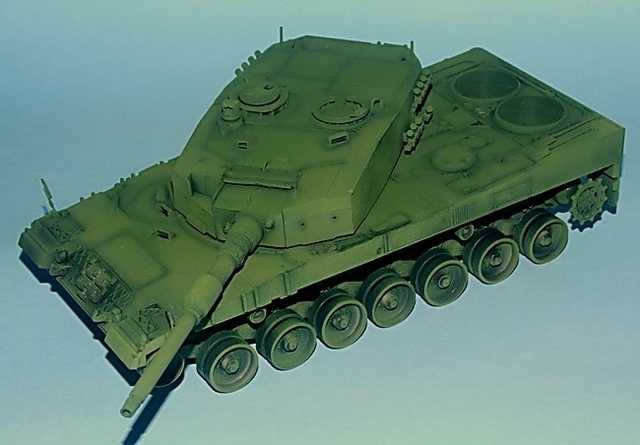
The upper hull was finished in just one session in a hair over thirty minutes. The lower hull & running gear (much simplified) was done in two sessions, but still in total, less than an hour on the bench. So this morning when I made it to the bench, this is where I was up to:
I mentioned at the start of this, just how MASSIVE this vehicle is, so to emphasise that, here it is sitting alongside a Tamiya 1:35 Jeep...
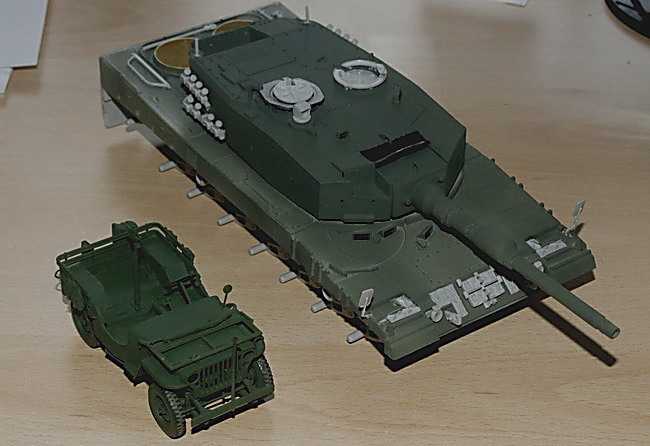
...Y'see, no matter what you've been told, guys, SIZE really is important. Until next early week, thanks for looking and feel free to ask any questions or make any comments and/or criticisms.
AFN.
Ian.
Now the sharp-eyed here will see that this has got... Rubber tracks, and I know in these days rubber tracks are akin to heresy or treason, but not too much of the tracks are going to be seen, and anyway, I stand a much higher chance of living to complete this build, so most unusually for me, within a couple of days I set-about this project.
First thing I noticed (apart from the sheer size of the beast), is the very low parts count, and the very large number of mould-release /sink holes, they're everywhere !! :frantic The other 'issue' which surprised the h*ll out of me was just how soft the moulded details are, very reminiscent of 1970's Heller kits, especially surprising as the Hobbyboss V100 that I'm also building at the moment has the sharpest details I've seen outside a Hasegawa 1:48 aircraft kit... Go figure !!
This is the first sub-assembly I started with. The turret bustle is very well done, made-up of 21 parts in total, but I swear to you every last one has at least two 'sink holes' to fill:
Ok so some time after the filling and sanding, I had the major turret sections done and undercoated with Tamiya 'Field Grey', I even used the kit barrel, which needed the numerous rings and vent holes re-scribed due to the aforementioned soft detail issues.
The upper hull was finished in just one session in a hair over thirty minutes. The lower hull & running gear (much simplified) was done in two sessions, but still in total, less than an hour on the bench. So this morning when I made it to the bench, this is where I was up to:
I mentioned at the start of this, just how MASSIVE this vehicle is, so to emphasise that, here it is sitting alongside a Tamiya 1:35 Jeep...
...Y'see, no matter what you've been told, guys, SIZE really is important. Until next early week, thanks for looking and feel free to ask any questions or make any comments and/or criticisms.
AFN.
Ian.