ausf
Master at Arms
This is a test.
I'm in a serious modeling funk. Even though the weather has turned to beautiful building temps, I can't scare up interest. In an attempt to break out, I ordered a few kits I've always wanted to build as well as the new Vallejo metal colors.

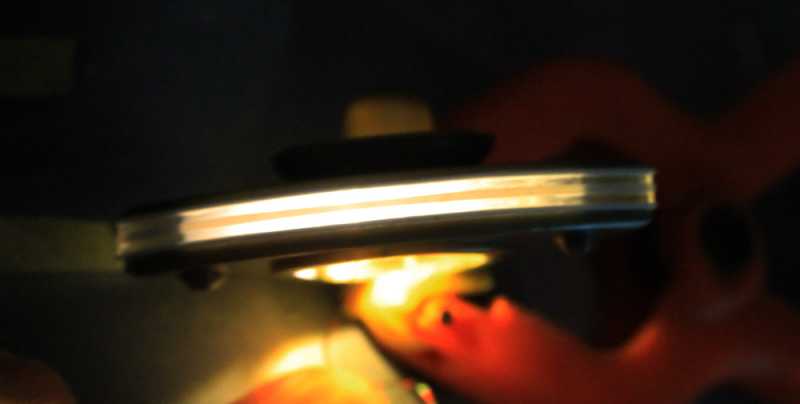
First up is will be a platform to test out some ideas. I want to put lights in both models of course, but the Enterprise has quite a few levels. Since the Klingon ship is only 9 inches long, you can get an idea of the challenge it'll be to open up the ports. If they were simple rounds it would be relatively easy, but they're rectangles and very small. The drill bit I used as a test was and is scale for the enterprise is .65 mm. No way in hell I can cut a rectangle window that size and be consistent.
I tried a some different methods, including using clear sheet styrene (.005) masked and painted that I would apply like a veneer. The masking was impossible to keep consistent at that size, plus applying painted sheets to the contours has too many opportunities for disaster.
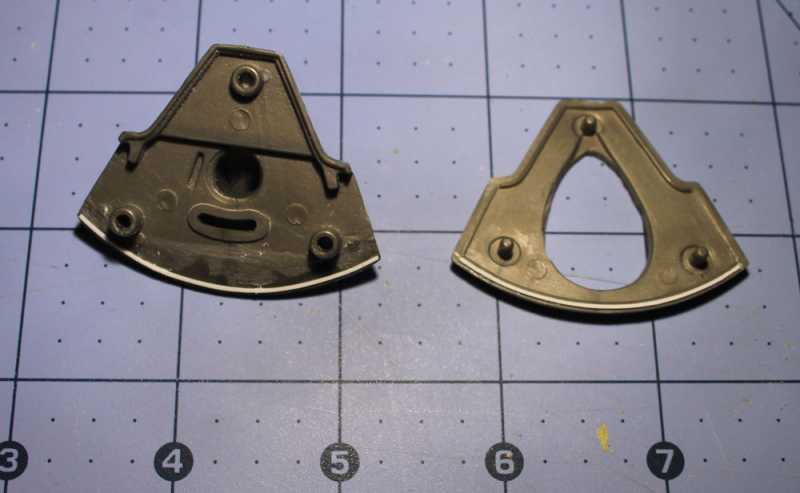
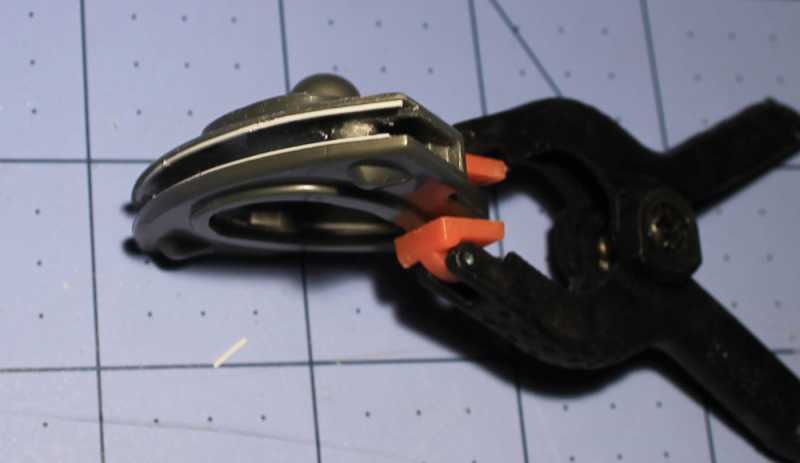
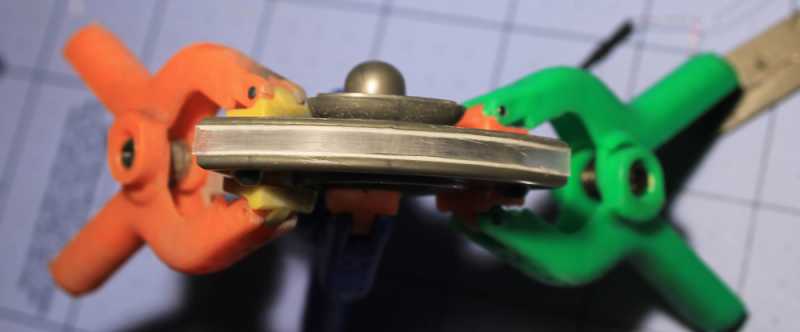
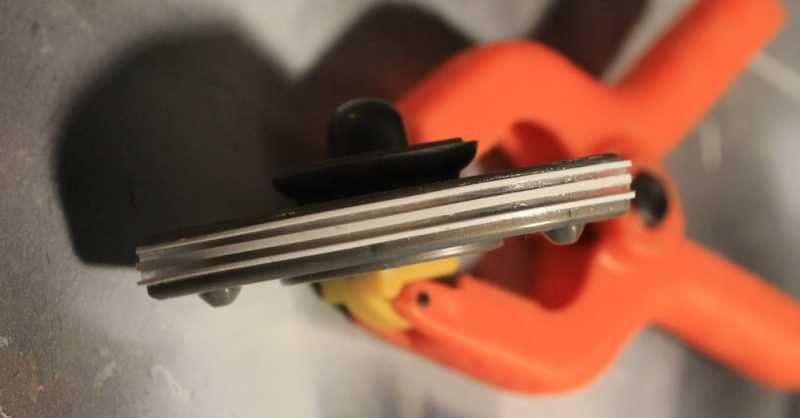
I tested sawing a line, cleaning up the edges, then inserting plastic stock to fill the areas in between the windows, painting, then adding clear sheet styrene behind it. That actually worked very well, it's just going to be a task to keep the lines parallel, especially on the Enterprise. The other nightmare is the hull has to be painted before assembly so the clear sheet and LEDs can be fitted after paint (Unless I can get liquid mask in the tiny openings) then assemble and seal fixing and more paint.
At least the Romulan ship only has four rows of lights and I can change the construction to I can access after paint without seems.
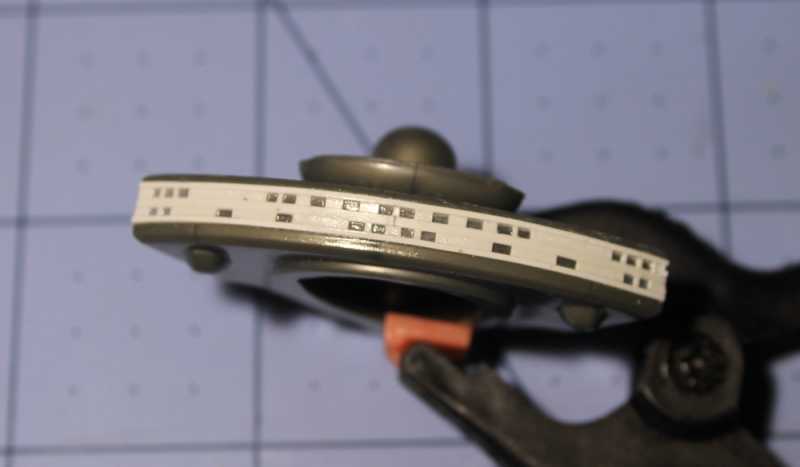
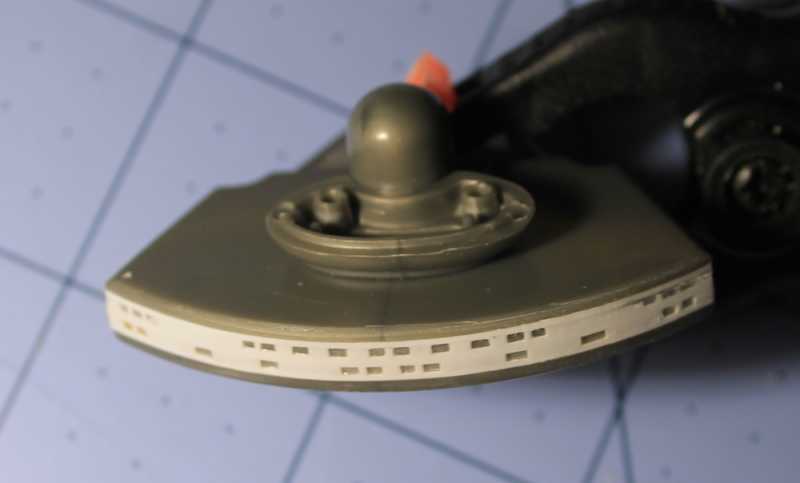
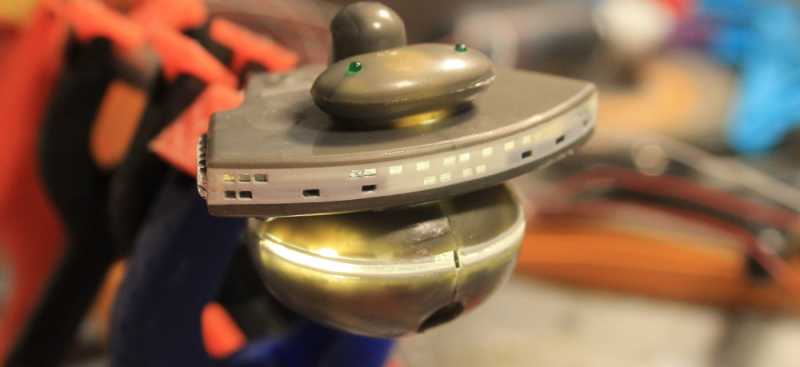
Here's the Rom's color scheme, a few metallic tones and the big warbird:


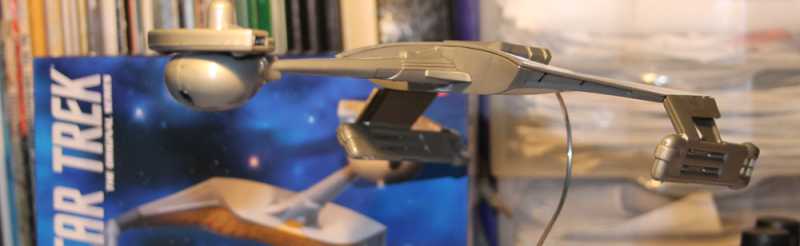
I couldn't resist a quick snap together to check out it's attitude and size.
I'm in a serious modeling funk. Even though the weather has turned to beautiful building temps, I can't scare up interest. In an attempt to break out, I ordered a few kits I've always wanted to build as well as the new Vallejo metal colors.
First up is will be a platform to test out some ideas. I want to put lights in both models of course, but the Enterprise has quite a few levels. Since the Klingon ship is only 9 inches long, you can get an idea of the challenge it'll be to open up the ports. If they were simple rounds it would be relatively easy, but they're rectangles and very small. The drill bit I used as a test was and is scale for the enterprise is .65 mm. No way in hell I can cut a rectangle window that size and be consistent.
I tried a some different methods, including using clear sheet styrene (.005) masked and painted that I would apply like a veneer. The masking was impossible to keep consistent at that size, plus applying painted sheets to the contours has too many opportunities for disaster.
I tested sawing a line, cleaning up the edges, then inserting plastic stock to fill the areas in between the windows, painting, then adding clear sheet styrene behind it. That actually worked very well, it's just going to be a task to keep the lines parallel, especially on the Enterprise. The other nightmare is the hull has to be painted before assembly so the clear sheet and LEDs can be fitted after paint (Unless I can get liquid mask in the tiny openings) then assemble and seal fixing and more paint.
At least the Romulan ship only has four rows of lights and I can change the construction to I can access after paint without seems.
Here's the Rom's color scheme, a few metallic tones and the big warbird:
I couldn't resist a quick snap together to check out it's attitude and size.

 :woohoo: